Throughout my childhood, many of our weekends began with Mom’s pancakes. With the recipe basically memorized, she mixed up the batter while my brother and I watched an episode of cartoons on TV and Dad quietly turned the pages of the local newspaper.
Because our favorite brunch restaurant served Mickey Mouse pancakes, my brother and I always requested those shapes. Mom would cook in two pans so we were fed at the same time, and she set out the faux maple syrup for us to pour all over the pancakes.
After adding blueberries to the bowl for her and Dad (no fruit in ours, thanks!), she poured out the rest of the batter into regular circles for the two of them and served theirs hot with a pat of butter and real maple syrup. We almost never ended up with leftovers!

In her recipe, Mom always used regular milk since that’s all we kept in the fridge. It wasn’t until I reached high school that I realized “buttermilk” pancakes were the most iconic kind.
And recently, with my guy and I going out for breakfast every so often, we started sampling the buttermilk pancakes offered by various restaurants in town. Upon feeling sluggish after one too many of those heavier recipes, I decided to create my own back at home.

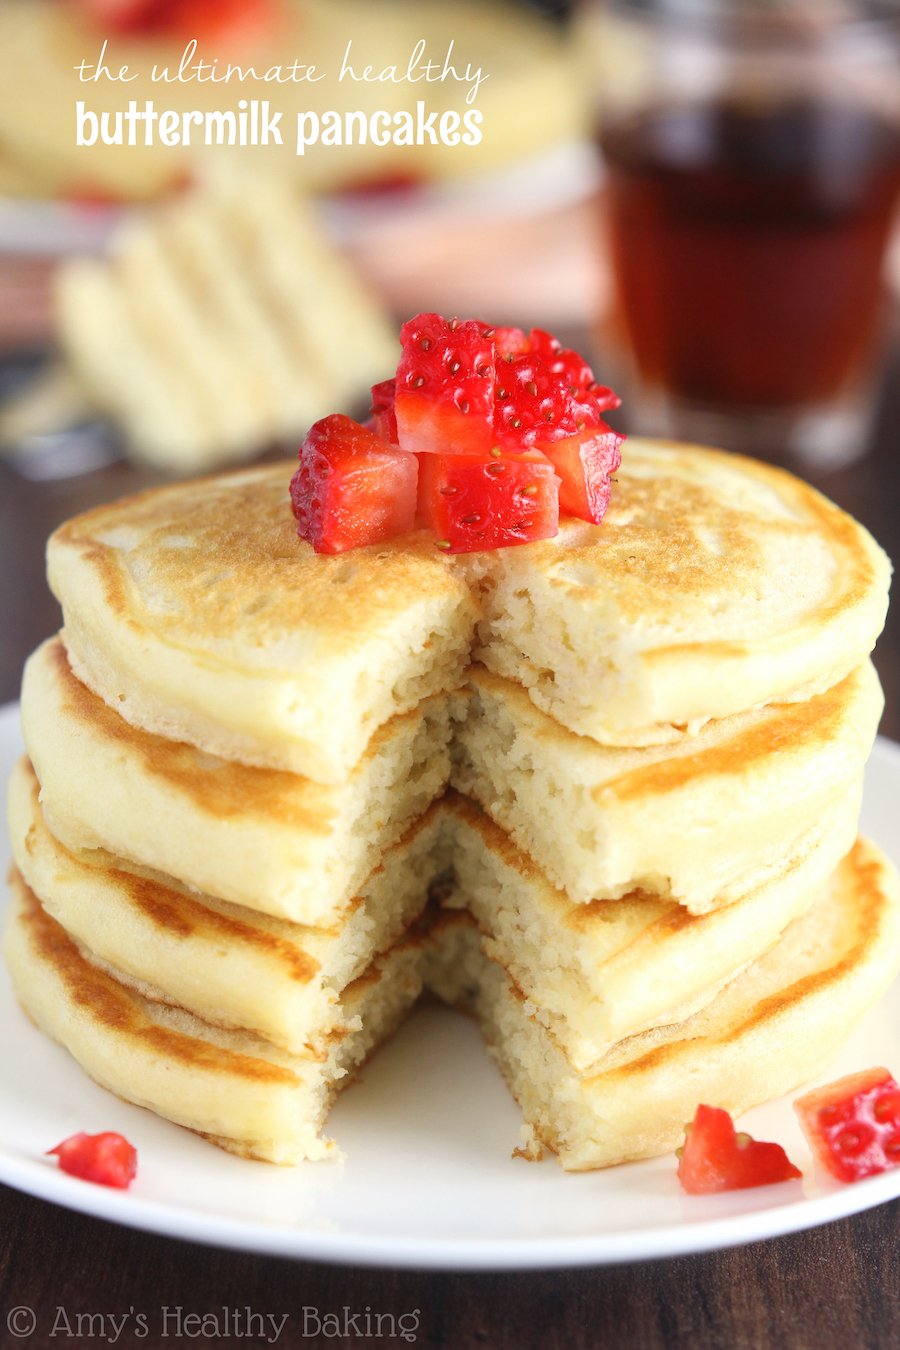
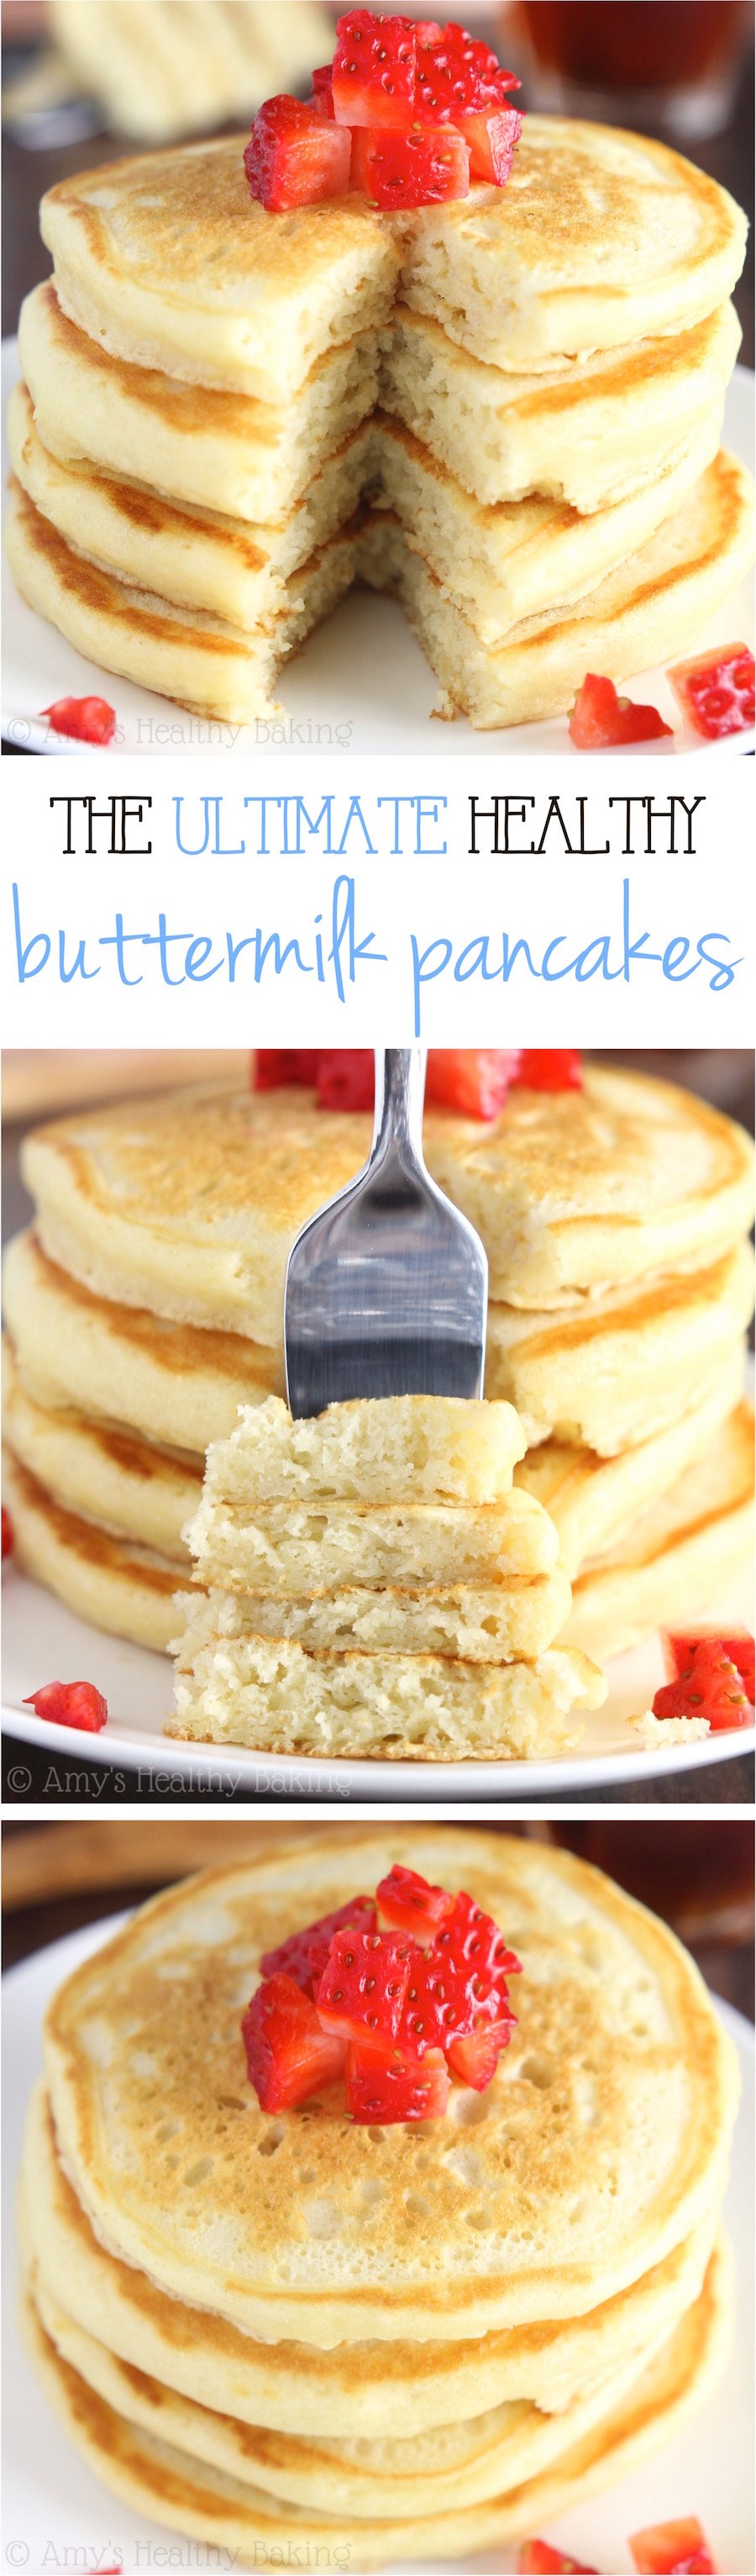
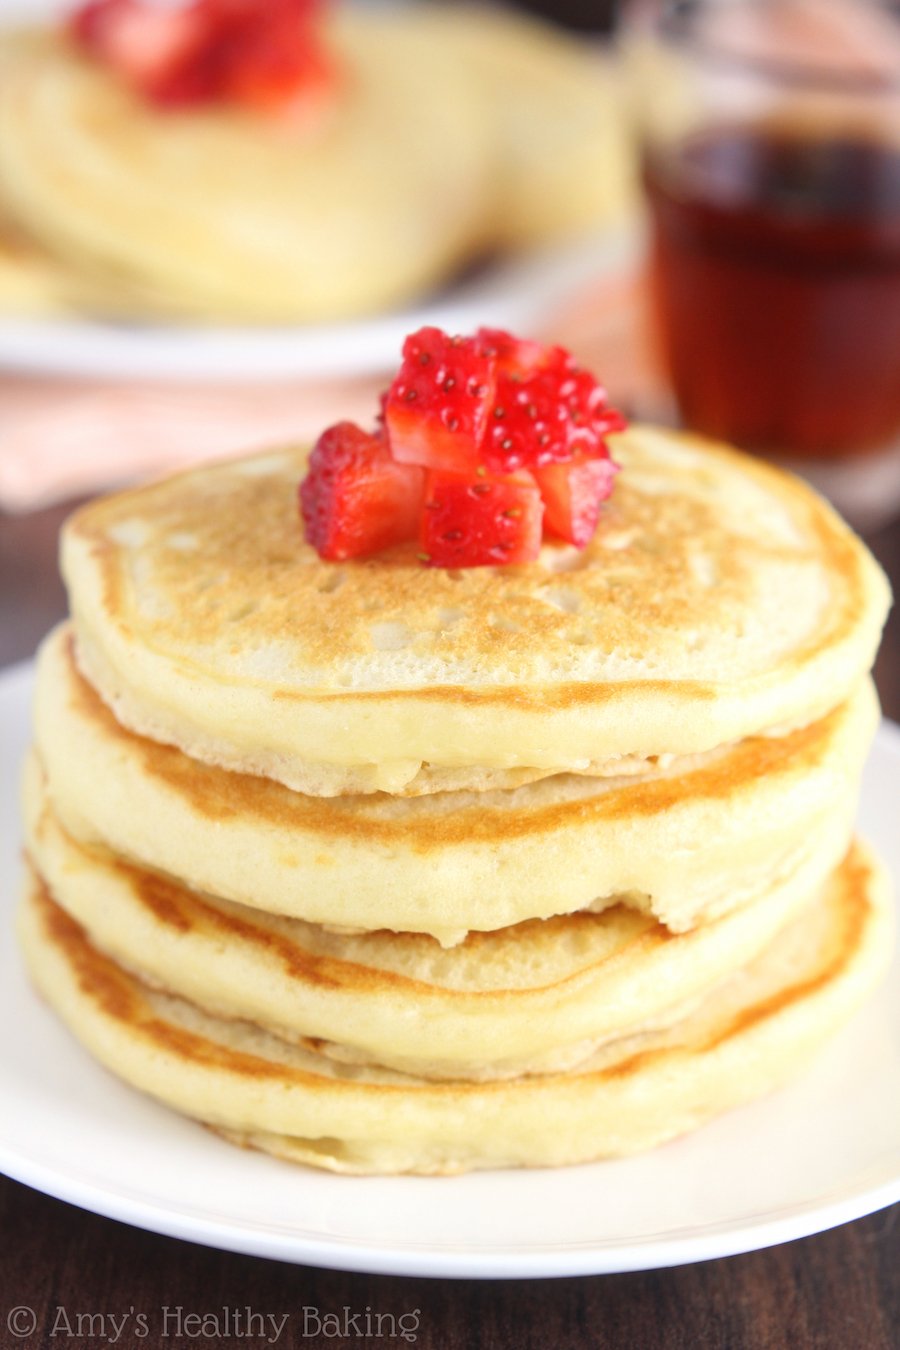
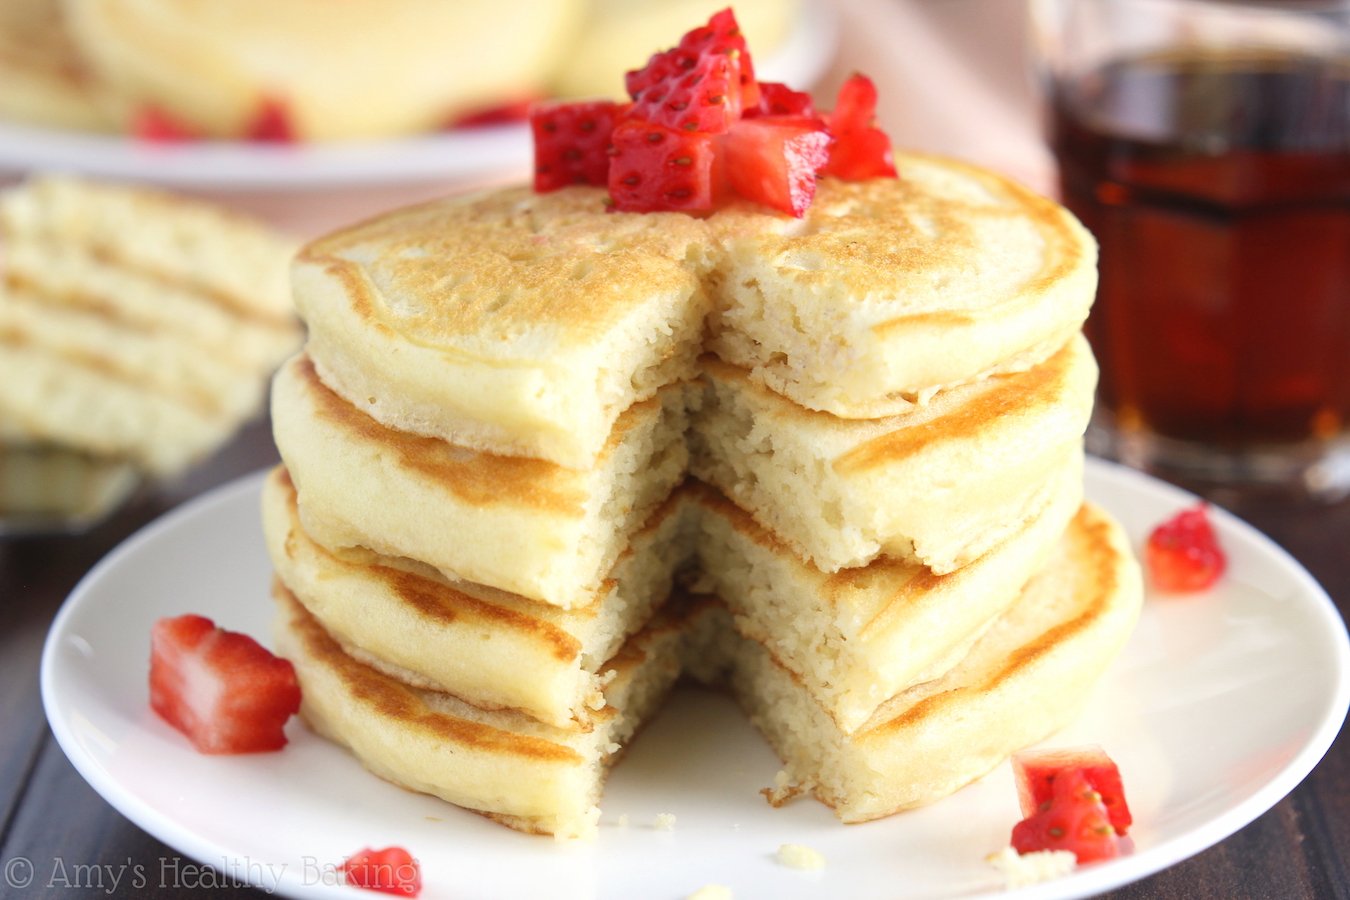
After lots of flipping and mixing and flipping some more, I finally came up with a recipe for The Ultimate Healthy Buttermilk Pancakes! They’re light and fluffy and full of buttermilk flavor, and we both think that they’re better than any restaurant’s that we’ve eaten.
Nerd alert!
Because I was an organic chemist before a baking blogger, I wanted to share a little bit of the food science behind what makes these the best lightened-up buttermilk pancakes you’ll ever try. Each of the ingredients plays a key role in creating their taste and texture, so let’s go over that briefly!
Buttermilk. In addition to its iconic flavor, buttermilk is more acidic than regular milk. This acidity reacts with the leavener (hang tight, that’s coming next!) to make the pancakes light and fluffy on the inside.
If you don’t keep buttermilk in the fridge very often, I recommend these two options. (a) Powdered buttermilk. It’s a pale yellow powder that’s shelf-stable and keeps for ages. Mix it with water and you’re all set! (b) Vinegar and milk. This won’t produce the same classic buttermilk taste, but it’ll add the acidity you need.

Leavener. In this recipe, we use more baking soda than baking powder. Baking soda is stronger and reacts better with the buttermilk. When you mix those two together, they release air bubbles, which makes the pancakes fluffy.
Egg. The yolk of the egg provides tenderness, while the white acts as the binder that holds the pancakes together and gives them structure.

Butter and Greek yogurt. The butter provides both flavor and a more tender texture. (We just use a tiny bit, so don’t skip it!) The Greek yogurt adds more moisture to the batter, and it also adds a little extra tangy taste to enhance that of the buttermilk.
Vanilla. This is my secret weapon! Extra vanilla enhances the flavor of butter, so these pancakes taste much more indulgent than they really are. I know 1 ½ teaspoons looks like a lot for pancakes, but trust me. You won’t want to use any less!

Now with the batter mixed up, let’s talk about how to cook your pancakes! For the best results, use a nonstick pan or electric griddle. The griddle will yield the most even golden coloring, but with my tiny kitchen, I don’t have the space to store one. So pans it is for me! However, do not use stainless steel cookware because it will burn your pancakes. (Lesson learned the hard way!)
To make each pancake, pour a dollop of 2 tablespoons of batter onto your cooking surface lightly coated with nonstick spray. Wait until the edges near the bottom look as if they’re forming a slight skin and the tops start showing bubbles that pop; then take a peek underneath. The bottom should be golden brown!
To flip the pancakes, slide a spatula underneath, lift your hand, and just turn your wrist. Do not use your elbow or your entire arm! If you do, the pancake will skid a little in the pan as it lands and form that lacey-looking “pancake skirt.” (They’ll still taste the same; they just don’t look as pretty!)
Now all that’s left is to serve yourself a big stack with real maple syrup, fresh fruit, and anything else your heart desires! And when you make your own, remember to snap a picture and share it on Instagram using #amyshealthybaking and tagging @amyshealthybaking IN the photo itself! (That guarantees I’ll see your picture! 🙂 ) I’d love to see your healthy buttermilk pancakes!
| The Ultimate Healthy Buttermilk Pancakes | | Print |
- 1 cup + 2 tbsp (135g) whole wheat pastry flour, all-purpose flour, or gluten-free* flour (measured like this)
- 1 tsp (3g) baking soda
- ½ tsp (2g) baking powder
- ¼ tsp (2g) salt
- ½ tbsp (7g) unsalted butter, melted
- 1 large egg
- 1 ½ tsp (8mL) vanilla extract
- ½ cup (120mL) low-fat buttermilk, room temperature (see Notes!)
- 1 tsp (5mL) pure maple syrup
- ¼ cup (60g) plain nonfat Greek yogurt
- Whisk together the flour, baking soda, baking powder, and salt in a medium bowl. In a separate bowl, whisk together the butter, egg, and vanilla. Whisk in the buttermilk and maple syrup. Stir in the yogurt until no large lumps remain. Add in the flour mixture, and stir until just incorporated.
- Lightly coat a large pan or griddle with nonstick cooking spray, and preheat over low heat.
- Using 2 tablespoons of batter for each pancake, dollop onto the hot pan, and spread into a circular shape if desired. Let the pancakes cook for 2-3 minutes, or until a slight skin starts to form around the edges and the bottom is light golden brown. Slide a spatula underneath, and flip. Continue to cook for another 1-2 minutes or until light golden brown on both sides. Serve hot.
White whole wheat flour may be substituted for the whole wheat pastry flour or all-purpose flour, as well as regular whole wheat flour. However, regular whole wheat flour's heartier taste may overpower the delicate flavor of the buttermilk, so the pancakes can sometimes taste like plain whole wheat pancakes instead.
IMPORTANT BUTTERMILK NOTES: You must use buttermilk in this recipe. It’s more acidic than regular milk, which is required to react with the baking soda and baking powder.
As a buttermilk substitute, I highly recommend this powdered buttermilk. It’s shelf-stable and keeps for ages. Simply mix 2 tablespoons with ½ cup of water to yield the buttermilk required by this recipe.
Alternatively, measure out 1 ½ teaspoons of vinegar into a measuring cup, and pour in regular milk (just about any should work — nonfat, 1%, 2%, or your preferred dairy-free milk!) until you reach the ½-cup mark. However, this second method will not yield the same iconic buttermilk flavor.
IF YOUR BATTER IS TOO THICK: If the batter is too thick to pour and spread easily in the pan, stir in up to 4 additional tablespoons of buttermilk (or regular milk or water), 1 tablespoon at a time, until it reaches a normal pancake batter consistency.
PANCAKE COOKING TIPS: For tips on the type of pan to use and how to properly flip pancakes, see the text in the blog post above.
This recipe is easily doubled to make more. If you have any leftovers, they freeze really well too!
{gluten-free, clean eating, low fat}
View Nutrition Information + Weight Watchers Points


Do you think pat flour could be used in these or a mix of half oat flour half other flour?
Sorry oat flour just realized i misspelled.
I really appreciate your interest in our pancake recipe, Angela! We don’t recommend using 100% oat flour to make them. This is because gluten is the protein in wheat-based flours that helps baked goods rise and maintain their shape while cooling. Oat flour lacks that, so when you substitute it for wheat-based flours in our recipes that rise (like cupcakes, cakes, muffins, quick breads, etc — and even pancakes!), your baked goods will often turn out denser and may collapse while cooling.
However, if you use half oat flour and half whole wheat flour or all-purpose flour, your pancakes won’t turn out as dense as they would with 100% oat flour. (They’ll still be somewhat denser compared to when made with wheat-based flours though!) Just something to keep in mind!
We’d love to hear what you think of these pancakes if you end up making them! 🙂
Do you think this batter can be made the day before and taken out of the fridge an hour or 2 before cooking? Would this be still be good or will it get too thick?
We don’t recommend it, Vivian! The baking soda begins to react as soon as it comes in contact with the wet ingredients. If the batter is made ahead of time and then left overnight, the baking soda will have completely reacted, so the pancakes will be really dense and heavy. What you can do is mix the first four ingredients (the dry ingredients!) and store them in an airtight container until you’re ready to mix the batter! We’d love to hear what you think if you decide to try these pancakes! 🙂
Hi Stacey!
In that case do you think I can do one container for dry ingredients and 1 for wet an mix it the morning of? I am trying to do the prep work ahead of time for a quicker morning. Thanks again!
We haven’t tried doing the wet ingredients ahead of time, so I’m not sure about that and don’t want to lead you astray. I will say that these pancakes reheat quite nicely, if you’d like to make the whole recipe ahead of time and simply pop some in the microwave to warm them up on those busy mornings! We also have a great recipe for blueberry buttermilk pancake bites that are great for meal prep and making ahead! You can definitely just omit the blueberries if you’d prefer plain pancakes. 😉 I hope one of these options will work for you to still enjoy a delicious breakfast on busy mornings!
I tried this recipe and the batter ended up being so thick that I added additional yogurt and nearly 3/4 cup additional milk to thin down. This worked but the batter was still too thick and ended up with 1″ thick pancakes.
It means a lot that you tried my recipe, Rob! That sounds disappointing and not like how this batter is supposed to be, so I’d love to help figure out what might have happened. The most common culprits are typically (a) scooping flour directly from the container with measuring cups and (b) shaking or nudging the measuring cup back and forth while filling it with flour. Was the flour measured like this, by any chance?
If not — and if you either used a kitchen scale or my measuring technique (I linked to it in the Ingredients list; it’s the pink “like this” text!) — then I’m happy to keep sleuthing to figure out the cause. I have some questions that will help us narrow it down and isolate the culprit, but I wanted to mention those things above first, just in case! 🙂
I just tried these today and really wanted to love them, but my pancakes came out super thick, and dense as some of the other commenters noted. I knew it would when I saw how airy the mixture was when I went to cook them. I used Spelt flour and powdered buttermilk. I used your method for reconstituting the buttermilk before adding it and added extra buttermilk to the batter to thin it out, however, the instructions on the manufacturer’s page said to add the buttermilk powder to the dry ingredients and add the water in the amount called for by the recipe to the wet ingredients. Could this have contributed to the problem?
It means a lot that you tried my recipe, Kammy! That sounds disappointing and not like how these pancakes are supposed to turn out, so I’m happy to work with you to figure out why that happened with your batch. I really appreciate you including this additional information — it’s so helpful to know! Based on what you’ve shared, I have some follow-up questions that will help me narrow down what could’ve happened.
Did you use measuring cups/spoons or a kitchen scale to measure the spelt flour?
If measuring cups/spoons, did you dip them directly into your container of spelt flour? Or, if you used my measuring technique (I linked to that with the pink “like this” text in the Ingredients list!), did you happen to gently nudge the measuring cup back and forth while filling it to “level off” the mound of flour at the top, by any chance?
Have you tried spelt flour as a 1-for-1 substitute in any of my other recipes? (When substituting it in my other recipes, other readers have sometimes noticed the batter was thicker/drier and their treats had a denser texture, which is why I ask!)
When you reconstituted the powdered buttermilk, was it completely homogenous with no lumps or dry bits?
How much extra buttermilk did you add to the batter?
I also want to make sure I understand the appearance of your batter! When you say it was “airy,” do you mean it had lots of air bubbles? For its consistency, was it as stiff as cookie dough, closer to really thick muffin batter, thin like cake/crêpe batter, or something else?
Was the flavor okay, and it was mainly the texture that wasn’t what you expected?
I know I just asked a LOT of questions, but I’ll have a much better idea of what happened once I know your answers to all of them! 🙂
Thanks for the reply!
I used measuring cups/spoons to measure the spelt flour.
I used your fork measuring technique from your link to measure the flour and a knife to “level off”.
I usually substitute half the amount of spelt flour in recipes calling for all purpose flour and as a 1-for-1 substitute in recipes using whole wheat flour.
When I reconstituted the powdered buttermilk, it was definitely completely homogenous with no lumps or dry bits.
I added 4 additional tbsps of buttermilk in the batter.
When I say it was “airy,” yes, I mean it had lots of air bubbles. It wasn’t stiff it was thick but very light if that makes sense.
As far as the flavor they definitely didn’t taste like what I’m used to buttermilk pancakes tasting like but it was honestly hard to tell with the texture.
It’s my pleasure, Kammy! 🙂 Thank you for your replies. This info is really useful! I have a few follow-up questions that should isolate the issue.
It’s great to hear that you used my fork technique! While doing so, did you ever gently wiggle or move your measuring cup — perhaps to help the flour fall down into it more evenly? Or was your measuring cup stationary and sitting on your counter the entire time?
Was this the first time you substituted spelt flour in one of my recipes?
Did most — or even all — of the air bubbles disappear from the batter by the time you added the batter to the pan?
Did any air bubbles appear on the tops of the pancakes before flipping them?
I appreciate your patience, Kammy! I have an idea, and hearing your answers to these will really help!
Amy,
I enjoyed reading your healthy pancakes recipe blog post. Curious what your thoughts are on almond flour (or other low-carb flours). I recently was diagnosed with type 1 diabetes and almond flour seems to come up in searches a lot.
I do miss flour!
Thanks,
Don
We really appreciate your interest in our recipe, Don! We typically don’t recommend almond flour in these pancakes because they’ll turn out denser. However, if you don’t mind that denser texture, then you can substitute it for the whole wheat pastry flour! We’d love to hear what you think if you decide to make some of these pancakes! 🙂
I made these today and they were delicious. My batter was thick but not too too thick. My buttermilk is super thick so I used a few tablespoons of dairy milk to thin it out and it worked perfectly.
Weighing the ingredients makes a big difference I think.
I’ll definitely be saving this recipe!!
I’m so happy you liked these pancakes, Kristina! That’s great the dairy milk trick worked for your batter, and I’m honored that you already plan on saving this recipe. That’s the best kind of compliment there is! Thank you for taking the time to share and rate the recipe too. It truly means a lot! ♡