Every year, I always look forward to the end of March. The weather gets warmer, the calendar flips to spring, and… Baseball starts up again!
I fell in love with the game as an eight-year-old, and three years later, I told my dad I wanted to visit all 30 Major League stadiums with him. (We’ve checked off 23 so far!) And next week, my parents and I bought tickets to see our favorite team’s Opening Day game.

I always get goosebumps walking into a baseball stadium, the kind of sensation that happens when everything feels right with the world, when the stars align and you’re where you’re meant to be and your soul is just so happy. The bright green grass, the freshly raked infield dirt, the meticulously painted white chalk of the batter’s box and foul lines…
And as a foodie, I love the ballpark smells too! Even if many of those concessions aren’t exactly on the healthy side… Toasted hot dog buns, spicy sausages, grilled peppers and onions, pizza, nachos, churros, popcorn, ice cream sundaes, frozen lemonade…
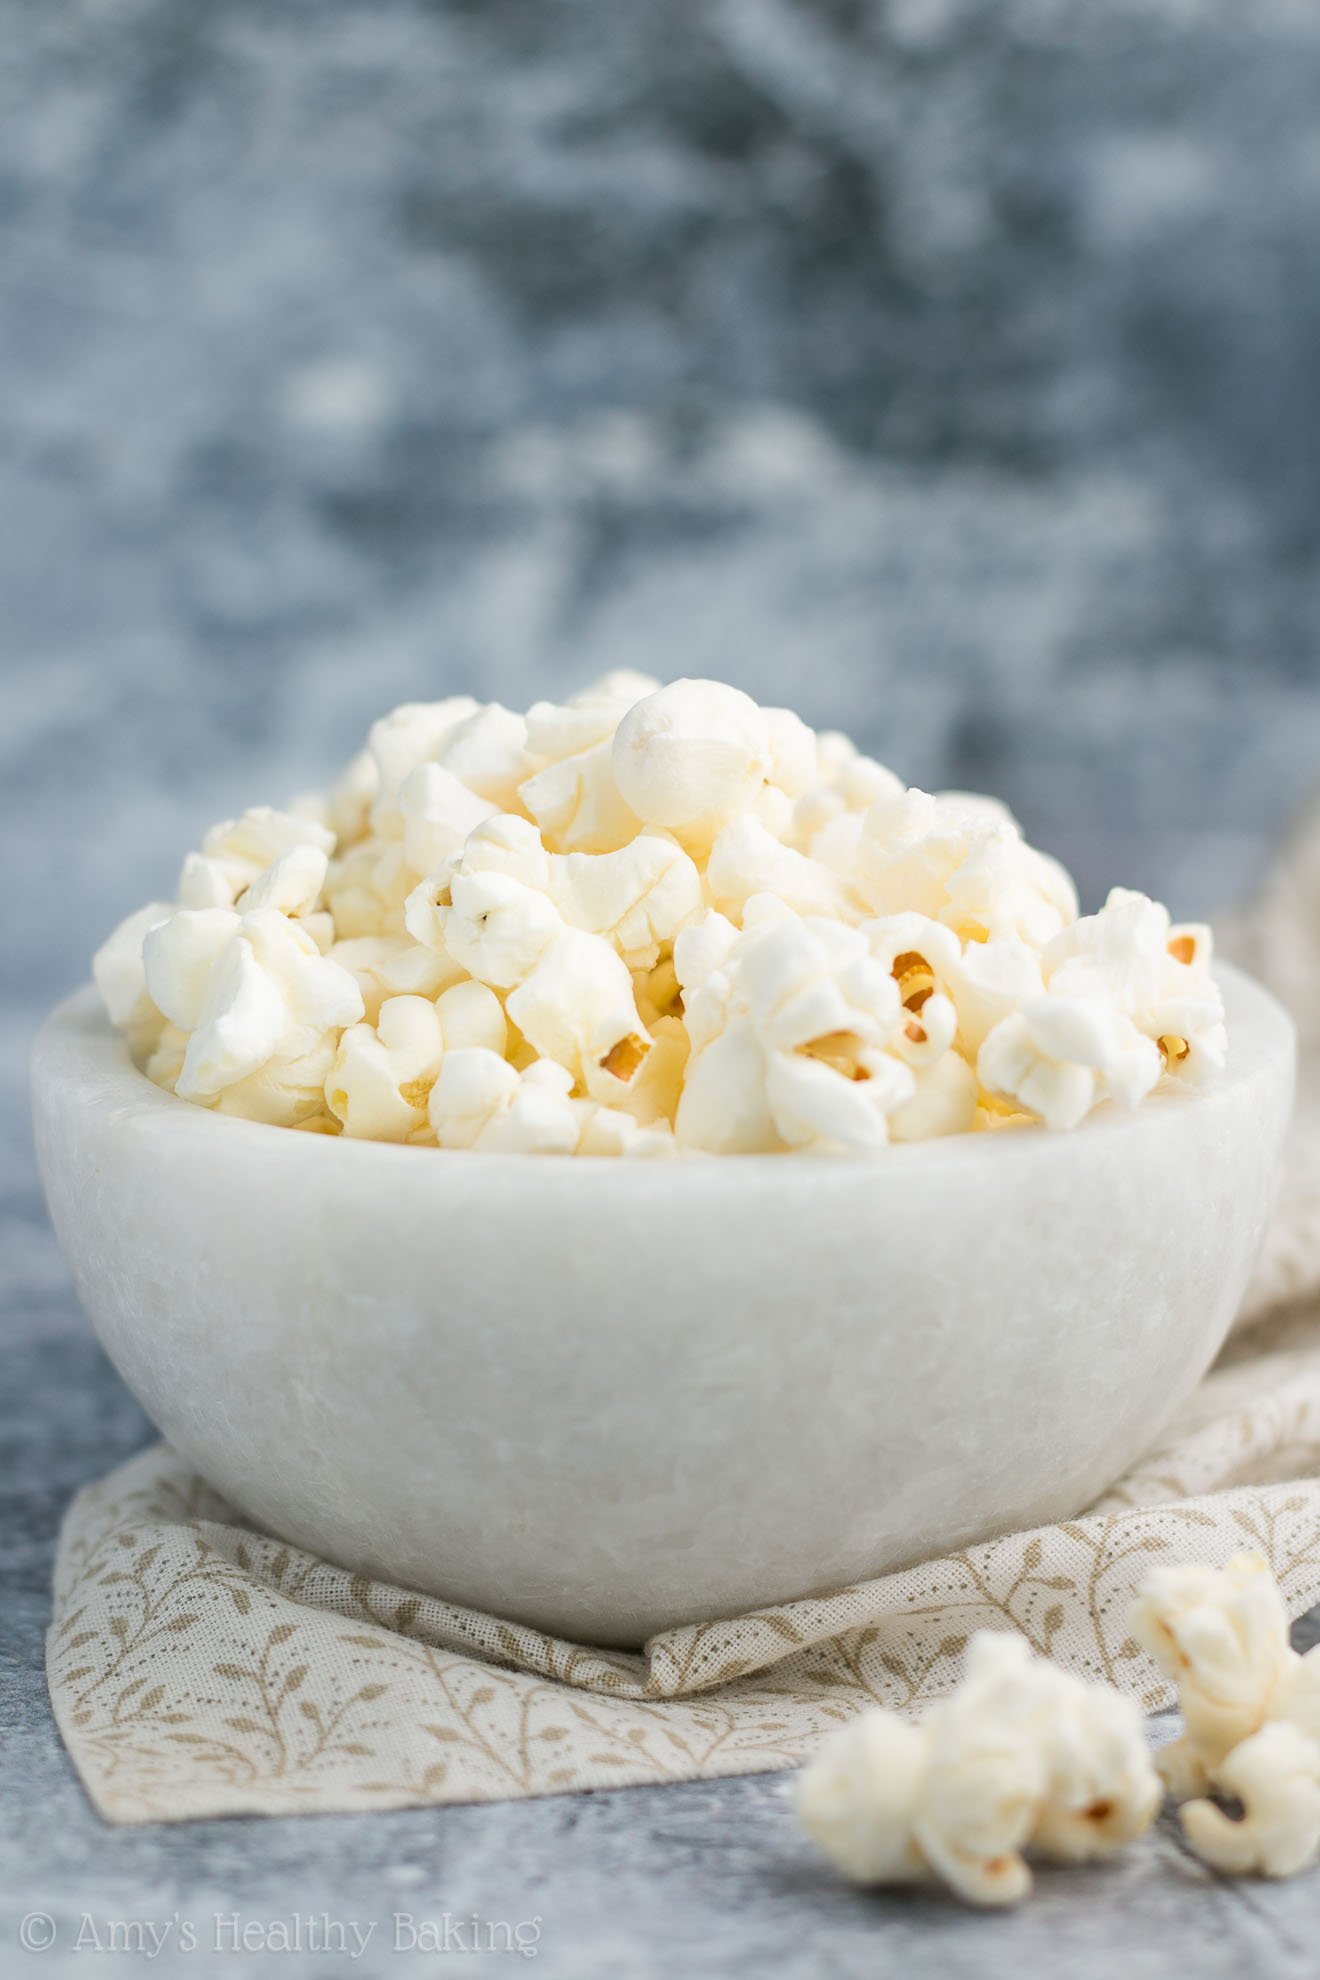
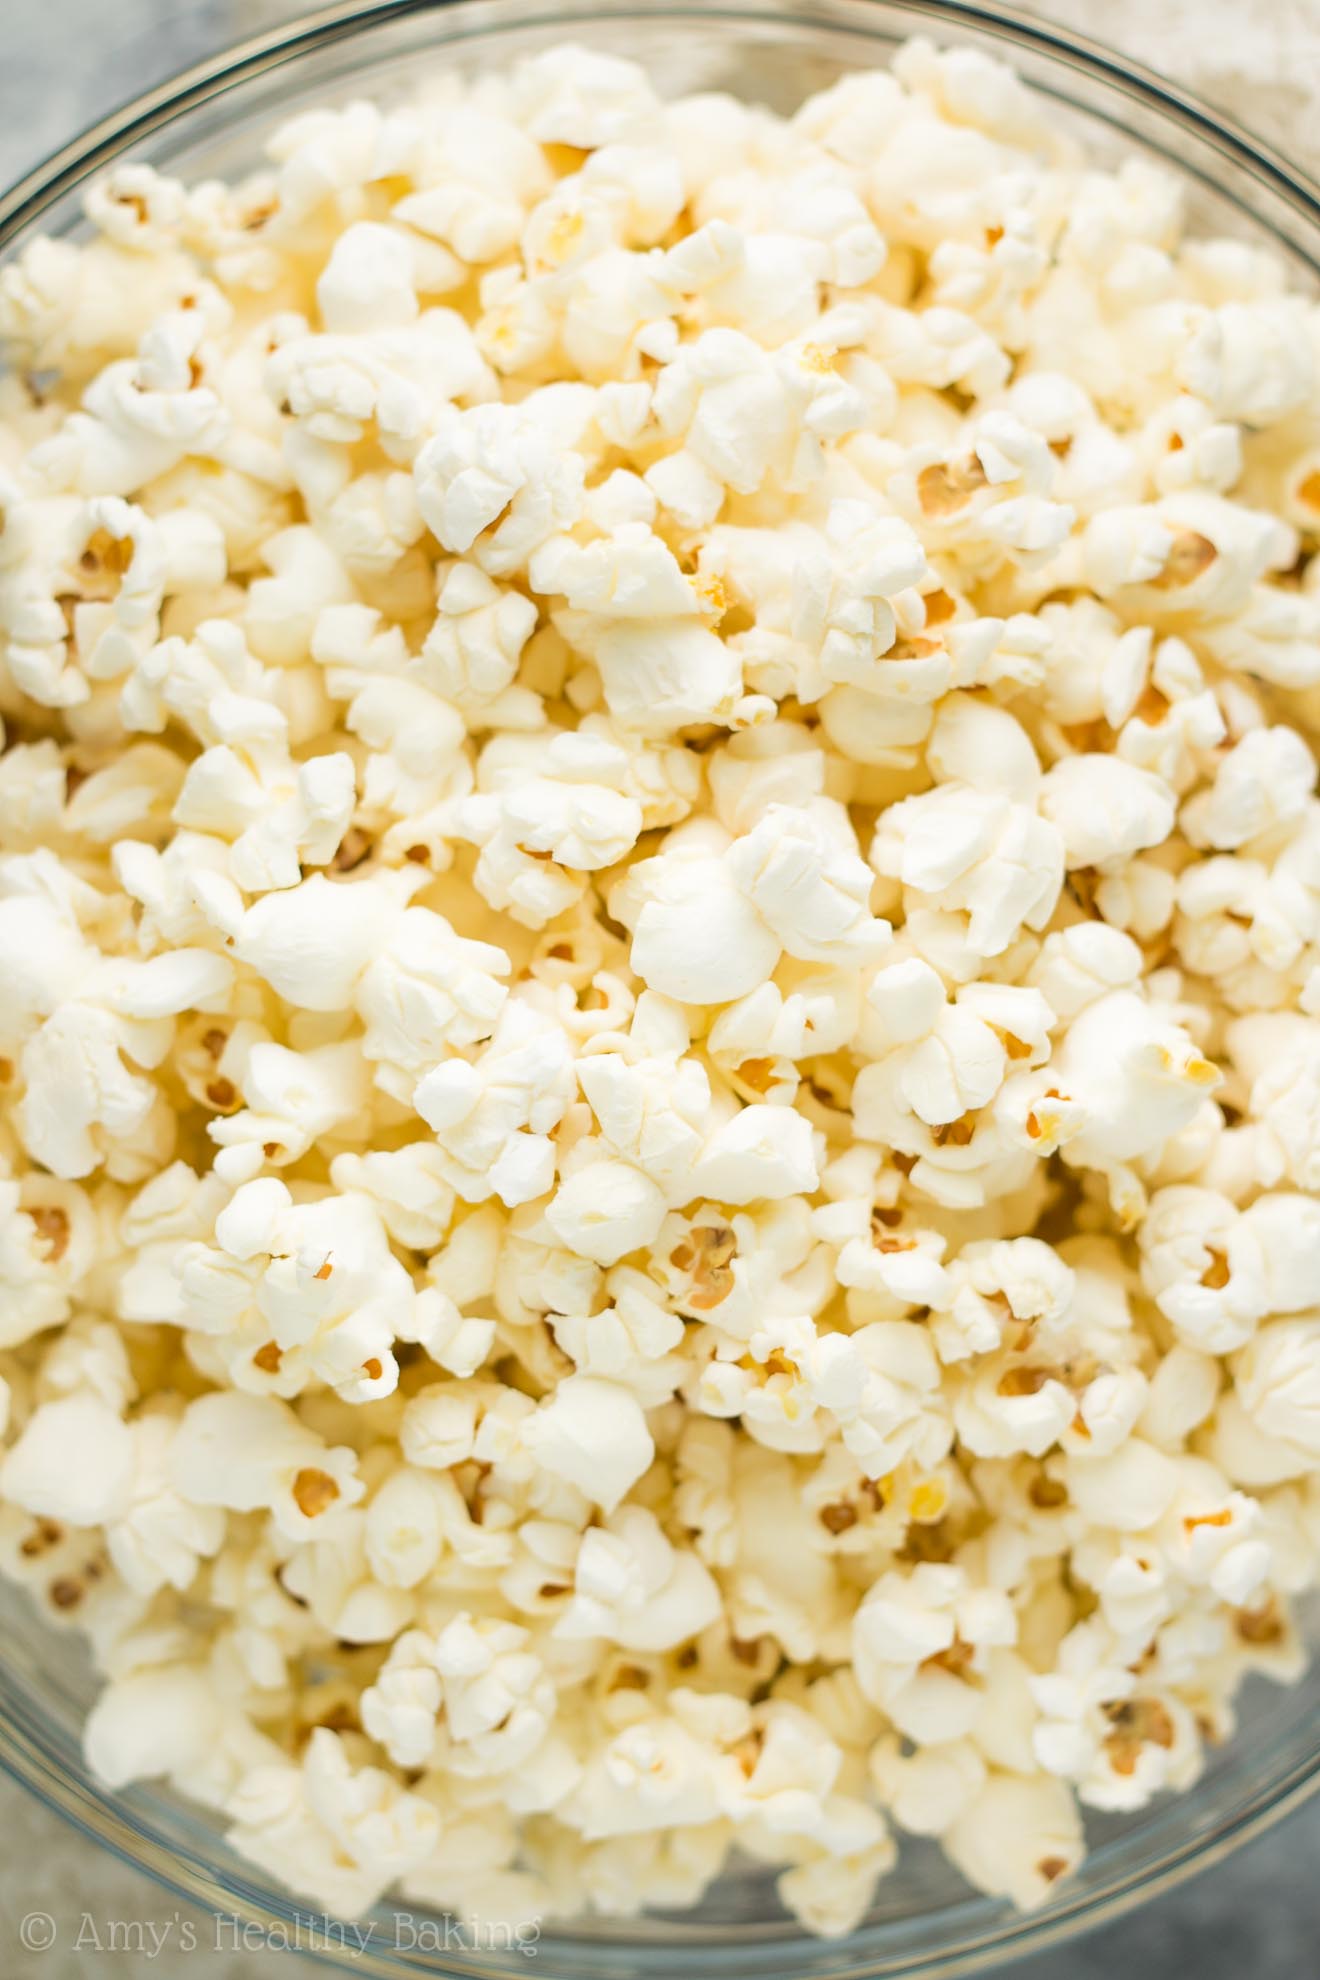
Since I’m running out of time to make healthier homemade versions of all those indulgences, I started with one of my family’s favorites: this Healthy Stovetop Air Popped Popcorn! We love snacking on popcorn in between batters and the seventh inning stretch, and this recipe is much healthier than the butter-laden ones at the ballpark. It’s really easy to make and has just 83 calories in each big 3 ¾ cup serving!

Nerd alert! I’m going to share the science of popcorn and how to make air popped popcorn on the stove—without any special machines or fancy equipment!
To start, you need fresh popcorn kernels. Yes, fresh! Ditch the kernels you bought two years ago because those just won’t pop as well. Ready for the science of why?
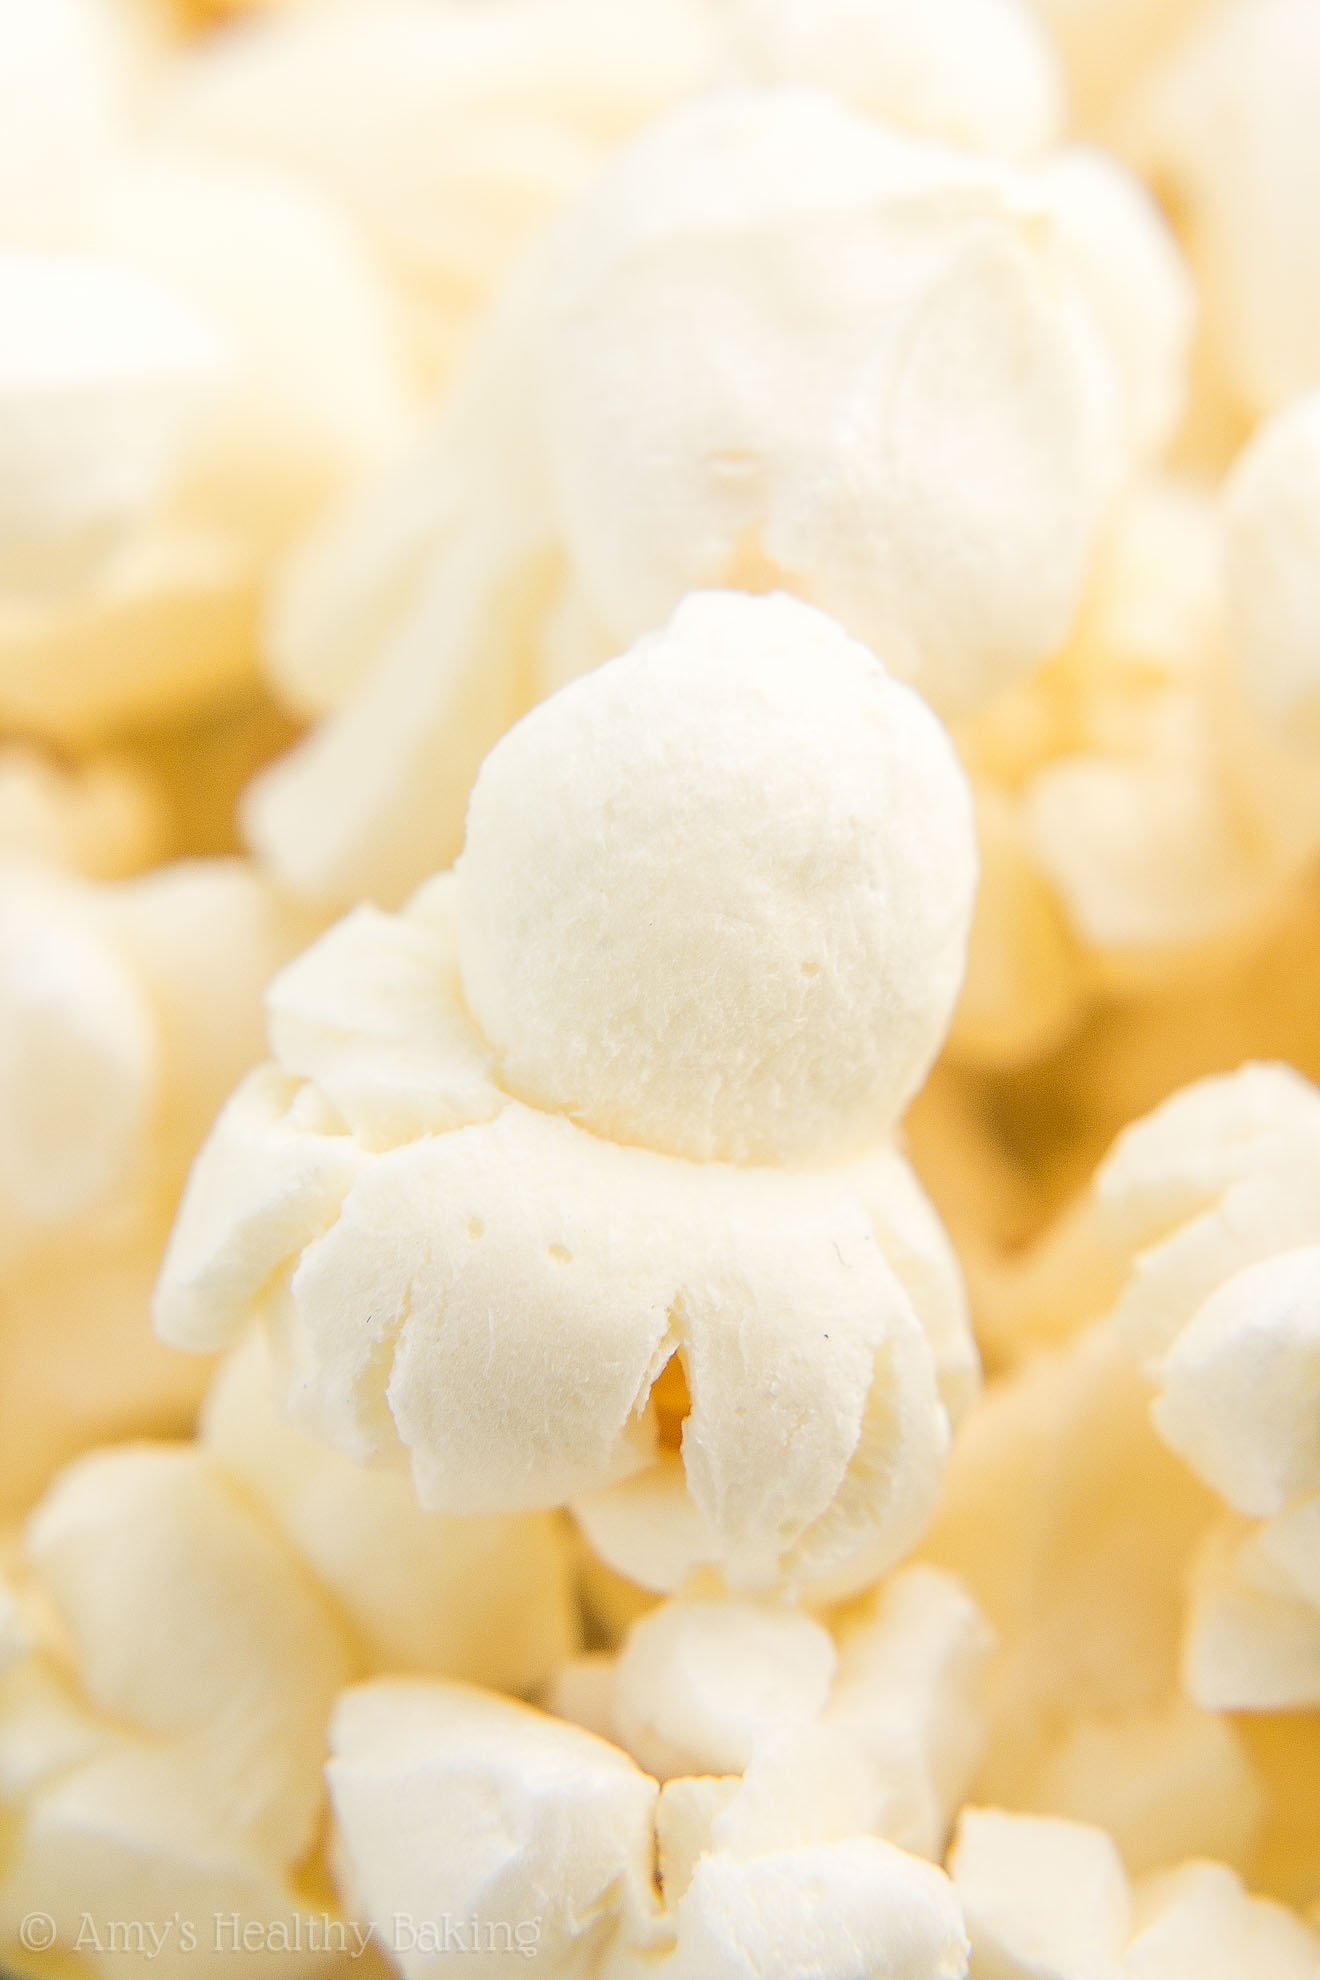
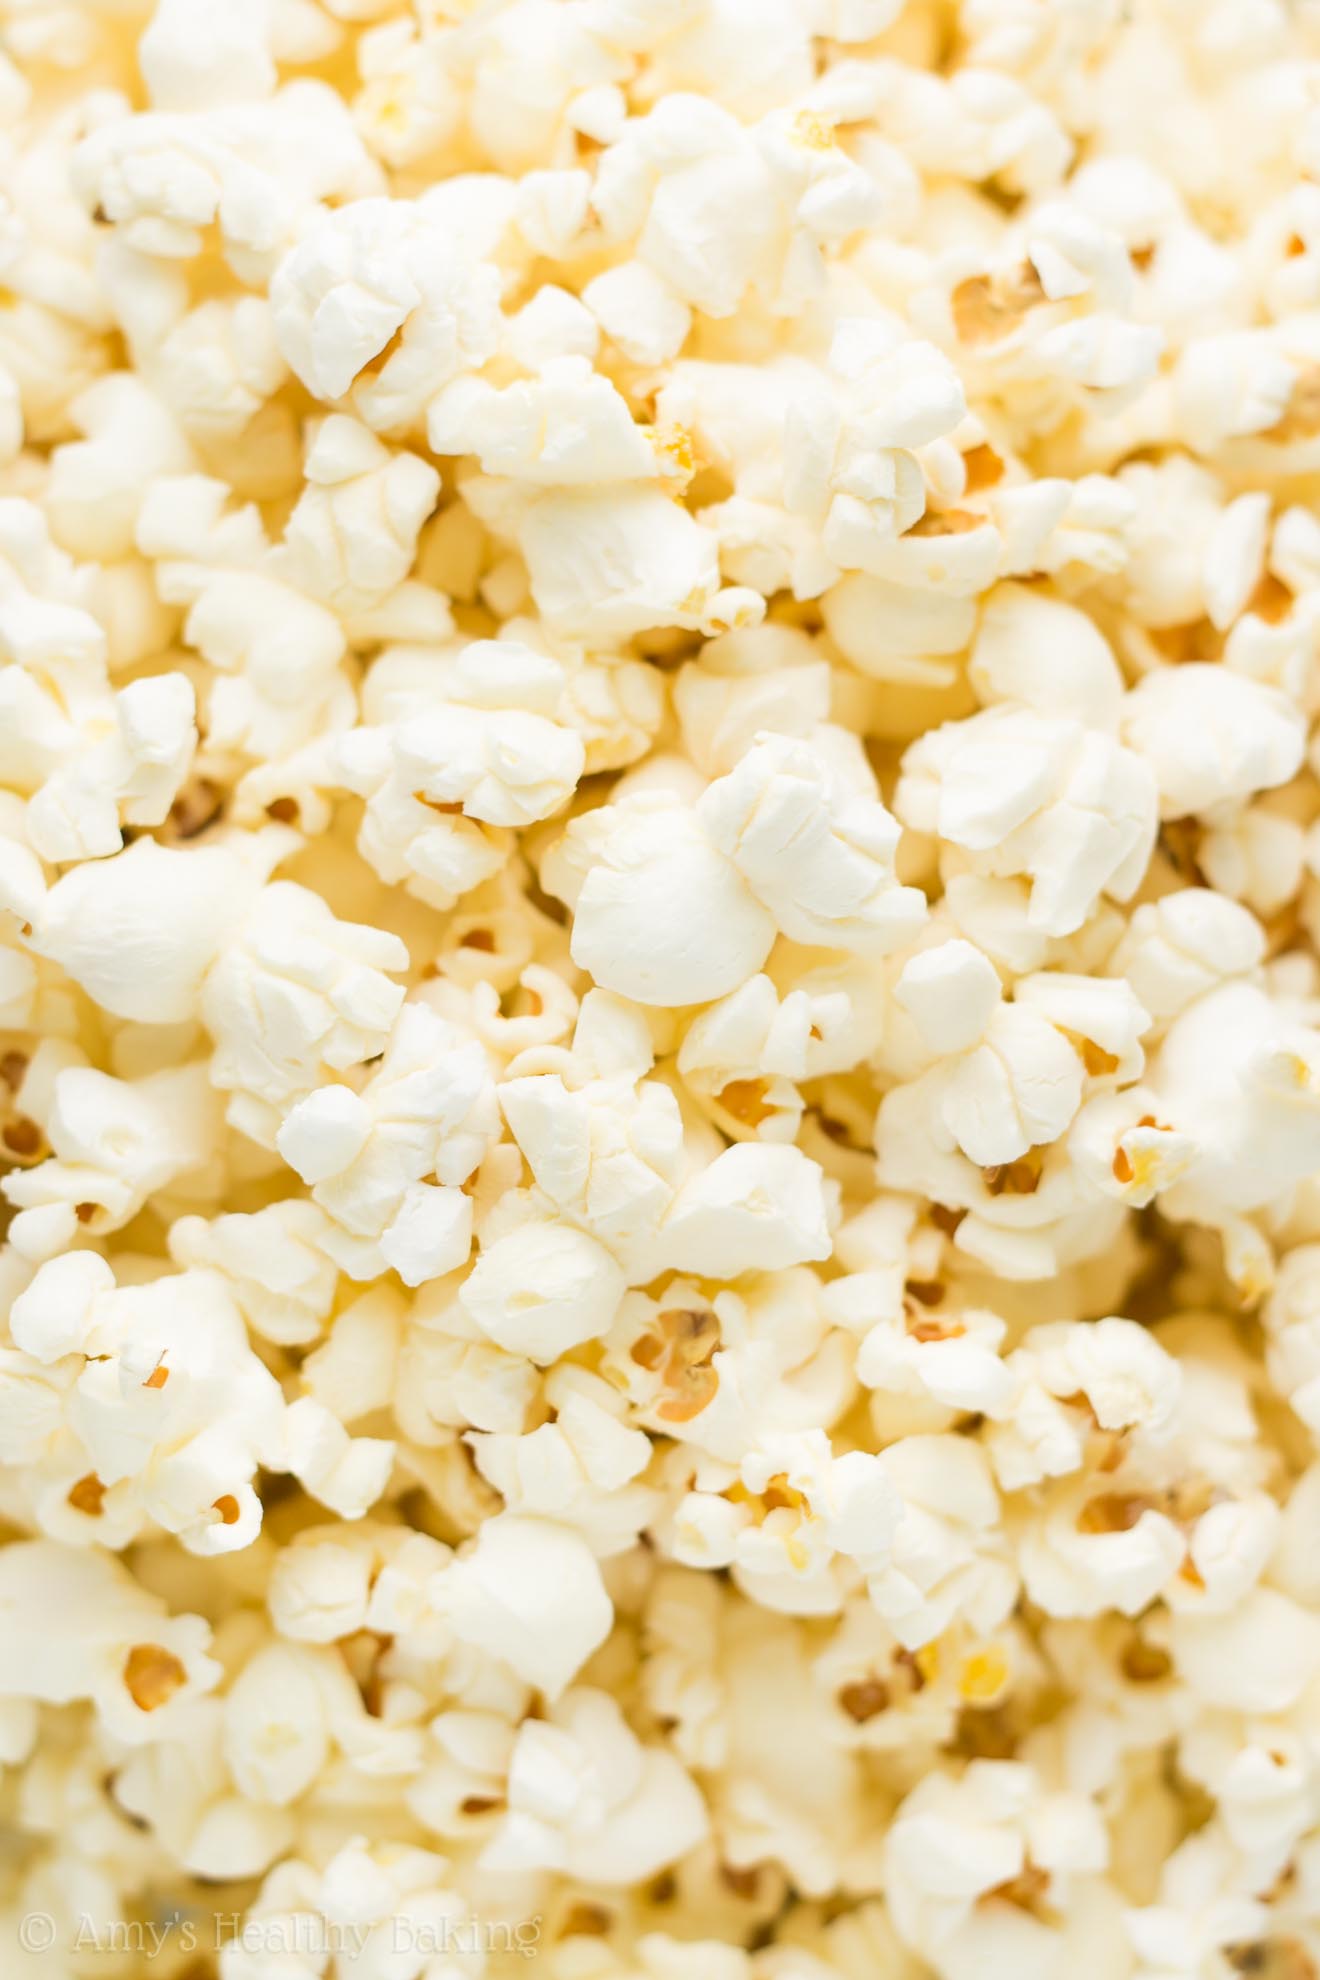
Popcorn kernels contain a small amount of water inside of their golden shells. When you heat popcorn kernels, that heat energy makes the water molecules vibrate. The longer you heat the kernels, the faster those water molecules vibrate… Which creates a lot of pressure inside of the kernels. Once the pressure reaches a certain level, there’s too much energy for the kernels’ shells to contain it all… So they burst open and pop!
Fresh kernels contain more water molecules than older ones that have been sitting on your pantry shelves for months (or years!). As the kernels are exposed to air, they dry out a bit more… The same way your dried fruit turns harder and drier over time. So fresh kernels = more water molecules = more likely to pop into big yummy pieces!
Totally nerdy, right? But there’s another lesson in all of that science… Butter or oil isn’t necessary to make popcorn kernels pop! From what I can tell, adding butter or oil to your pot on the stove is mainly there for flavor—and maybe to keep the outsides of the kernels from burning. But definitely not to help them pop!
Instead, all you need to make your fresh kernels pop is a nonstick pot with a tight-fitting lid. I used one like this! The popcorn won’t stick to the nonstick pot after it pops (kind of a “duh, I knew that Amy!” statement!), and the tight-fitting lid helps contain the heat and increase the pressure inside of your popcorn kernels… Thus resulting in beautiful white popcorn pieces.

The last trick? Remember to keep shaking your pot every second or two once you’ve added the kernels! If you forgot to shake your pot, you’d end up with burnt kernels. Not good! As long as you (a) use fresh kernels, (b) keep the heat towards low, and (c) shake your pot, you’ll end up with perfect air popped popcorn!
PS Every time I’ve made my homemade air popped popcorn, I ended up with zero unpopped kernels… And that’s never happened before with any other method of popcorn making! ??
With how quickly I polished off this batch, I’m going to need to make a double (or triple!) batch for us to bring to the Opening Day game! ? And when you make your own, remember to snap a picture and share it on Instagram using #amyshealthybaking and tagging @amyshealthybaking IN the photo itself! (That guarantees I’ll see your picture! ?) I’d love to see your popcorn!
| Healthy Stovetop Air Popped Popcorn | | Print |
- 3 ½ tbsp (58g) fresh popcorn kernels
- ¼ - ½ tsp salt, or adjusted to taste
- Preheat a 2-quart nonstick pot with a tight-fitting lid over medium-high heat for 2 minutes. Open the lid, and add a few drops of water to the pot. If they immediately sizzle, reduce the heat to slightly above low. Add the popcorn kernels, and immediately replace the lid.
- Gently shake the pot every 2 seconds. (The popcorn kernels should start popping within 1-2 minutes.) Continue to gently shake the pot every 2 seconds until at least 3 seconds elapse in between kernel pops. Immediately remove the pot from the heat, pour the popcorn into a large bowl, and sprinkle the salt on top.
These are the popcorn kernels that I used! Don’t use the ones inside of the microwaveable packages. I also used a nonstick pot like this.
It's okay if the kernels turn slightly brown after adding them to the pot and before they pop! That won't affect their flavor. (Just don't let them burn!)
You can easily make a smaller batch in a smaller pot! I haven’t tried making larger batches in larger pots, so I can’t personally vouch for how that will turn out. I also haven’t tried using pots that aren’t nonstick, so I don’t know how that will turn out either.
UPDATE: Many readers have tried making this in stainless steel (not nonstick!) pots, and they've reported great success! Just make sure you shake the pot almost constantly once the kernels have been added to help prevent the kernels and popped popcorn from sticking and burning.
{gluten-free, vegan, clean eating, low fat, sugar free}
View Nutrition Information + Weight Watchers Points
You may also like Amy’s other recipes…
♡ Healthy Homemade Kettle Corn
♡ Healthy Pumpkin Spice Kettle Corn
♡ Healthier Peanut Butter Kettle Corn
♡ Healthier Churro Kettle Corn
♡ Healthy Coconut Oil Popcorn


I just made this popcorn.
It IS awesome!
I did not use the salt, I also used a hint of PAM and boom, fresh, fat free popcorn!
I will make this again and again and again!
I’m so glad you loved this popcorn, Heather! That’s the best kind of compliment if you already think you’ll make it again — thank you for taking the time to let me know! 🙂
Great recipe! Only difference is I used a stainless steel pan and shook the pot continuously on the burner once I added the popcorn. Thanks Amy!
I’m so glad you enjoyed this popcorn, Paige! Thanks for taking the time to let me know — that really means a lot! 🙂
I Looooove it!! all kernels are white and zero casualties! will definitely do it again! ❤
Hooray for zero casualties!!! I’m so glad you loved this popcorn, Maryam! That’s the best kind of compliment there is, if you already think you’ll make it again. Thank you for taking the time to let me know! 🙂
Has anyone made the popcorn on a flat top stove (electric)? I’m concerned that shaking the pot so frequently might scratch the finish on the stove.
I only have a gas stovetop, so I’m afraid I’m not sure. However, if you lift the pot ½” to 1″ or so above the stovetop each time you shake it, you won’t scratch the finish! 🙂 I’d love to hear what you think of this popcorn if you try making it, Babs!
You cannot make popcorn on a glass/ ceramic top on a electric stove. Shaking it will scratch the top. I have always had gas until I moved 2 years ago. 😒
Great idea for air popping. Unfortunately, my family loves buttered popcorn, so for those who are okay with the extra calories, I will share a recipe that uses coconut oil to pop the corn…1/2 cup virgin coconut oil (not refined) and 1/2 cup popcorn. You put the oil in the pan and heat it along with 3 kernels of corn in different parts of the pan. Put on the lid and listen carefully for all three pops of the kernels you placed in there. Then open the lid and dump in the 1/2 cup of popcorn. It pops fast and all kernels usually pop. As soon as the popping slows down to only a pop once in a while, remove from heat and salt to taste. It tastes better than buttered popcorn and is healthier.
I actually have a low-calorie coconut oil popcorn recipe here, Patty! Great minds must think alike. 😉
i CAN’T WAIT to try this! Just an aside, people with pet birds should be careful heating nonstick pans. Do your research first….we learned in vet tech school that teflon heating molecules are deadly to pet birds.
I made this three times now. Two in a non stick pan as directed and it was super good and we were sold on this method. However, I have a stovetop that had a middle sensor button so I can’t shake the pan without lifting. I ordered one of those popcorn pans with the handle crank off Amazon…from the Great Northern Popcorn Company….stainless steel, $35, and although it said not to use without oil..I rebelled and did anyway. OH MY GOSH!!!! It was so simple, super fast, and sooooooo good! I will never make popcorn any other way again!!! Thank you so much for this recipe!
You’re welcome, Nancy! I’m so glad you love this popcorn! That’s the biggest and best compliment there is, if you don’t think you’ll ever make popcorn another way. Thank you so much for taking the time to let me know — you just made my day! 🙂
Thanks for this – I’ve been popping popcorn in oil for years and only just now wondered why the oil was necessary and then Googled and found this recipe! I still intend to add butter to mine after it’s popped, but it’s so nice to know that oil is unnecessary for popping as that will cut the calories by approximately half!
You’re welcome, Ashley! I really hope you enjoy this popcorn! (And my whole family would be right there with you… They love topping their popcorn with butter too! 😉 )
Do you know if you can do this in a whirley pop?
I really appreciate your interest in my recipe, Mike! I don’t own a Whirley Pop, so I’m not sure and don’t want to lead you astray. If you end up making this popcorn, I’d love to hear what you think of it!
I love popcorn so much and was always worried about how much calories I consume at a go. Thanks so much for this recipe. I just discovered your recipe today and tried it. Amazing results. Thanks
I’m so glad you enjoyed this popcorn, Rosalyn! Thank you for taking the time to let me know — it means a lot! 🙂