Confession: I stole a set of measuring cups as a kid.
I wanted to be just like Mommy, flipping pancakes and baking chocolate chip cookies, so when she left the old tan set sitting on the counter, I slipped in, stood on my tippy-toes, and snuck off before anyone saw me. And despite banging them around my Fisher Price Kitchen for all of preschool, it took me another 13 years to finally figure out how to use them properly.
But I completely forgot to share those secrets with you!
So today, we’re going back to the basics. Many of you may know these tips and tricks already, but skim through them anyway—every one of them will convert you from a beginner into a baking pro!
The Recipe
- Read through the recipe completely before beginning. I know, I know… You’re probably rolling your eyes at me. But raise your hand if you’ve ever dove straight into creaming butter or mixing muffin batter after only reading the ingredients list. (Both of my hands are high up in the air!) It only takes an extra minute or two, but reading through every step will save you time, flour, and lots of burned cookies.
- Watch out for commas! It’s a subtle point, but how the ingredients are written dictates how you prepare and measure them. For example, “1 cup sifted all-purpose flour” means sift the flour before measuring, whereas with “1 cup all-purpose flour, sifted,” you would measure first and sift after. Perform any tasks on the ingredients in the order that they’re written: anything that comes after the comma is done second.
- Understand the language. Sliced, diced, chopped, cut, broken, beaten… Each word means something slightly different, so if you aren’t familiar with any of the terms in a recipe, look them up!
The Measurements
A quick tip before we dive in… I highly recommend investing in a kitchen scale, especially for measuring dry ingredients! This is the one I own. It’s really affordable, and I’ve used it almost every day for 4+ years. It’s my #1 secret for making sure that my recipes turn out with the perfect taste and texture every time I make them!
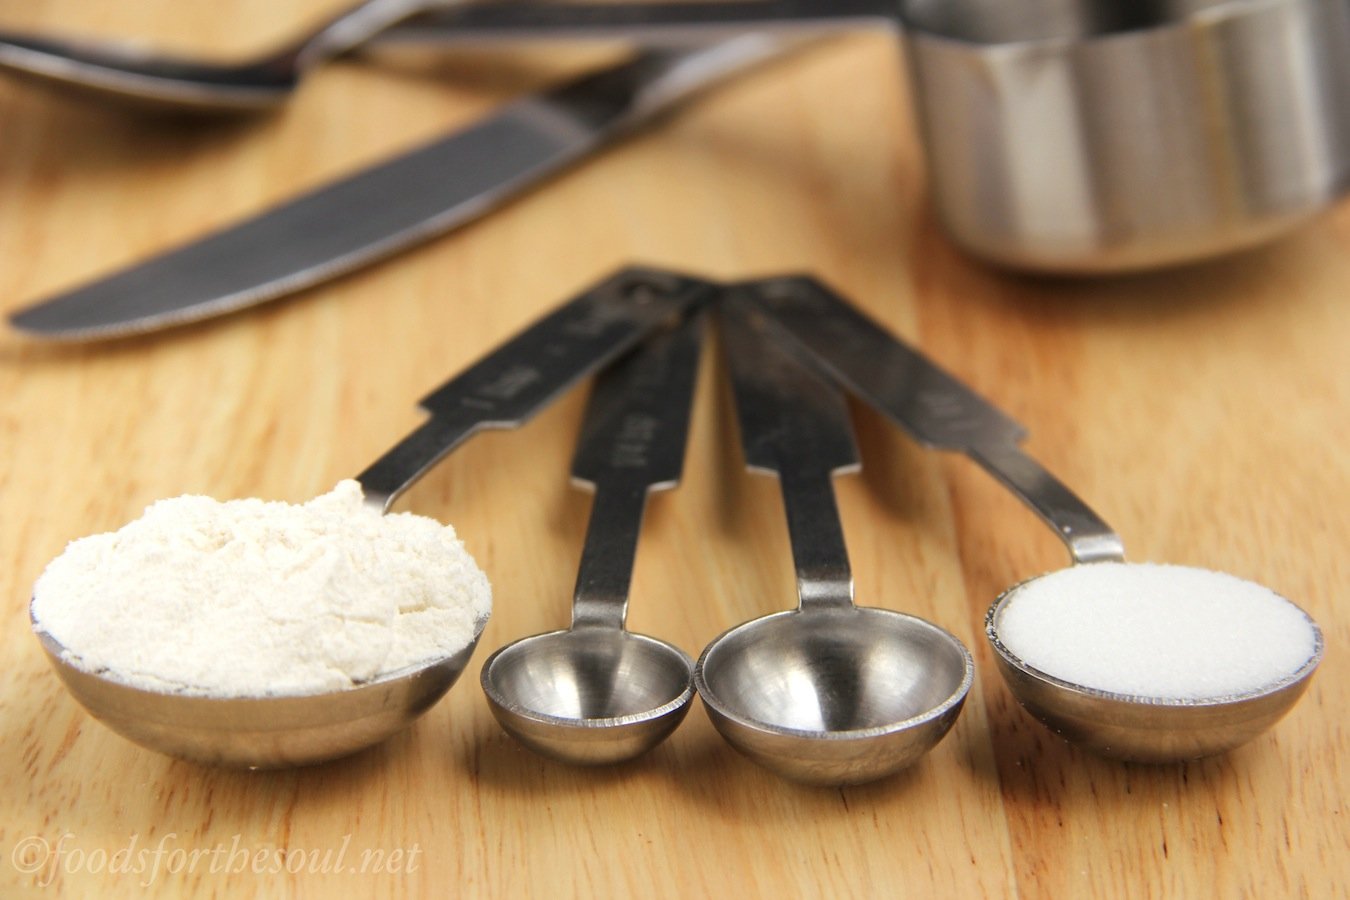
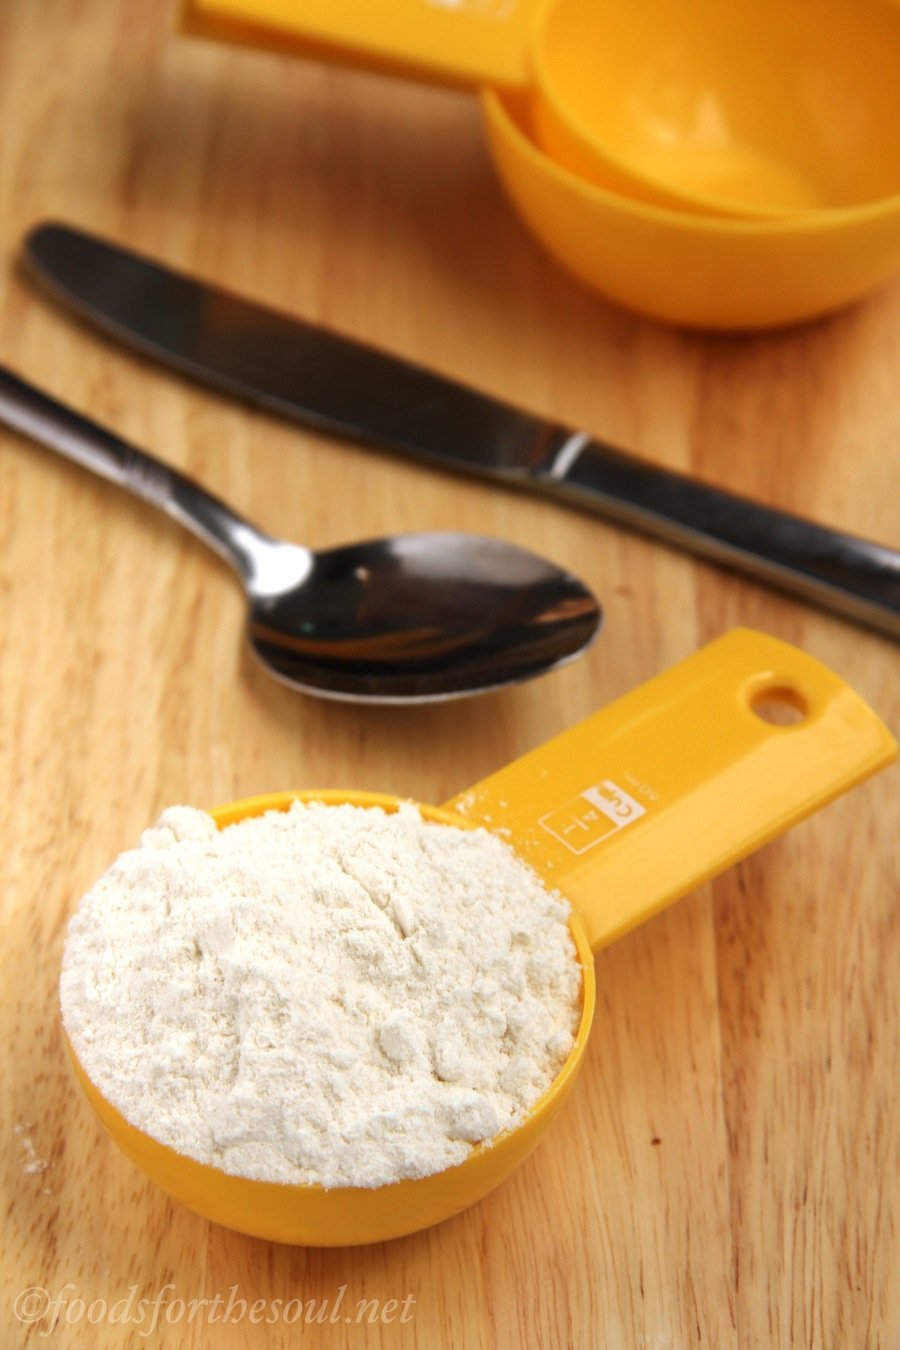
- Flours. All-purpose, whole wheat, gluten-free, peanut, almond, coconut, cocoa powder, and even oats are all the same. Use a fork to “scoop” up flour (or whatever you’re measuring!) from the container, and lightly shake the fork back and forth over the top of your measuring cup to transfer the flour into it (like you’d do with a hair drier!). Once there’s a small mound of flour extending above the rim of the measuring cup, then place the flat backside of a knife against the top of the measuring cup, and gently scrape it across the top to get rid of the excess flour. Never “pat” the flour down with the knife or fork, and never shake the measuring cup either. Also, do NOT scoop the flours, cocoa powder, or oats directly out of the container with the measuring cup or pack them in. This results in 1.5 times more than is required in a recipe, which dries out your baked goods and turns them crumbly. Not good! However, this fork method acts like a sifter (without dirtying another dish!) and guarantees you’ll add the correct amount of flour to your recipe!
- Leaveners. With baking powder and baking soda, lightly fluff the leavener with a measuring spoon before scooping it out and leveling with a knife. Some containers have a flat edge built in—that works too!
- Sugars. For white sugar, use the same technique described for flours, except use a spoon instead of a fork. With brown sugar, lightly pack it into the measuring cup using a fork or spoon until the cup is completely filled and level (unless the recipe states otherwise). When you invert the measuring cup, the brown sugar should be packed tightly enough to hold its shape.
- Salt and spices. Treat them like the leaveners: fluff, scoop, level.
- Butter and margarine. Most stick-style butters and margarines are wrapped in a label with tablespoons marked on the side. Count out how much you need, and cut through the stick with a sharp knife. You should avoid using a butter knife because the blade is duller and you won’t carve off as accurate of an amount. With tub-style butter, margarine, and shortening, press the necessary quantity into a measuring spoon or cup, and level with a knife.
- Liquids. Milk, oil, juice, honey, syrup, and extracts are a little tricky. If using regular measuring cups, place the measuring cup on the counter, pour in the liquid, and get down at eye level. The liquid at the edges tends to stick to the sides of the cup, while the liquid in the center curves upward ever so slightly. You want to make sure the center of the liquid is even with the rim of the cup for the most accurate measurement. You can also use a clear liquid measuring cup instead. Here, the liquid in the center sinks down a touch. (In science-speak, it’s called a meniscus!) The bottom of that concave meniscus should brush the top of the marking lines on the liquid measuring cup’s side, almost so it looks as if you’ve added slightly more of the liquid. For teaspoons and tablespoons, fill them to the brim but not overflowing or bulging out the top. And be careful when pouring the liquids into the mixing bowl! (Also, never use a kitchen scale to measure liquids. The “ounces” option on kitchen scales is for dry ounces, not liquid ounces!)

I may add to this post as new things come up in the future. But for now, it’s time to bake something sweet! Which of these recipes are you going to try next? I can’t wait to hear!! ♡

For the cinnamon spiced coffee cookies, is it possible to substitute with oat flour? =)
I’m honored that you’d like to try my recipe, Haifa! Yes, you can substitute oat flour. Just be extra careful when measuring it because it tends to be more absorbent than wheat flour! 🙂 I can’t wait to hear what you think of the cookies!
Hi. Does this mean you use less oat flour?
No, still use the same amount! If you’re measuring with a kitchen scale, you shouldn’t have any issues. If you’re measuring with measuring cups using the method I outlined above, then that’s when you need to be really careful since it’s often not quite as accurate as a kitchen scale. 🙂
Im so excited to make your recipe for the healthy oatmeal & raisin cookies. May I use coconut flour instead of what the recipe calls for?
I’ve never read EVERYTHING on recipes, I just went straight to the recipe.
But, this time, I’m happy I did. Your story gets in-depth and taught me so much. Now I realized why all of my meals were horrible
Also is there a way I can read everything without the ads? As im texting now It’s hard because this ad keeps popping up and I can barely see what Im typing.
I would love to follow you and all of your recipes but these ads are driving me crazy!!!
But, if not it’s worth it.
Thank you
I always appreciate recipes that list by weight rather than by volume for flour. This allows for even more consistent results. Since most recipes for cookbooks and blogs list flour by volume, I keep conversion amounts handy. For example, 1 cup of AP flour = 120 grams = 4 1/4 ounces. This allows me to measure out my flour with my kitchen scale faster than if I’m using the other methods.
Thanks for writing about Baking Basics — a great topic!
I’m so glad you found this useful! Thanks for taking the time to let me know! 🙂
As BB says, the weight of the ingredients is a very important factor in recipes . So many measuring devices differ in terms of amounts. Recipes that come from the UK and other parts of Europe do not use the standard measuring terms like cup or litre. They all use the weight to make for more exact measuring . Perhaps you can include the weight of the ingredients, when applicable , in your recipes .
Thanks
I really appreciate your interest in my recipes, Shari! I actually do include the metric measurements for applicable ingredients in the majority of my recipes (all recipes published since the summer of 2014!). Those metric measurements are included in parentheses next to the cup measurements in the Ingredients lists. I’m working on adding the metric measurements to my older recipes as well, but with over 1000 recipes on my blog, it’s taking a bit of time to update them all. I appreciate your patience! 🙂
Thanks for the tip on measuring flour, Amy. Never read this elsewhere, but you’re right with the fluff and pour kinda method. Will use this the next time!
You’re welcome, Priya! I’m so glad you found this helpful! 🙂
I made these today and added chopped up dates instead of nuts and they were absolutely delicious.
And I just used spelt flour, turned out perfect, nice and moist.
I bake a lot so will definitely be making these again. I’ve been searching for a good almond scone recipe for ages and none of them measured up to this one so far!!!
I’m so glad you enjoyed my almond scones recipe, Carol! That’s the best kind of compliment, if you already think you’ll make them again. That truly means a lot! 🙂 I love your idea of using chopped dates inside. I’ll have to try that sometime! Thank you for sharing your experience with substituting spelt flour too. I always love hearing what recipe tweaks work!
If I’m making something that requires 2-3 cups flour, am I to use a fork to measure into my cup? That would take a while, right? Why can’t I fluff my flour, then measure into my cup? I do not use a scale, I’m an old fashion Baker.
I’m confused!🤔. Thank you, Chrissy Gourley
I apologize for the confusion, Christine! Using a fork shouldn’t take any longer than using a spoon (for the traditional “spoon-and-level” method) to transfer flour into your measuring cups. When you scoop flour from its original container using either a spoon or a fork, the force of scooping it makes it tend to stick together somewhat, which is why it’s possible to use a fork without all of the flour falling immediately between the tines. So I recommend scooping the flour with your fork, then gently shaking the fork back and forth over your measuring cup to make the flour lightly fall down into it.
When you directly dip your measuring cup into the flour container, even if you’ve fluffed the flour beforehand, the force from the measuring cup will still compact the flour. When it’s compacted, that means that more flour can fit into the measuring cup, and that will often result in adding more flour than my recipes call for… which then gives your baked goods a drier texture and blander flavor (by throwing off the ratio of flour to sweetener!).
That flavor and texture difference isn’t always noticeable in more “traditional” recipes because they often call for an excess amount of sugar or fat, which can then mask the extra flour that’s added. However, I develop my recipes so you don’t use those unnecessary “extra” amounts of fat and sugar, which is why it’s really important to measure all of the ingredients correctly so you get the correct balance and ratios… and the correct tastes and textures too! 🙂
Does all of that make sense?
Hello Amy-
I am having difficulty understanding your directions for measuring dry ingredients. Using a fork sounds like flour would get all over the counter, especially if using a measuring cup rather than a scale, which I don’t own.
It would be great if you could do a video on this method. Thank you.
I really appreciate your interest in my recipes, Alice! Using a fork shouldn’t take any longer than using a spoon (for the traditional “spoon-and-level” method) to transfer flour into your measuring cups. When you scoop flour from its original container using either a spoon or a fork, the force of scooping it makes it tend to stick together somewhat, which is why it’s possible to use a fork without all of the flour falling immediately between the tines. So I recommend scooping the flour with your fork, then gently shaking the fork back and forth over your measuring cup to make the flour lightly fall down into it.
Does that make more sense?
A video is already on my to do list too — great minds must think alike! 😉
I tried the fork the other day and the flour did hold together better than I thought it would. Somehow I managed to have flour end up on the counter. Practice should make perfect. Thank you for replying to my question. I will watch for the video.
You’re welcome, Alice! I’m glad it worked. Thank you for taking the time to let me know too!
Amy;
I learned how to use the knife and cup measuring in high school from grade 8 to 12,after us students had lots of practice cooking and baking in cooking class,we actually got to cook and bake for the teachers and principle in high school and I practiced cooking and baking at home with my mom.
Does kitchen scales come in large print and with a talking scale for low vision ladies that want to book and bake at home?I do find it easier to cook and bake cookies,cakes,muffins with a talking scale at home.
Kim
That’s really neat that you were able to bake for the teachers and principal, Kim! With the kitchen scale that I own, the numbers are between ½” and ¾” tall. The scale doesn’t talk; it only displays the numbers. However, I just looked up a few on Amazon, and this kitchen scale is a talking scale and has good reviews. Maybe that might be of interest to you? The numbers aren’t that big, but it does talk! 🙂
Hi Amy, would really appreciate it if you could make a video on how to measure flour etc. It is confusing.
Thanks Amy!
I completely understand, Allyson! It’s at the very top of my to do list. As soon as I’m able to resume filming videos again, that’ll be the first thing I do! 🙂
Hi again Amy, When measuring 1 cup of flour which is 8 ounces and using your method of measuring on the food scale it only measures 4.25 ounces? Can you please explain in detail. Thank you so much appreciate all your input!
If your kitchen scale says 1 cup of flour weighs 4.25 ounces, then you’ve measured correctly! The thing that’s confusing is that there are liquid ounces and dry ounces. Although both have “ounce” in their names, they’re not the same thing! The former is a volume measurement, whereas the latter is a weight measurement.
In measuring liquids, 1 cup is equal to 8 fluid ounces. Volumes will always be the same, regardless of the ingredient’s density, because they refer to how much space something occupies.
However, in measuring any ingredient in dry ounces, the amount of volume (space) it occupies does depend on its density, which means each ingredient typically has a different dry ounce amount per cup.
For example, if you measured out 1 cup of cotton balls versus 1 cup of sand, they’d take up the same amount of space (volume)… But the cup cotton balls would definitely weigh less than the cup of sand! Or if you measured out 1 pound of cotton balls versus 1 pound of sand, you’d end up with a small handful of sand… And a pillowcase or two full of cotton balls! Same weight, different volume. Does that make sense?
The same thing applies to different ingredients. 1 cup of flour weighs 120g, 1 cup of oats weighs 100g, 1 cup of cocoa powder weighs 80g, and 1 cup of butter weighs 224g. So although these ingredients take up the same amount of space (volume), they’ll have different weights (dry ounces!) because of their different densities.
Your kitchen scale only measures dry ounces, not liquid ounces! This is because kitchen scales aren’t programmed with every single density, so they can’t automatically convert from one to the other. (So I recommend using your kitchen scale ONLY to measure dry ingredients, or mostly dry ingredients {like yogurt!}, where my measurements are give in grams. Then use measuring cups or spoons for all liquid ingredients!)
Does that make more sense? 🙂
Thank you so very much for getting back to me regarding this problem!
Look forward to seeing the video on measuring dry ingredients!
It’s my pleasure, Allyson! I’m happy to help. 🙂
That was an awesome explanation about volume vs weight, cotton balls vs sand!
So glad you found that visual helpful, Lisa! 🙂