

Despite the porcelain Peter Rabbit cookie jar prominently displayed on our kitchen countertop, Mom only preheated the oven once every month or two to fill it with homemade treats. Instead, she dropped Little Debbie chocolate snack cakes or oatmeal cream pies into our insulated lunch boxes for our desserts at school. But on the rare occasions she plugging in the handheld electric mixer to cream butter and sugar, she always turned to the Nestle chocolate chip bag as her recipe.
My younger brother and I anxiously hovered in the kitchen, pleading to help place spoonfuls of dough onto the stained baking sheets. We needed to supervise the bowl as she scraped and shaped. Make sure to leave some for us, Mommy!

Sitting cross-legged on the tile floor, I drew a line down the center of the wide metallic mixing bowl. I smooshed my finger around my half in straight lines to get my fair share of the “leftover” cookie dough, while my brother haphazardly scraped his side in squiggles and circles. Mom generally pretended to forget about a couple of chocolate chips in the bowl too, and we divided those evenly, sneaking an extra one from the bag if necessary to even our shares.
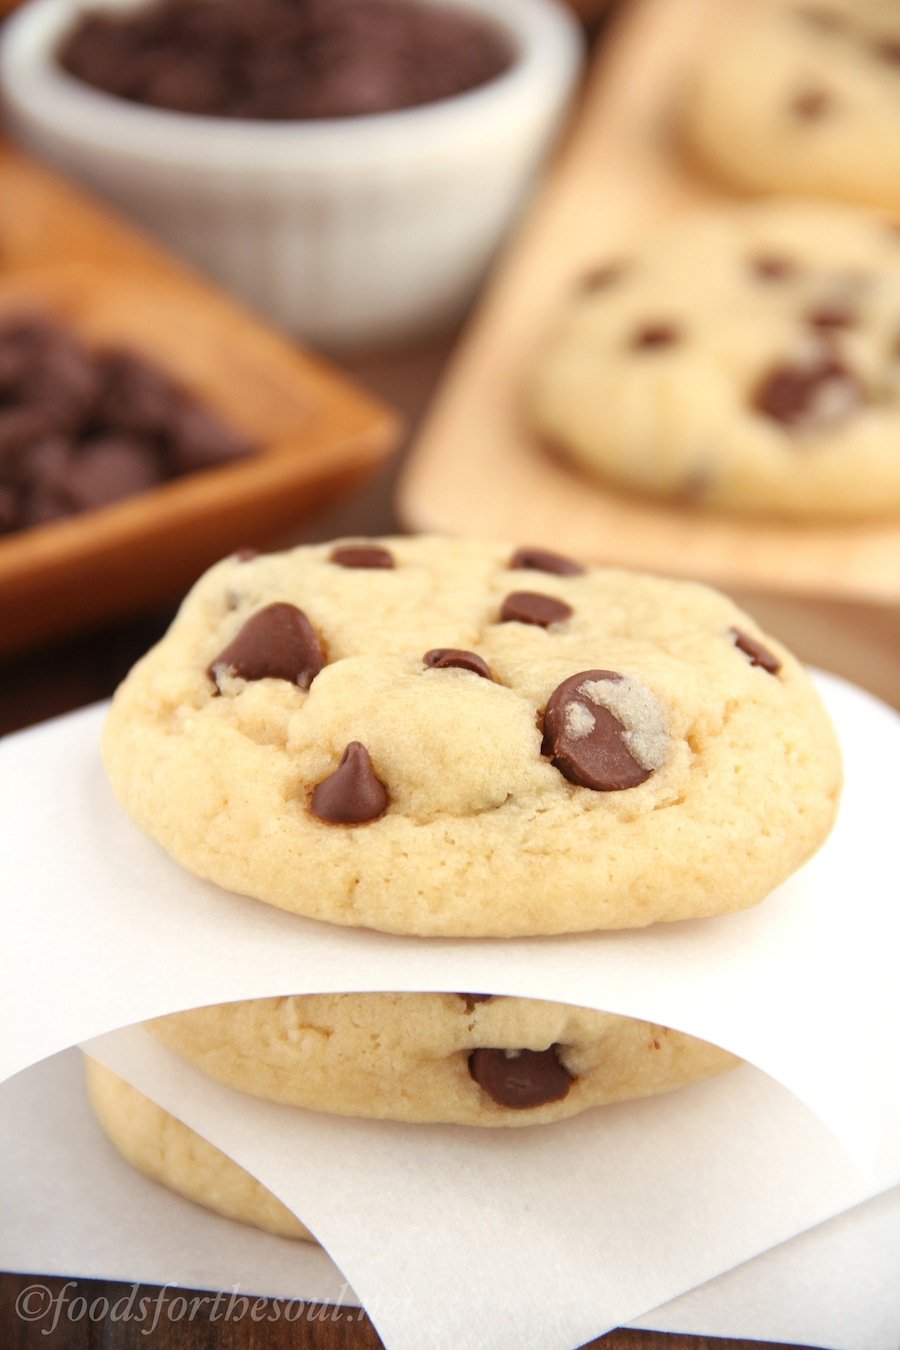
When the timer dinged and Mom granted us permission, we grabbed a warm cookie from the cooling rack and sank our teeth into the soft dough. Melted chocolate oozed across our fingertips, which we happily sucked off before reaching for more.

Eight years later, as a high school freshman in Health Class, I stared at the Food Pyramid as I soaked up the teacher’s lecture. Less sugar… Lower fat… Sweets in moderation… That afternoon, I eliminated the Tollhouse recipe from my repertoire and vowed to bake only healthier low-fat cookies.
In the ensuing decade, I realized one fatal flaw: most low-fat cookies didn’t feel right. With proper ingredient ratios, they could taste as rich and sinful as their indulgent counterparts, but their texture fell closer to that of a cake-like muffin than a soft and chewy cookie.
So 2 months ago, I challenged myself to create the ultimate healthy soft and chewy chocolate chip cookie. After 7 different batches, my 10 taste testers agreed: this is it!
I started with the butter because it was the biggest obstacle in developing a healthy chocolate chip cookie recipe. After countless tweaks, I noticed a trend. To achieve a chewy texture, the cookies needed a minimum of 18% of their calories to come from butter (or margarine). Anything less resulted in a bready muffin texture. Six tablespoons for 2 dozen cookies provided the perfect amount of chew.
To further increase their chewiness, I used melted butter. This means you can stir the cookie dough together with a spoon. No electric mixer required (and one less thing to wash)!
Although other bakers and bloggers proclaim that extra egg yolks also increase cookies’ chewiness, I completely eliminated them and just added egg whites to lower the fat and cholesterol. Don’t worry, the cookies will still be chewy! We started with the perfect amount of melted butter, remember?
Make sure your egg whites are at room temperature! If still cold from the fridge, they’ll chill the melted butter and partially turn it back into a lumpy solid. Not good! To warm up your egg whites the easy way, place the entire egg in a bowl of warm water for 5-10 minutes while measuring the dry ingredients.

I also mixed in a touch of skim milk to increase the moisture and better balance the liquid-to-dry-ingredient ratio. Feel free to substitute whatever you usually store in your fridge: 1%, 2% whole, rice, almond, soy… We want to keep these cookies simple so you don’t need to buy any strange new ingredients!
We’re going to add more vanilla than most recipes require. Extra vanilla mimics a buttery flavor, without the excess fat and calories. You’ll need 4 teaspoons for these healthy cookies.
While the Tollhouse cookies call for half white and half brown sugar, I opted for all brown. Brown sugar increases the moisture and chewiness of these skinny chocolate chip cookies and also adds a subtle hint of caramel. Yum! Either light or dark brown sugar will work.

As you probably predicted, I reached for regular all-purpose flour for this recipe. It is imperative that you measure the flour correctly (see here for details). Adding too much results in dry, crumbly, muffin cookies instead of the extra soft, extra chewy ones we want. Sprinkle in a little salt for flavor, and you’re all set!
As for leaveners, I selected baking powder. Some recipes list baking soda as well, but I omitted it for 2 reasons: (a) to simplify the ingredients list and (b) the cookies lack a good acid source to activate it. (Baking powder = baking soda + added acid. Yes, I’m still a chemistry geek at heart!)
I also stirred in cornstarch. Cornstarch helps the cookies stay thick and moist. It sounds strange, but it’s been my secret weapon for many of my cookie recipes! (See here, here, here, here, and here.)
Finally the most important part: the chocolate chips! My tongue dances and my eye roll back in my head a bit every time my teeth hit a large gooey chunk of melted chocolate, whereas disappointment sinks in on the bites without. To counteract the latter, I measured out regular semisweet chocolate chips for the big burst as well as minis to ensure every bite contained some chocolate. Most taste testers agreed that they preferred a 2:1 regular-to-mini chip ratio.
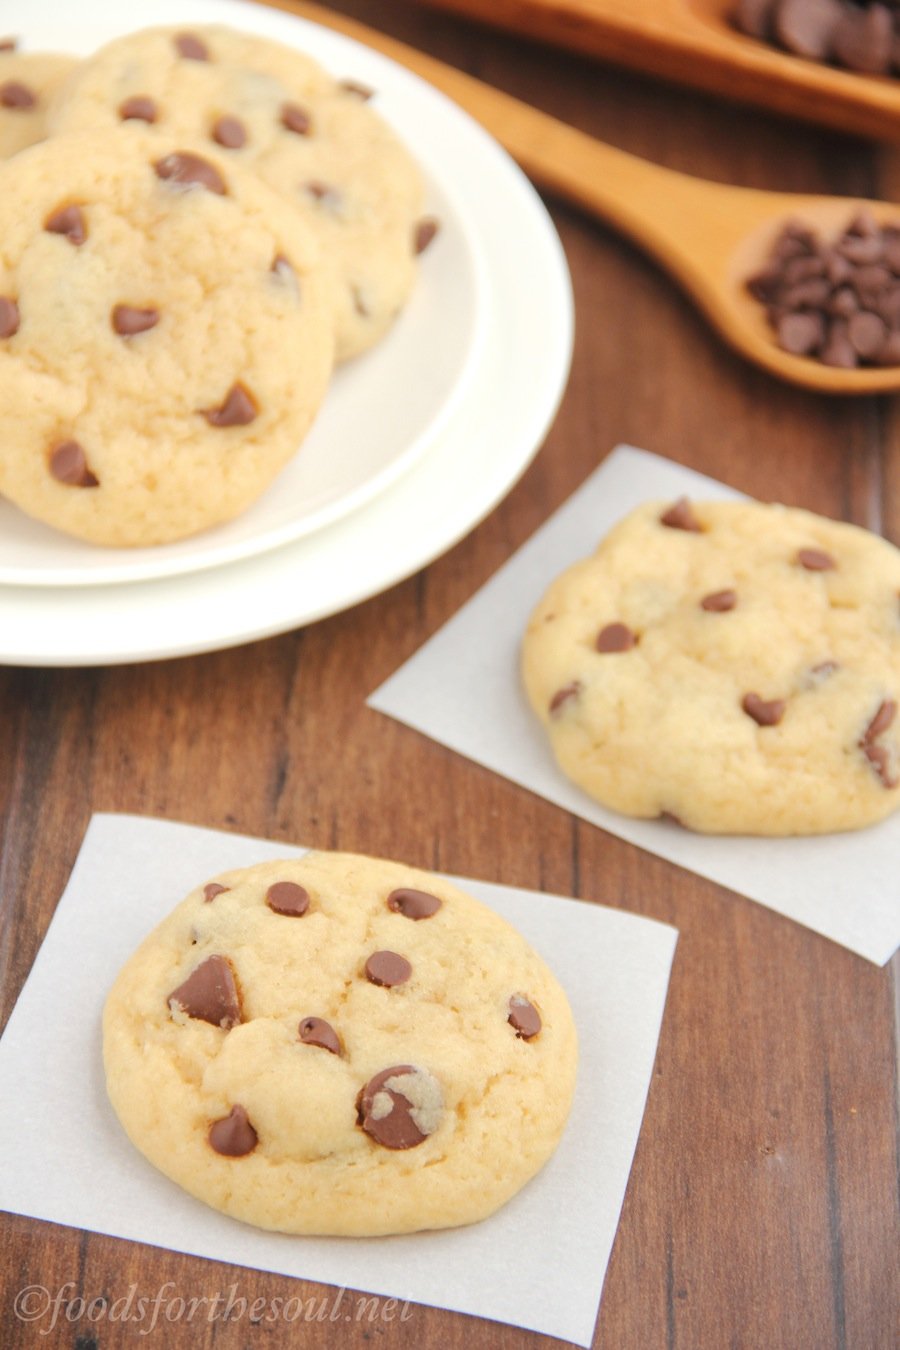
To mix up the dough, simply whisk together the dry ingredients, stir the wet ones in a separate bowl, combine the two, and fold in the chocolate chips. So easy! I usually reserve about half of the mini chocolate chips to press into the tops of the dough just before baking as a pretty finishing touch. They look so tempting—they’re practically begging you to eat one!
Before popping in the oven to bake, you must chill the dough. Chilling is mandatory for thick cookies. Try to refrigerate the dough for at least 30 minutes. I prefer chilling mine for 4 hours, but I know that’s a struggle with out-of-control cookie cravings!
These lightened chocolate chip cookies require barely any time to bake—just 10-12 minutes. They will look and feel slightly underdone, but they’ll continue to cook while sitting on the warm baking sheet.

Whew, that was a lot of information! Here’s a quick recap of the key components of the Ultimate Soft and Chewy Healthy Chocolate Chip Cookies:
»» less butter, and melted for chewiness
»» more vanilla for buttery flavor
»» brown sugar for moisture and chew
»» cornstarch for softness and thickness
»» regular and mini chips for more chocolate throughout
»» chilling for thickness
»» baking 10-12 minutes for softness
Ready for a tall glass of milk and a big stack of cookies?
And when you make your own, remember to snap a picture and share it on Instagram using #amyshealthybaking and tagging @amyshealthybaking IN the photo itself! (That guarantees I’ll see your picture! ?) I’d love to see your cookies and feature them in my Sunday Spotlight series!
Psst… My newly released Healthier Chocolate Treats cookbook is full of sweet and healthy recipes like these chocolate chip cookies! Learn more and buy your copy here!
| The Ultimate Healthy Soft & Chewy Chocolate Chip Cookies | | Print |
- 2 cups (240g) white whole wheat flour or gluten-free* flour (measured like this)
- 1 ½ tsp baking powder
- 1 ½ tsp cornstarch
- ¼ tsp salt
- 6 tbsp (84g) unsalted butter or coconut oil, melted and cooled slighlty
- 2 egg whites, at room temperature
- 1 tbsp (15mL) skim milk
- 4 tsp vanilla extract
- 1 cup (192g) coconut sugar or light brown sugar
- ¼ cup (56g) regular chocolate chips
- 2 tbsp (28g) miniature chocolate chips, divided
- In a medium bowl, whisk together the flour, baking powder, cornstarch, and salt. In a separate bowl, whisk together the melted butter and egg whites until small bubbles form (about 15-30 seconds). Whisk in the milk and vanilla extract. Stir in the brown sugar, smearing out any clumps along the side of the bowl. Add in the flour mixture, stirring just until incorporated. Fold in the regular chocolate chips and 1 tablespoon of mini chocolate chips. Cover the top with plastic wrap, and chill for at least 30 minutes. (See Notes.)
- Preheat the oven to 350°F, and line two baking sheets with silicone baking mats or parchment paper.
- Drop the cookie dough into 24 balls onto the prepared baking sheets. Flatten slightly to about ¾” thick. Press the remaining mini chocolate chips into the top of each. Bake at 350°F for 10-12 minutes. Remove from the oven and allow the cookies to sit on the warm baking sheet for 10 minutes before transferring to a wire rack.
Do NOT overbake these cookies! After 10-12 minutes in the oven, they’ll still look and feel slightly underdone, but they’ll continue to bake and set on the warm baking sheet for the 10 minutes after.
For a vegan version, use coconut oil or margarine in place of the butter, 1 tablespoon Ener-G + ¼ cup warm water in place of the egg whites, and non-dairy milk in place of the skim milk.
For a gluten-free version, see this recipe of mine.
Whole wheat pastry flour, regular whole wheat flour, or all-purpose flour may be substituted in place of the white whole wheat flour.
It's extremely important to measure the flour correctly, using the method outlined in the links above or a kitchen scale. (I highly recommend a kitchen scale! This is the one I own, and it has been the best $20 I’ve ever spent. I swear by it!) Too much flour will make your cookie dough dry and your cookies turn out cakey or crumbly.
For a more decadent treat, I highly recommend using these dark chocolate chips in place of the regular chocolate chips!
{gluten-free, clean eating, vegan option, low fat}
View Nutrition Information + Weight Watchers Points


Look beautiful – fall VERY short on flavor.
First, thank you for sharing your recipe. In all honesty I was just really disappointed. There were mostly great reviews which was in part why I had high expectations. It might be helpful to clarify what you mean by “whisk egg whites & butter until fluffy”. I think that the adjective is more creamy as I was expecting “fluffy” to be more like merengue. I really wanted to LOVE these as they look BEAUTIFUL. I am sure that they may be fewer calories but I found them to very much lack flavor. The texture was great just little to no flavor other than the chocolate chips. I appreciate you sharing your recipe but I think I’ll just stick to the “full fat” chocolate chip cookie and use moderation.
I’m sorry the cookies didn’t turn out as you expected Kelly; that must have been disappointing. If they lacked in flavor, there are a few main potential causes. It could have been that there wasn’t enough brown sugar in the cookie dough (it’s meant to be packed into the measuring cup, not lightly scooped or poured like granulated sugar). Not adding the full amount of vanilla extract would also lead to bland cookies. Finally, too much flour in the cookie dough would also give them a bland taste. How did you measure it? I’ve found that when I scoop directly from the container instead of using the spoon and level method (I describe more here), I end up with 1.5 times as much flour, which would definitely cause the issues you describe.
I just baked these cookies. I am disappointed in the outcome. I would rather make smaller cookies using the regular ingredients than make these. I know you spent a lot of time trying to perfect, but the cookies turn out very light colored and the texture is very odd. I do not recommend.
Have these in the oven now, hope they come out yummy!
I really hope you enjoyed the cookies Amanda! 🙂
These are actually no healthier than regular chocolate chip cookies from Nestle. Actually, these have more calories & sugar. Google their nutrition from a recipe and sorry to say it’s not worth it. Butter & egg yolks aren’t the devil either, so unless that’s what the whole point of this was, I’ll stick to my grand champion cookies. You can also make the Nestle with all brown sugar, it’s not uncommon. They just turn out darker. For those concerned with butter & eggs though, I’m sure they are a great mimic! Sorry, you worked hard on this recipe, I can tell, it just isn’t worth it for me personally to give it up for not any real gain! 🙁
The Nutrition Information that you found is for cookies that are much smaller in size than the ones that this recipe yields. If you made the Nestle Toll House cookies with the same amount of dough as is in each of these, the Nestle cookies would be much higher in calories and sugar. Hopefully that clears things up a bit Mimi! 🙂
This recipe looks great; I’ll be sure to try it! Is there something you could use other than sugar though?
Thanks Gail! What do you mean by something other than sugar? If you’re looking for a clean eating sweetener alternative, then I recommend this chocolate chip cookie recipe of mine. It’s basically the same as this one, just without any refined flour or sugar! 🙂 I hope you enjoy the cookies if you try them!
These cookies look fabulous and I want to make them but all I have is baking soda, not powder. Is there any substitute I can use?
Yes! Use baking soda in place of the baking powder, but decrease the amount to only ½ teaspoon of baking soda instead of 1 ½ teaspoons. Then increase the cornstarch to 2 ½ teaspoons as well. I hope you enjoy the cookies Madison!
How many and what size are the baking sheets that’ll fit all 24 cookies? If I have to use to baking sheets, which rack I need to put them? Middle and Lower? Thanks and God Bless! 🙂
You’ll need two standard-sized baking sheets (you can find the exact ones I use on my Kitchen & Pantry FAQ Page!), and I’d recommend baking the cookies one baking sheet at a time on the middle rack. I hope you enjoy the cookies Lisette!
Thank you for you help! I will make this right now and I’ll get back with you how it turned out… hehehehe Thank you again and God Bless! 🙂
My pleasure Lisette! I can’t wait to hear what you think of the cookies! 🙂
Delicious!!!
I’m so glad you enjoyed the cookies Maggie!
Hello again Amy! I made your oatmeal cookies and I said I’d be back trying more of your recipes! And here I am (:! These cookies were FANTASTIC! My family loved them. I, in all honesty, took a bite and was like “Did I just eat a cookie?” It was so healthy! This is a perfect dessert to go with my family’s new healthy lifestyle. Once again, you’ll see me here again!
You’re so sweet — I’m touched that you’re trying so many of my recipes Vanessa! I’m thrilled that you and your family loved these cookies too, and I can’t wait to hear what you try next! 🙂
After a day of rain, I decided to do some baking. I attempted this recipe twice and couldn’t get past the first step. The egg and butter kept curdling.. Ugh! Very disappointing. I ended up following another recipe
Oh no! That sounds frustrating Belinda, but the egg and butter weren’t actually curdling. When you add cold eggs to melted butter, the cold eggs immediately cool the butter, and the butter re-solidifies. That’s why it’s important to use room temperature eggs. To quickly bring eggs up to room temperature, microwave 1 cup of water for 20 seconds. Place the eggs in the water, and let them sit for at least 5 minutes before proceeding with the recipe. 🙂