
In freshman year of high school, I planned a Friday night slumber party with my two chocolate-loving best friends. After the girls arrived and dropped their bags in my bedroom, we pawed through a few cookbooks until we found a recipe for “Easy Chocolate Fudge.” We gathered the ingredients, diligently followed the recipe, and ended up with driest, crumbliest fudge you’ve ever seen. It looked like sand from the Sahara Desert!
Since that experience, I’ve avoided fudge at (almost) all costs. I bravely attempted two different recipes for this blog—one for milk chocolate (fail-proof) fudge and the other for ginger fudge—both of which produced smooth, creamy results. But both times, I doubted myself during the entire process, despite quadruple-checking the ingredients and meticulously tracing my finger ten times across each line of the instructions, and swore I’d never try it again.

That was the plan, anyway.
After baking eggnog donut holes, I stared at the half-empty quart in my fridge and, in true food blogger fashion, pondered, “What else could I make with that?” “Fudge!” popped into my head a millisecond later, and in a momentary memory lapse, I pulled out a pot to start.
My guy wandered into the kitchen, cracking open a two-liter of soda. “What’re you making?”
“Eggnog Fudge,” I replied. “It’s going to be an adventure!”

In 3+ years of food blogging, I only referred to one other recipe as an “adventure” (these traditional fried donuts, mainly because of my fear of hot oil), and since I requested him to supervise that one, he hovered around the stove as I stirred.
“Why’s it an adventure, hun?” he probed.
“Well because 1) fudge is hard,” I responded, “And 2) I made up my own recipe!”
Yes, for my 4th-ever fudge undertaking, I thought it’d be a brilliant idea to create my own recipe. Some call that courageous; others call it crazy.

I adopted the mantra “ohno-ohno-ohno,” followed by “pleasework-pleasework-pleasework” and “stop-stop-stop!” within the first 20 minutes. I had selected my medium saucepan since my recipe’s 3 ½ cups of liquid barely filled it halfway, but I failed to remember just how high the boiling milk bubbles rose. (Basically to the brim, while constantly threatening to spill over.)
By the time the caramel-colored mixture cooled enough to begin beating it like a madwoman, my exasperated nerves replaced those three mantras with a humongous SIGH. The molten fudge refused to thicken, despite vigorously stirring until my right arm nearly detached from its socket, and I sank down onto my little pink step stool in defeat.

My guy stepped in, grabbing the spatula and energetically stirring. After a few minutes, the mixture thickened, turning a pretty shade of pale tan, and he poured it into the prepared pan while I watched. I waited impatiently as it set, and as I finally sank the knife blade in, I grinned.
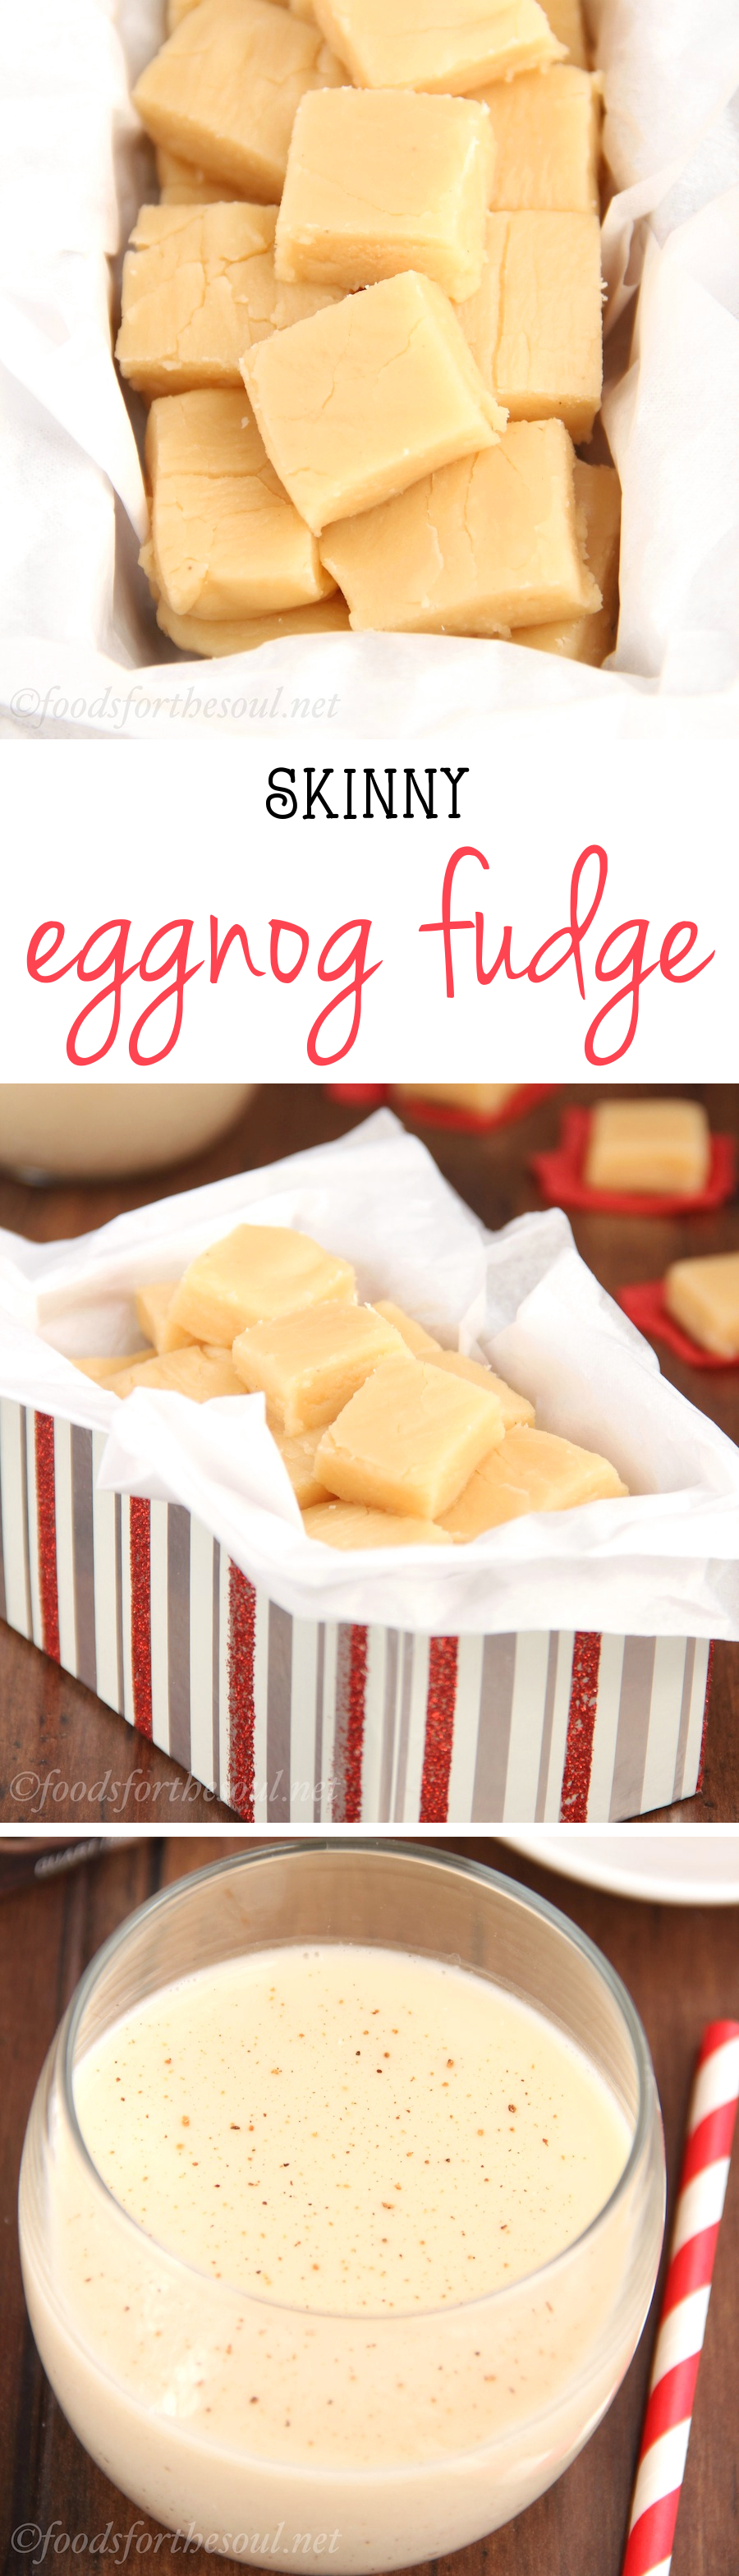
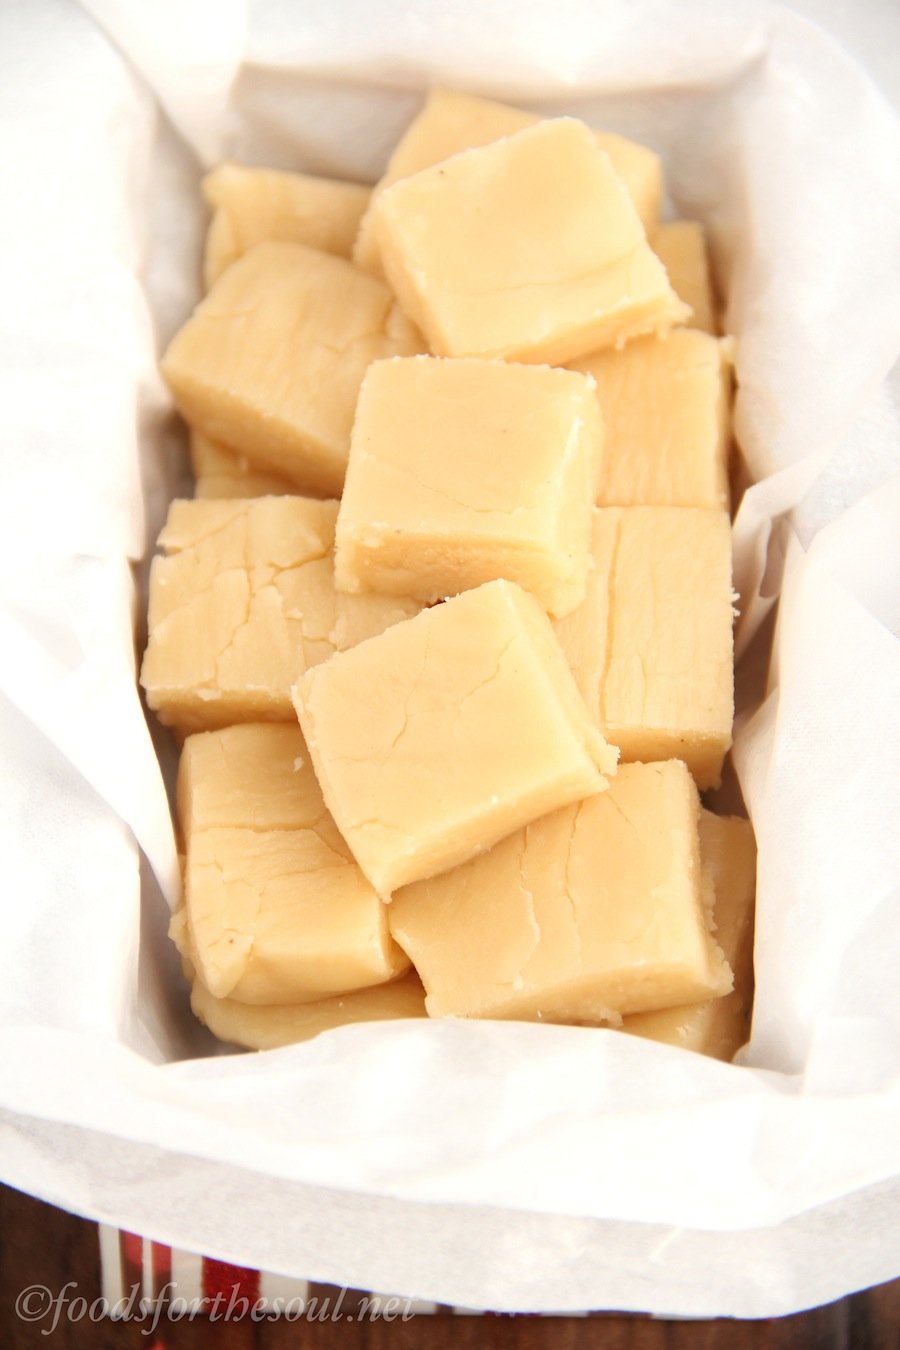
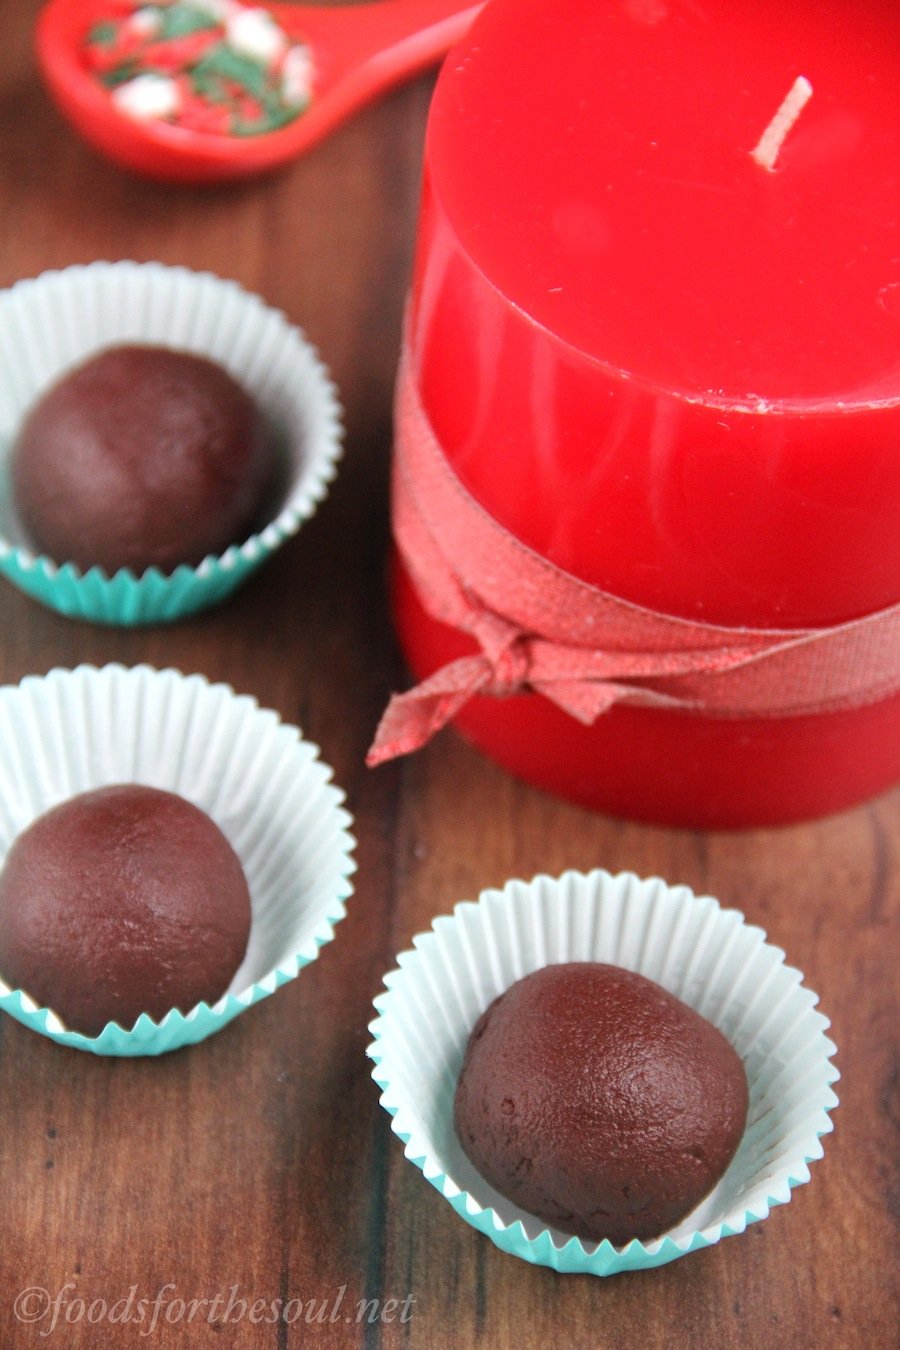
We did it! We made Eggnog Fudge!
Every smooth, creamy square bursts with festive eggnog flavor. The little bites melt on your tongue, slowly dissolving into a sweet holiday memory and tempting you to reach for another. And because it’s a recipe from me, this healthier fudge is secretly skinny, low fat, and low calorie!

Before you set out to make it yourself, here are my 4 Tips for Perfect Fudge:
1) Use a BIG pot. Not your largest Dutch oven, but not your smallest saucepan either. Opt for a pot that holds at least 8 cups of water. The sugar mixture doubles in size as it boils, so a spacious pot prevents it from spilling over the sides!
2) Test the temperature. If you own a candy thermometer, great! Shoot for 235°F (118°C), aka the “soft ball stage.” If you work in the world’s tiniest kitchen (like me) and lack the space for a candy thermometer, grab a glass of ice-cold water. Periodically drop in small spoonfuls of the boiling sugar mixture, and when it forms a squishy solid, you’re there!
3) Don’t disturb the cooling process. (Warning: My geeky chemistry side is coming through!) As the boiling mixture cools, itty bitty sugar crystals will “crash out” of the solution. This is good! The smaller the crystals, the smoother the fudge will be. If you nudge, bump, stir, or otherwise agitate the pot during this time, you’ll cause bigger crystals to form, which turns the fudge gritty and grainy. Not good!
4) Be patient. Both the boiling and vigorous stirring processes generally take longer than you expect. We beat the cooled sugar mixture for at least 10 minutes before it turned thick and creamy and lightened in color. But I promise the fudge will be worth the wait!
For those of you that have been around a while, you may recall that my guy hates (a) baking, (b) helping out in the kitchen, and (c) practically all desserts (except fruit-flavored candy and lemon bars). On the rare occasion he taste tests something I create, he usually nibbles off a bite smaller than a mouse’s and hands me back the rest.
Because he actually enjoys eggnog, he bravely popped an entire piece of this Eggnog Fudge into his mouth. After swallowing, he surprised me. “We made really good fudge! Can we try another flavor??”
I’d be a fool to pass up that opportunity. Stay tuned!
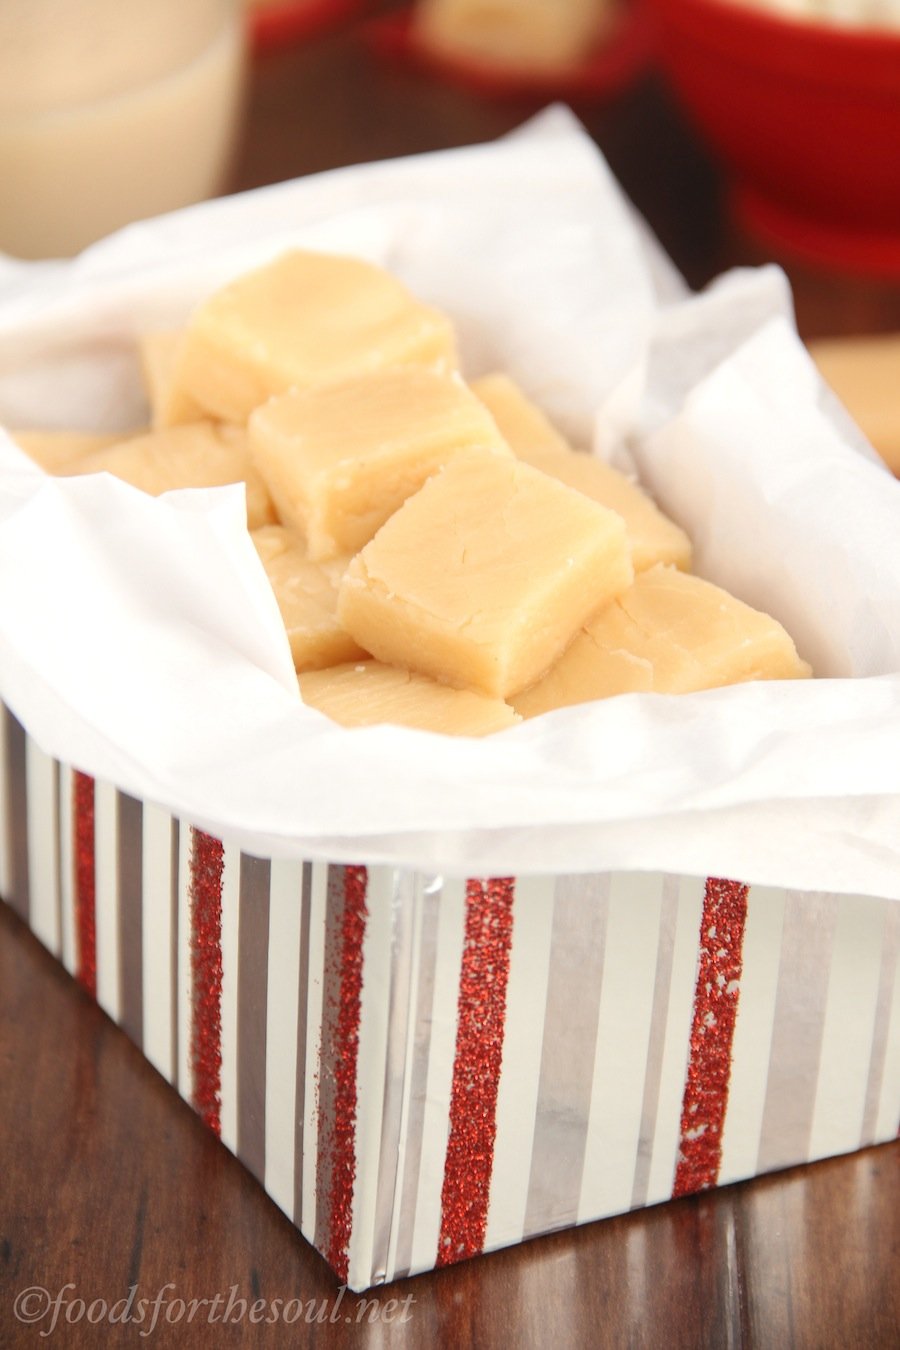
This smooth and creamy fudge tastes just like the drink! Store the squares in an airtight container for up to a week. (They’ll stay good for longer, although they may stale a tiny bit.)
- Line an 8”-square baking pan with foil, and lightly coat with nonstick cooking spray. Set aside.
- In a large pot, combine the eggnog, sugar, butter, and white chocolate. Cook over medium-low heat, stirring constantly, until the butter and white chocolate has melted. Bring to a boil, and cook for another 10-15 minutes, stirring frequently, until a small amount becomes moldable when dropped in a glass of cold water. (It may take longer, depending on your pot and stove.)
- Remove from the heat and the burner, and allow the hot mixture to sit undisturbed for 6 minutes. After 6 minutes, stir vigorously until the mixture becomes thick and creamy and lightens in color. Spread into the prepared pan, and allow the fudge to cool to room temperature before slicing into 1” squares.

i tried this and it was going great until the cooling and stirring.. I forgot to make sure it was 110°. I ended up with delicous sand lol
Oh no!! I’m so sorry Caitlin! That has got to be disappointing. I just made incredibly crumbly fudge last week too, so I can relate! My fudge failed because I accidentally heated it too high, so I hope that doesn’t happen to you on your next batch!
I’ve been wondering how to make a lower calorie fudge. This is fantastic. Can’t wait to try it.
Thanks Christie! 🙂 If you do try it, I’d love to hear what you think! Have a lovely holiday season!
I have never tried making fudge, but now I have to say you have me intrigued
It’s kind of an addictive process Heather… Especially when there’s an entire pan all for you at the end. 😉 We’re on our 5th batch this week!
Hi, I just tried to make this..it didnt make enough to fill the pan, should it be 2 cups of eggnog? I licked my spoon and it was amazing..I used coconut sugar instead would that make a difference?
I’m sorry the recipe didn’t turn out right for you Bonnie; that must have been disappointing. Did you use an 8″-square pan? I haven’t tried coconut sugar in this recipe, so I’m not sure if that’d make a difference, but I suspect that this substitutions should be okay. Try beating it a little less next time so it’s still a little more liquidy when you pour it into the pan. It’s not a very thick fudge, but it should be between ½” to 1″ tall. I really hope your next batch turns out perfectly!
This looks great! I’ve never made fudge before, but I want to give it a try this weekend. Have you ever used a mixer for the stirring part? I’m wondering if the paddle attachment on my KitchenAid might do the trick.
Thanks Shannon! I haven’t used a mixer for the stirring part and can’t vouch for it, but I’ve heard that it’s worked for other people. I hope you enjoy the fudge!
Is it possible to freeze or refrigerate for the holidays if made ahead of time?
I haven’t tried freezing fudge before, but this recipe can definitely be refrigerated. If you’ve been able to successfully freeze other fudge recipes, you should be able to freeze this one as well. I hope you enjoy the fudge Lisa!
I’m so happy I found this recipe! I usually make a very simple chocolate fudge recipe every christmas, so it’s so nice to try something new and different for a change (plus I’ve already made and ate most of this year’s batch)! I was pleasemtly surprised by how easy it was – minus all the stirring – and how our fudge seemed to be ready right around the 10 minute mark of boiling! 🙂 It’s a little crumbly, but I’m guessing that’s from over stirring a little – but that’s fine, cos now I can sneak little crumbs without anyone noticing as it tastes so good…all eggnogy and white chocolatey 😉 Thank you for sharing this!!
I’m so glad you enjoyed the fudge Leanne! I love how you found some silver lining in having a few crumbs in the fudge — I would’ve done the exact same thing and snuck them while hoping nobody noticed too! 😉