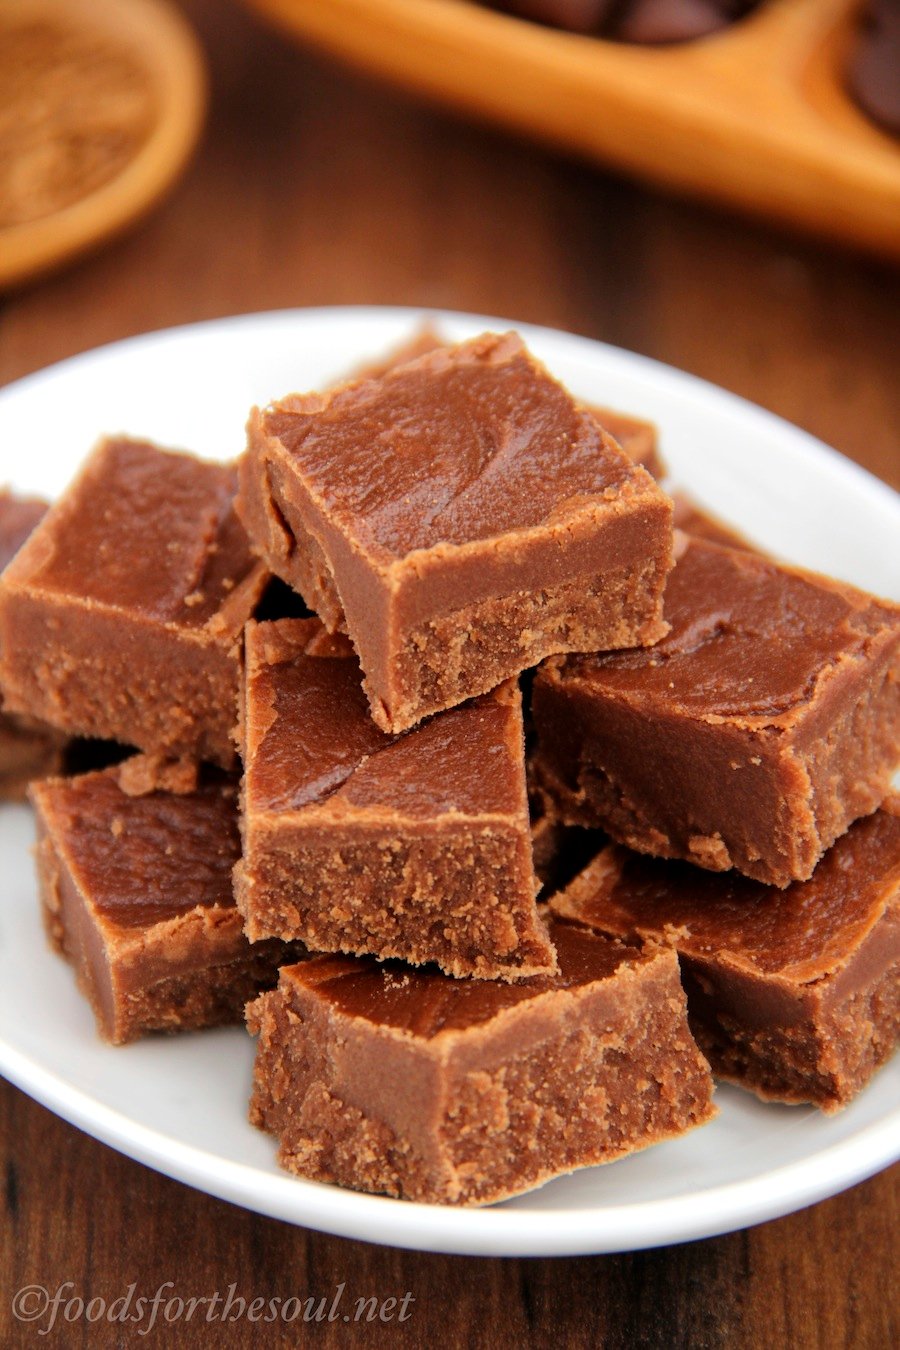
Last December, I enlisted my guy to help me make fudge. I created recipes for skinny eggnog and skinny mocha flavors, but instead of going the easy route by adding in corn syrup or marshmallow crème, we went the traditional 4-ingredient path: just sugar, milk, butter, and chocolate.
My guy immediately got the hang of it and made better fudge than I did! Smooth, creamy, luxurious… Plus his bigger muscles helped for stirring.

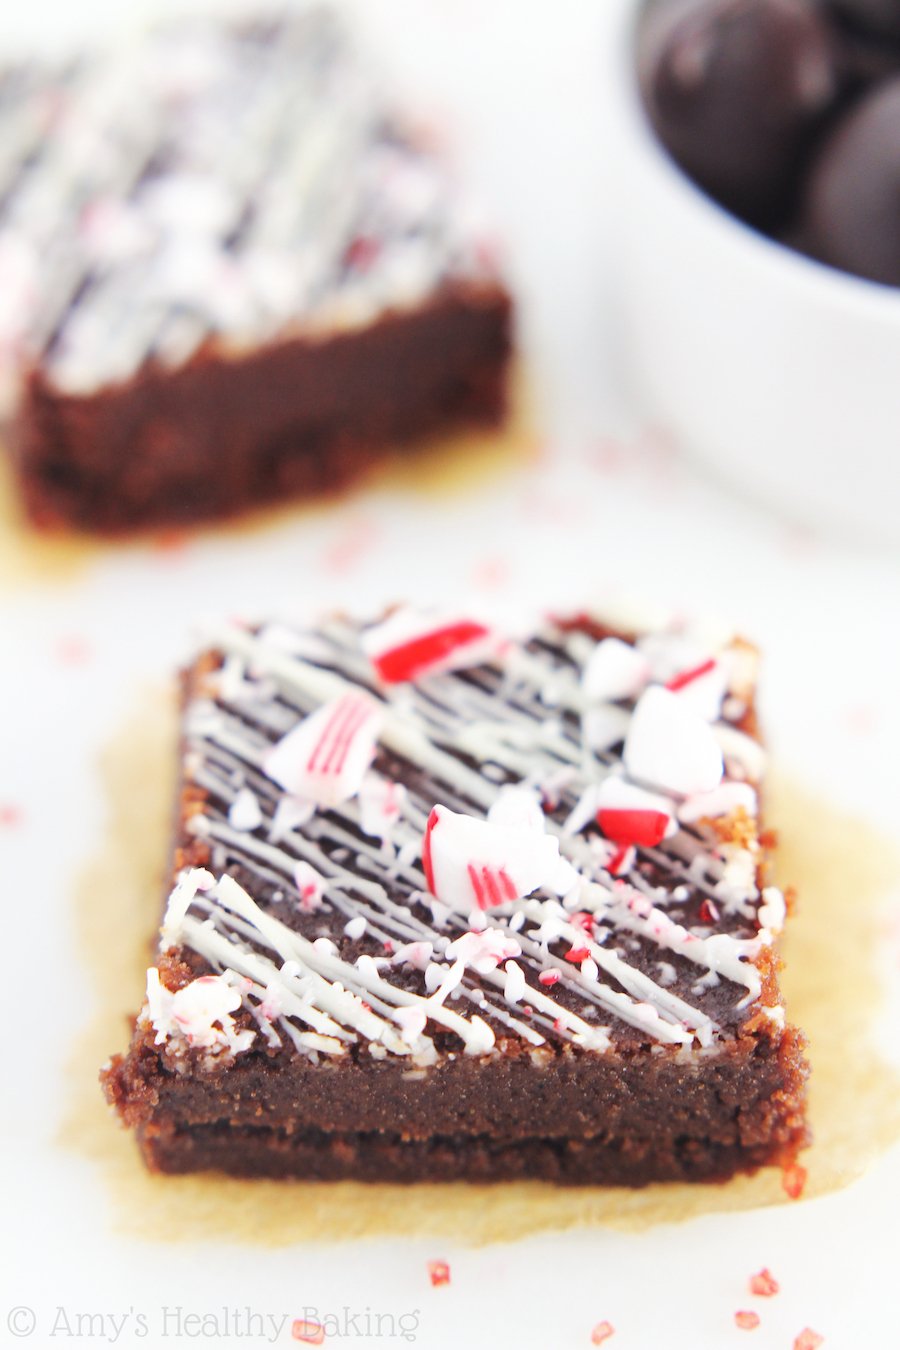
So this year, when the brilliant idea for Skinny Peppermint Bark Fudge popped into my head, I asked him for help again. I wanted it to be the soft and fudgy version of the popular holiday treat: rich dark chocolate on the bottom, white chocolate on top, and crushed peppermint candy showered over the squares.
Five batches later, we finally perfected the recipe! As big chemistry nerds (yes, I was an organic chemist before a blogger!), we learned a lot about the science of making fudge, so I’ve included our tips below so yours turns out perfectly too.

1) Use 100% unsweetened chocolate. The baking bar variety. In Batch #1, we tried 60% dark chocolate, but with the amount of sugar added into the mixture, that tasted like milk chocolate fudge to me. As a dark chocoholic, I missed that richness! So we switched to unsweetened chocolate baking bars for the rest.
I prefer either Ghirardelli or Baker’s brands. They’re sold in 4-ounce bars on the baking aisle, usually above the shelves with the chocolate chips, and you’ll use 3 ounces in this fudge.
Note: Do not substitute chocolate chips! They contain a stabilizer that prevents them from melting as readily. That’s great for baking cookies, when you’d prefer the pockets of chocolate to stay intact instead of oozing all over the place, but for fudge, bars of chocolate are much better.
2) Dissolve the sugar before heating the pot. This prevents the sugar from burning on the bottom of the pot. Just give the milk and sugar a few quick stirs, and you’re good to go!

3) Cook the mixture to 238-240°F. This is called the soft-ball stage. In Batch #1, we pulled the dark chocolate fudge off of the burner at about 236°F. This was a few degrees too short of the soft-ball stage, so the fudge never set. It was closer to the texture of my favorite fudgy frosting instead! (I was very tempted to scrape off the white chocolate and spread the “fudge” on brownies…)
However, do NOT go above 240°F. This is too close to the firm-ball stage, which is what happened with Batch #2. This higher temperature leads to brittle fudge that’s crumbly and as a hard as a rock.
Note: It’s very important to use a candy thermometer. They’re relatively inexpensive, but they ensure smooth and cream fudge every time. This is the one I own, but if you can, splurge a little on a digital one instead. They’re much more precise!

4) Let the mixture cool undisturbed to 110°F. This is the temperature where you begin stirring. Stirring makes the sugar crystals crash out and thickens the mixture. The lower the temperature you let the mixture cool to, the smaller the sugar crystals will be.
Be patient! Depending on the size of your pot, this could take up to 25-30 minutes.
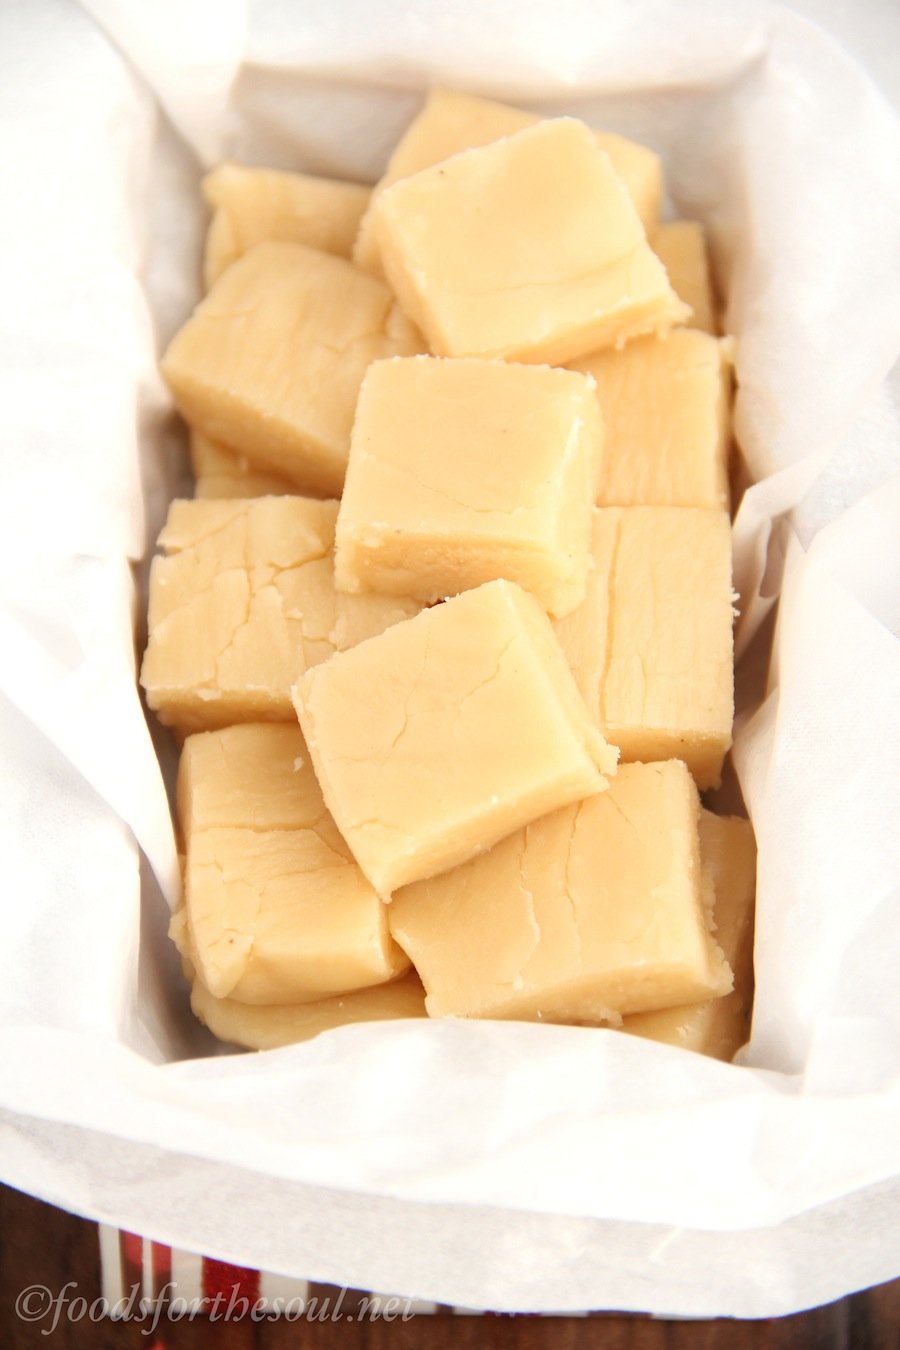
5) Use fresh milk. Okay, this sounds obvious, but I wanted to include it just in case. We tried making Batch #4 about five days after Batch #1, and somehow during that time period, our freshly opened milk went bad. Once all of the chocolate and butter had melted, a few off-white chunks started to form… Then more… And more… And more. Ew. So check your milk before pouring it in!

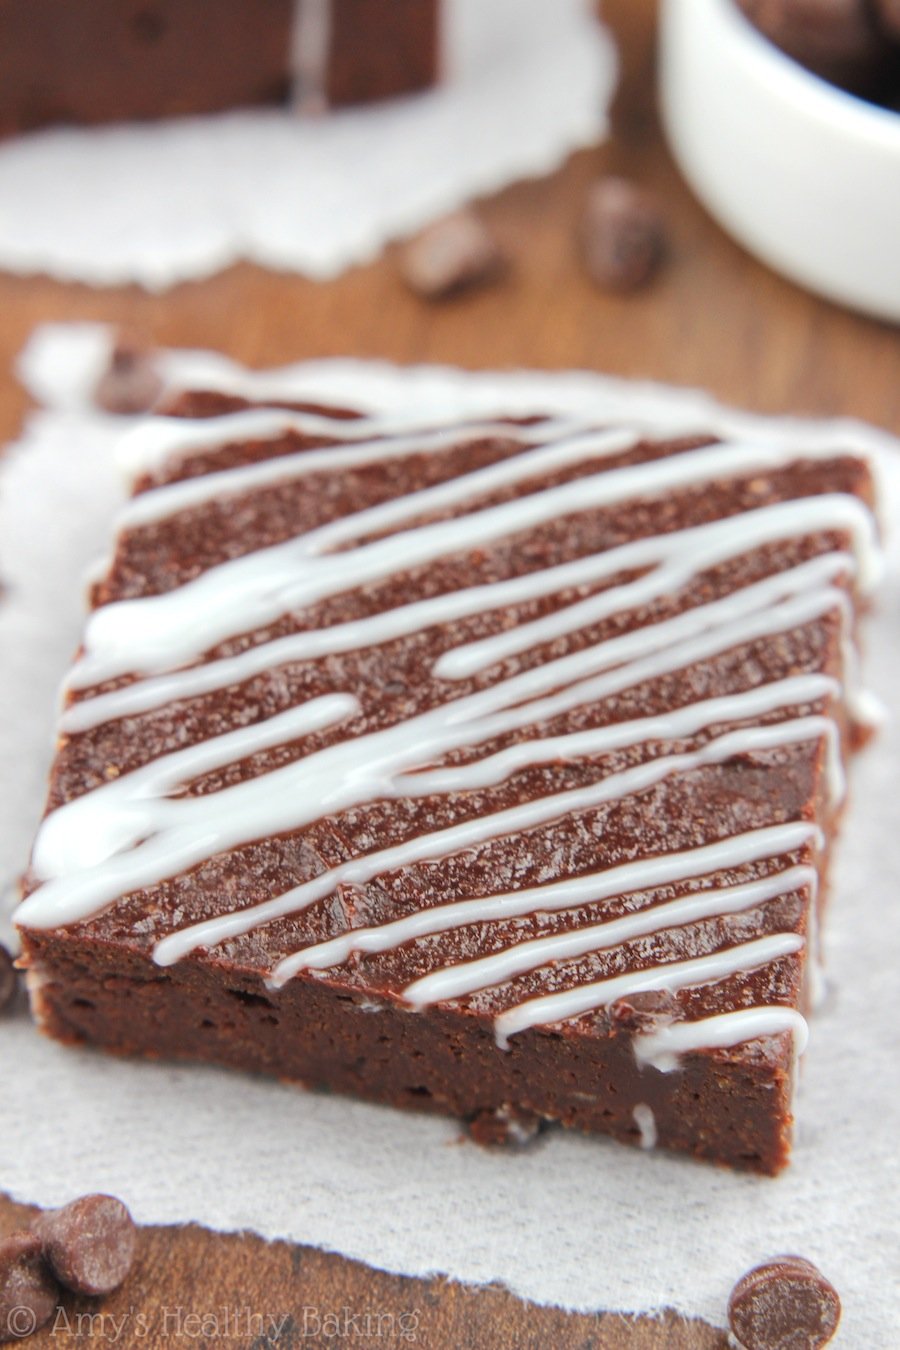
6) Cool the fudge completely before adding toppings. We tried adding a second layer of white chocolate fudge on top of the dark chocolate for Batches #1 and #3, but the bottom layer never fully set. It had the consistency of thick, fudgy frosting again instead! To achieve the correct firm yet creamy texture, let the dark chocolate fudge cool completely before decorating. (And yes, we nixed the second white chocolate fudge layer. I wanted a stronger dark chocolate taste!)
7) Eat the fudge within a few hours! Okay, so not exactly a tip to making perfect fudge, but… The moisture in the air will cause the crushed candy canes to melt and turn gooey. If you plan on making this and serving it a day or two later, mix the candy canes into the dark chocolate fudge just before pouring it into the pan instead. It won’t look like cute red and white snow fell on top, but it’ll still have that light peppermint taste throughout!

The morning after we I ate my weight in this Skinny Peppermint Bark Fudge, my guy already wanted to make more! But this time, he proposed a new flavor… So tonight, we’re off to make that—and probably another batch of this peppermint bark variety. Our friends and family may be swimming in festively decadent fudge on Christmas Day!

| Skinny Peppermint Bark Fudge | | Print |
- 1 c (240mL) skim milk
- 1 ¾ c (336g) granulated sugar
- 3 oz (85g) unsweetened chocolate, chopped
- 2 tbsp (28g) unsalted butter, cubed
- ½ oz (14g) white chocolate
- 3 miniature (13g) candy canes, crushed (or 1 standard size)
- Line an 8”-square pan with foil.
- Clip a candy thermometer to the side of a large pot. Add the milk and sugar, and stir until the sugar has dissolved. Add in the chocolate and butter. Heat the mixture over medium-low heat, stirring constantly, until the chocolate and butter have melted. Continue cooking and stirring until the temperature reaches 240°F. Immediately remove the pot from the heat, and let the mixture sit undisturbed while it cools.
- When the mixture reaches 110°F, begin stirring vigorously with a spatula or wooden spoon until it has thickened. Pour the mixture into the prepared pan, and let it set completely until firm. (To speed up the process, place the pan in the refrigerator after the fudge has reached room temperature.)
- Once the fudge has completely set, lift it out of the pan by holding the edges of the foil. Melt the white chocolate in a small bowl by microwaving on HIGH for 15-second intervals, and stirring for at least 30-60 seconds in between each. (Do not overcook the white chocolate! Once it begins to melt, stir for as long as possible before heating in the microwave again.)
- Add the melted white chocolate to a zip-topped bag, and snip off a tiny corner. Drizzle it on top of the dark chocolate fudge, and immediately sprinkle with the crushed candy canes. Let the white chocolate harden for at least 10 minutes before slicing into squares.
I highly recommend a candy thermometer. It will ensure your fudge turns out smooth and creamy every time. If you cook the mixture above 240°F, the fudge will be brittle and hard as a rock. If you begin stirring before it cools to 110°F, the fudge will be much grainier and have a sandy texture. This is the one I own, but if you can buy a digital thermometer like this one, it will ensure more accurate results.
This fudge is best if eaten the same day it’s made because the candy canes begin to “melt” from the moisture in the air. If you’d rather serve it a day or two later, stir the crushed candy canes into the dark chocolate fudge just before pouring it into the pan. This ensures a peppermint taste throughout without the gooey/sticky melted candy canes on top.
{gluten-free, low fat, low calorie}


More creative peppermint bark recipes from other bloggers…
Peppermint Bark Puppy Chow by Your Cup of Cake
Peppermint Bark Milkshake by Two Peas and Their Pod
Peppermint Bark Brownies by Love and Olive Oil
Peppermint Bark Donuts by Couponing and Cooking

Have you ever tried it with Hershey’s chocolate powder? How does this compare with Baker’s unsweetended Chocolate?.
I do not recommend using cocoa powder Deborah. The fudge will not set correctly and will have a much grainier texture.
Can I use cashew milk instead?
I haven’t tried, and I can’t guarantee that the fudge will turn out exactly the same. Cashew milk contains more water than cow’s milk, which may affect the texture. However, the flavor will stay the same! I’d love to hear what you think if you try the fudge Lorraina! 🙂