
As a college professor, my dad’s friend from his undergrad days, my “Uncle P,” spent his year on sabbatical about 10 years ago, and with that much free time, Uncle P flew out to visit us almost once a month. Since he loved to cook, he prepared at least one healthy dinner for our family on each trip, and during one of those meals, he first introduced my dad to quinoa.
My dad immediately fell in love with the quinoa, a naturally gluten-free and protein-packed ancient grain, and he started stashing our pantry with big boxes of it. When Uncle P’s sabbatical ended, Dad began cooking quinoa for himself nearly every week as a healthy side to serve with sautéed veggies for dinner.
But many nights throughout the week, Dad worked really long hours and arrived home well after the sun disappeared behind the hills and the dinner dishes finished soaking in the sink. Although he sometimes served himself leftovers, Dad often filled a plate with nuts, cheese, and crackers for his final meal of the day instead.
After driving down to my parents’ house the past two weekends, I noticed that the boxes of quinoa sat basically untouched, even though a full week passed in between my visits, yet the cracker packages and brick of sharp cheddar felt much lighter. I felt badly for my dad, knowing how hard he works every day, so I wanted to bake something special for him.
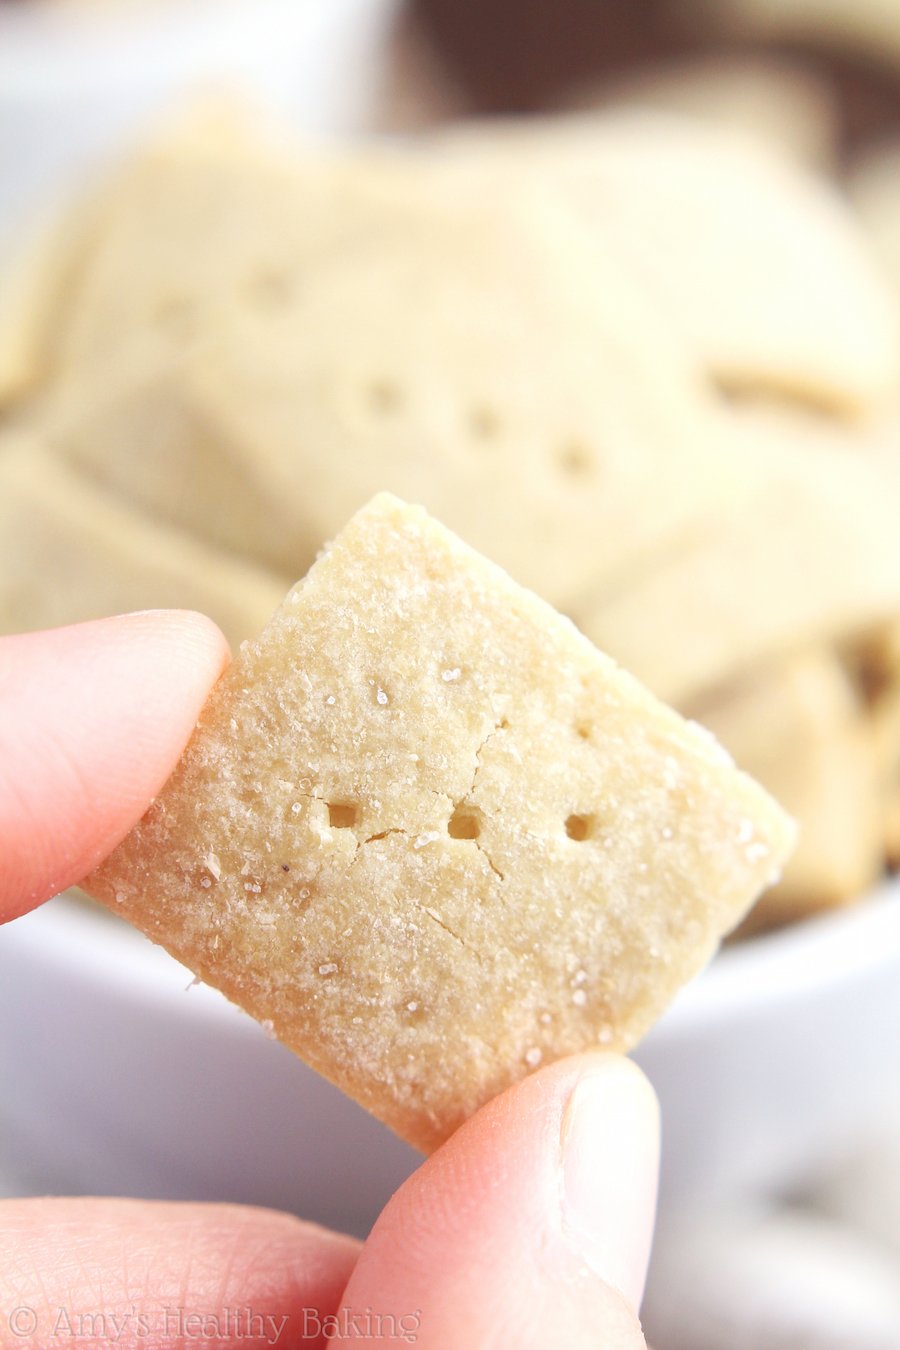
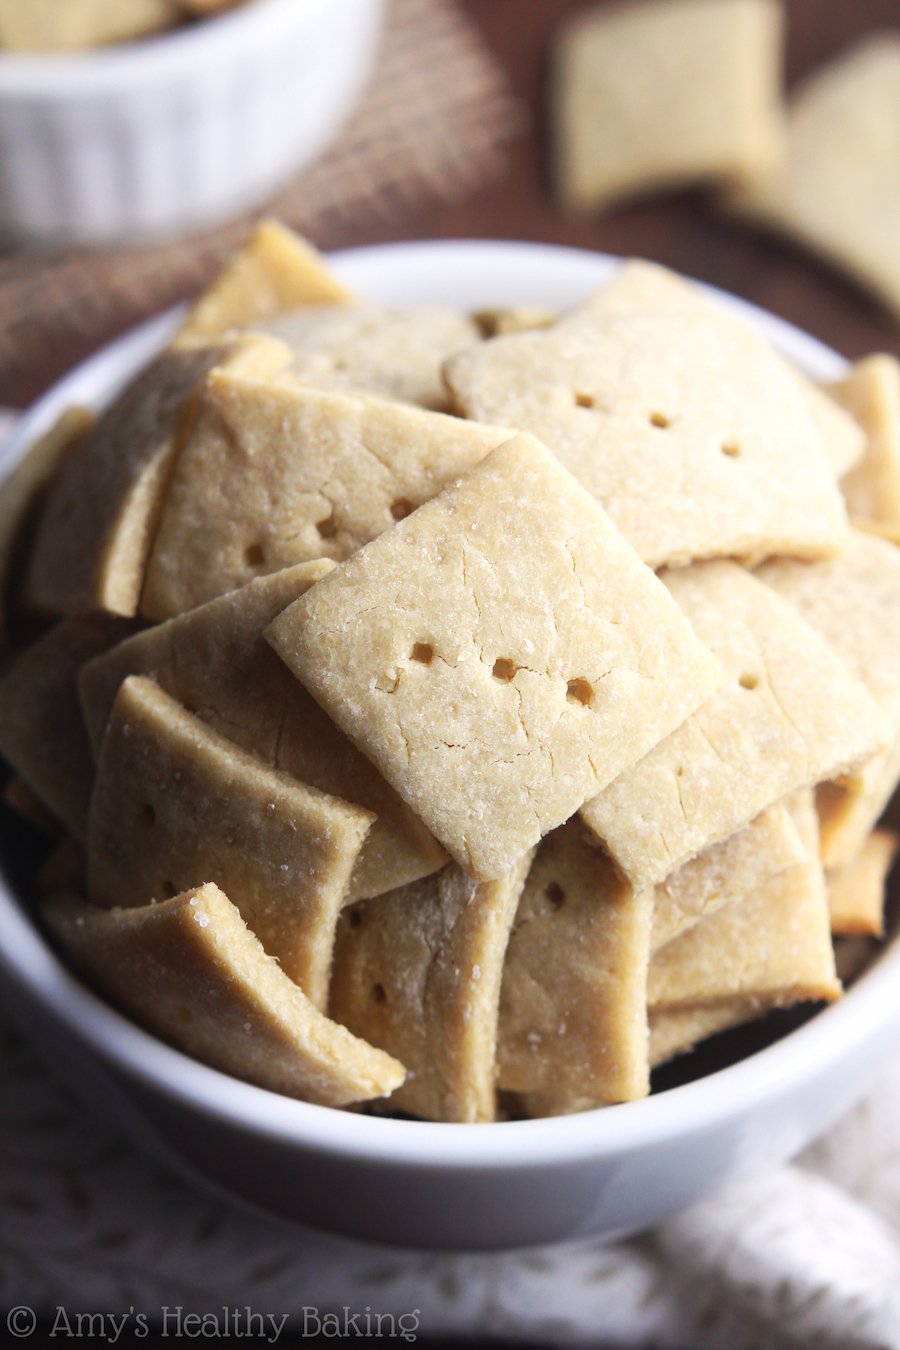
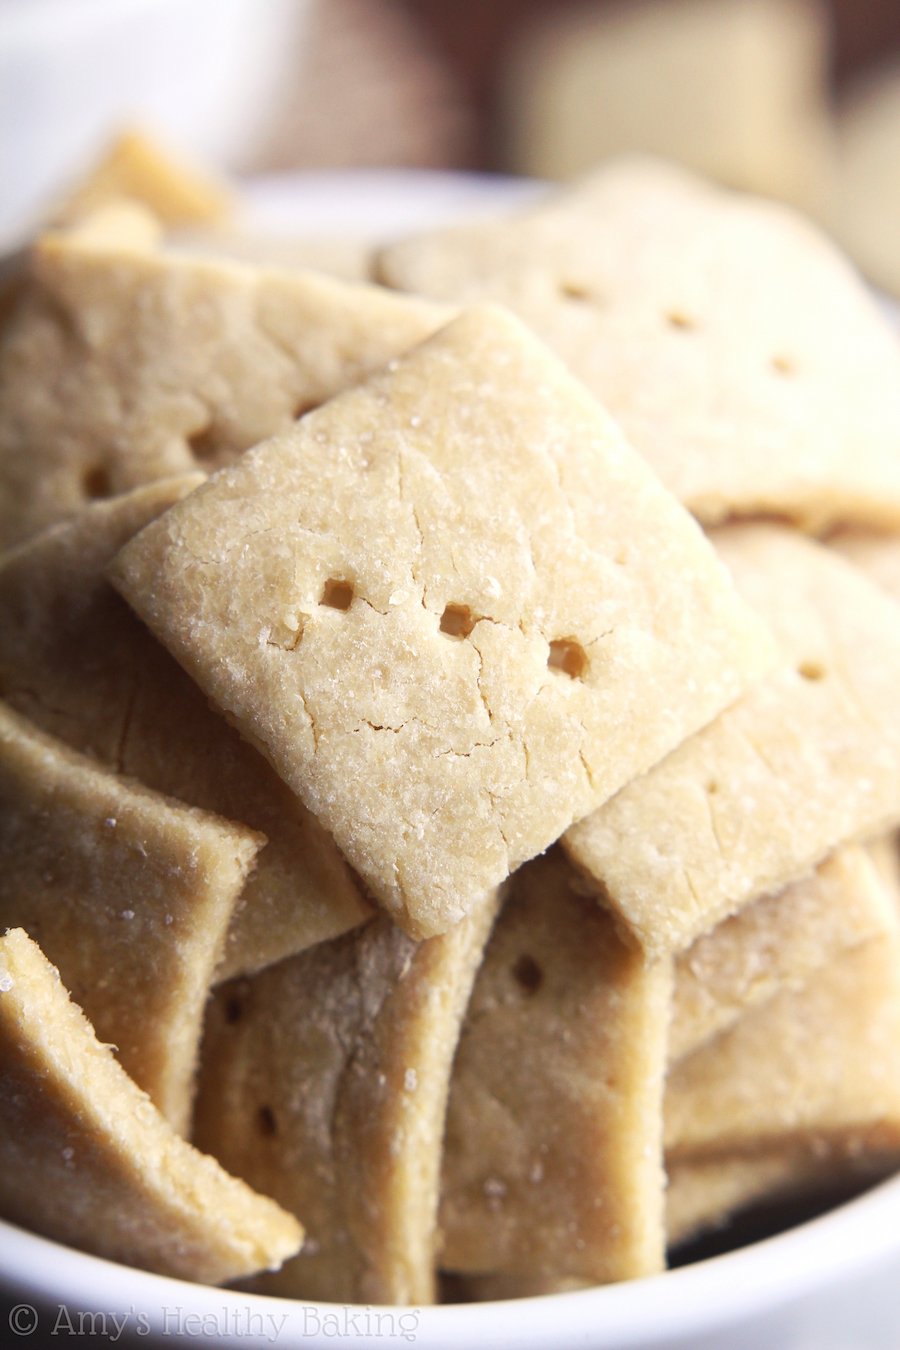
I decided to combine those two favorites of his into one healthy snack: these Simple Quinoa Crackers! They’re incredibly easy to make and pair perfectly with cheese, hummus, and other dips. Or just eat them by themselves straight off the baking tray… I won’t judge!
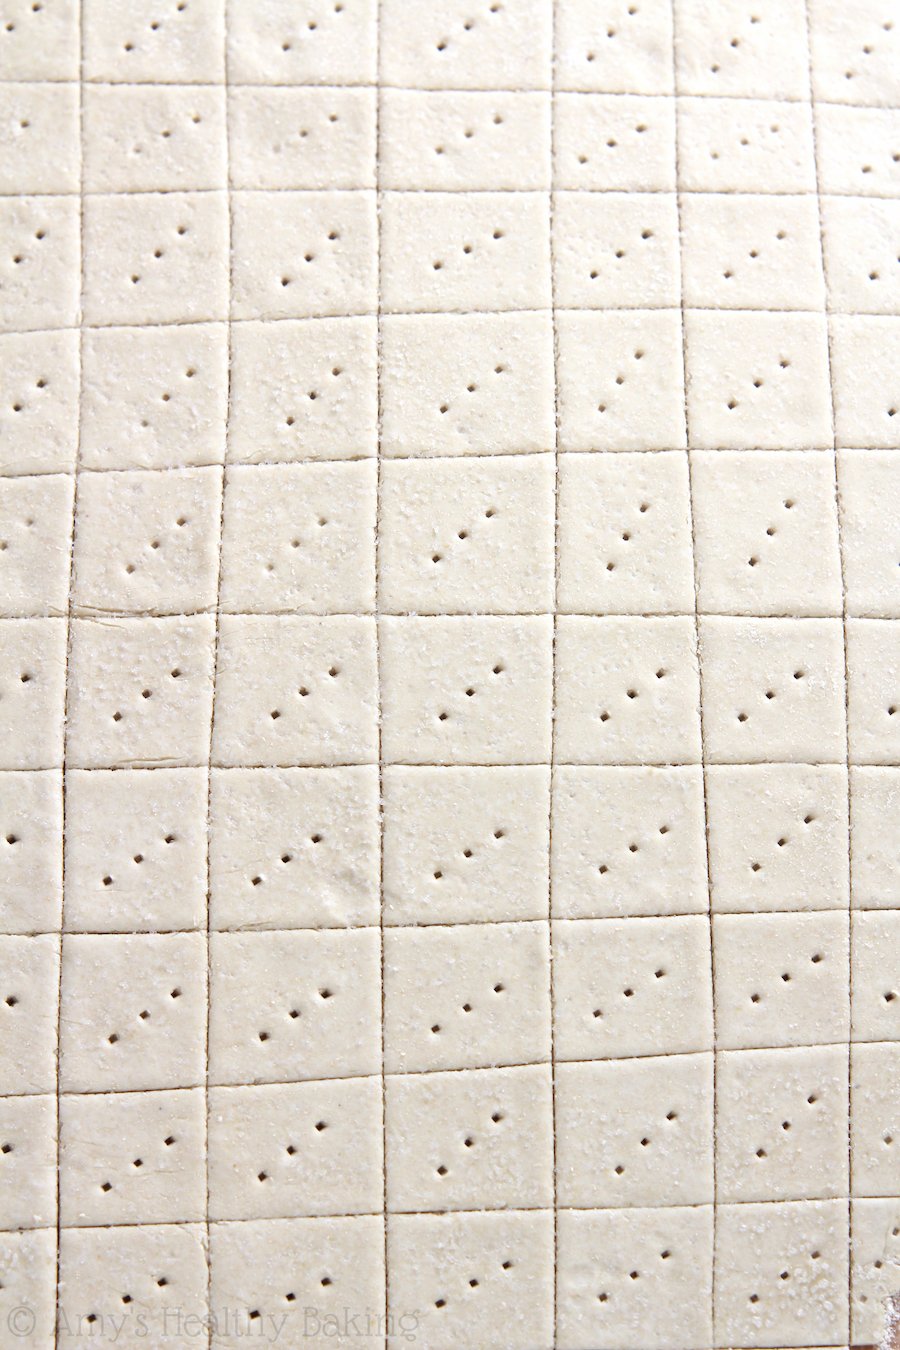
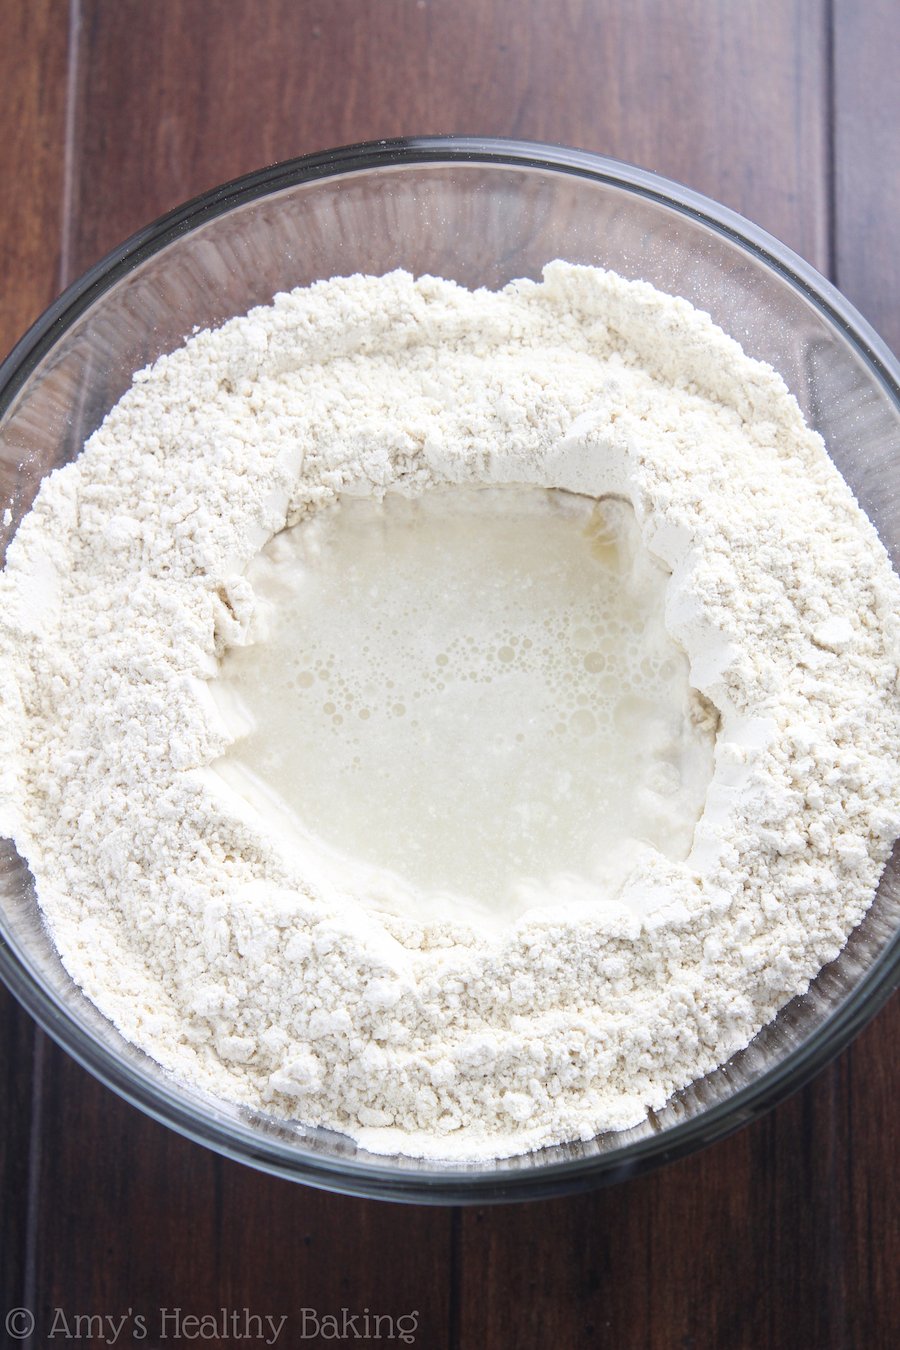
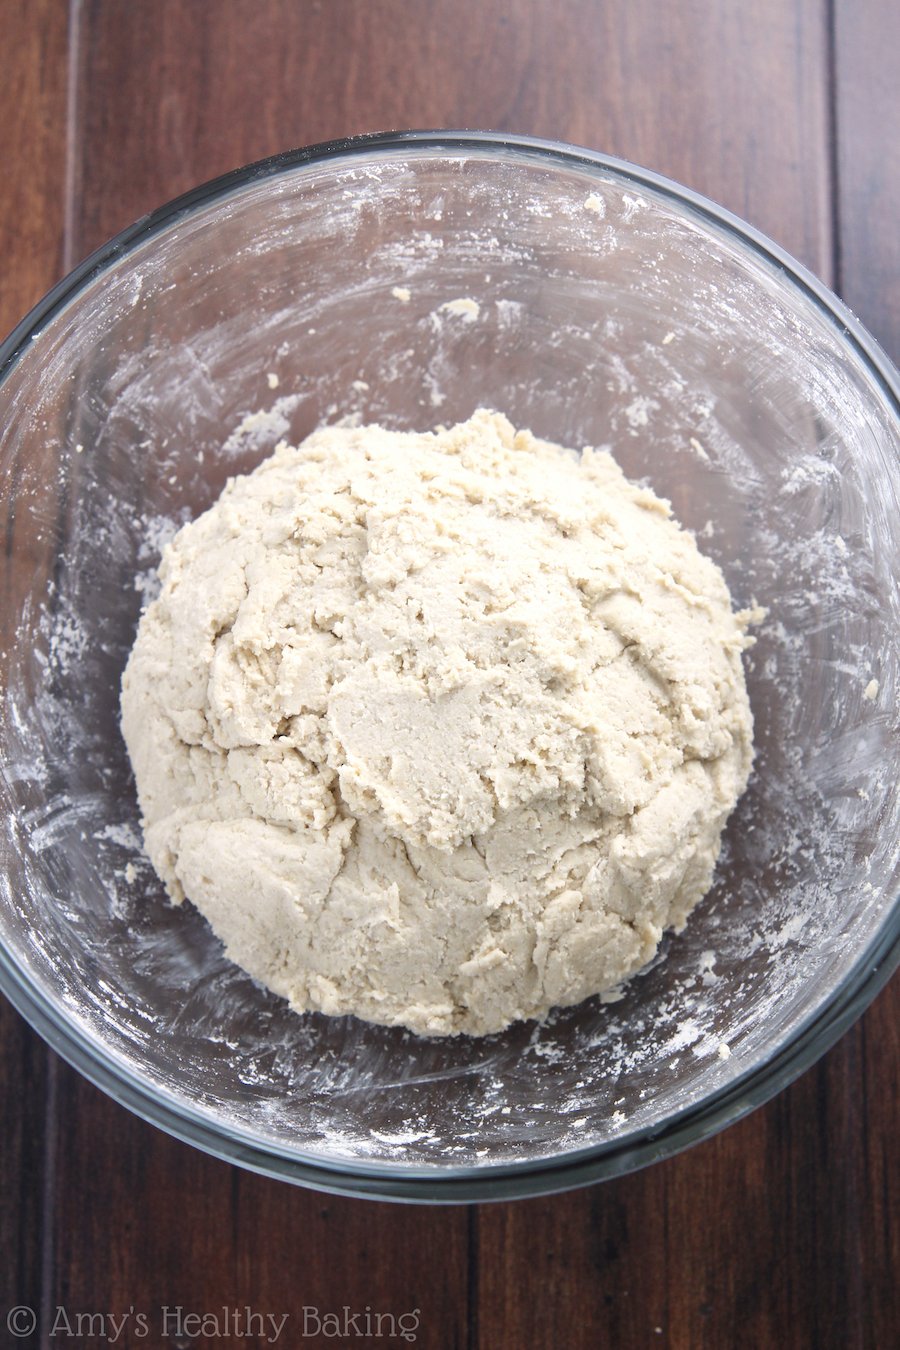
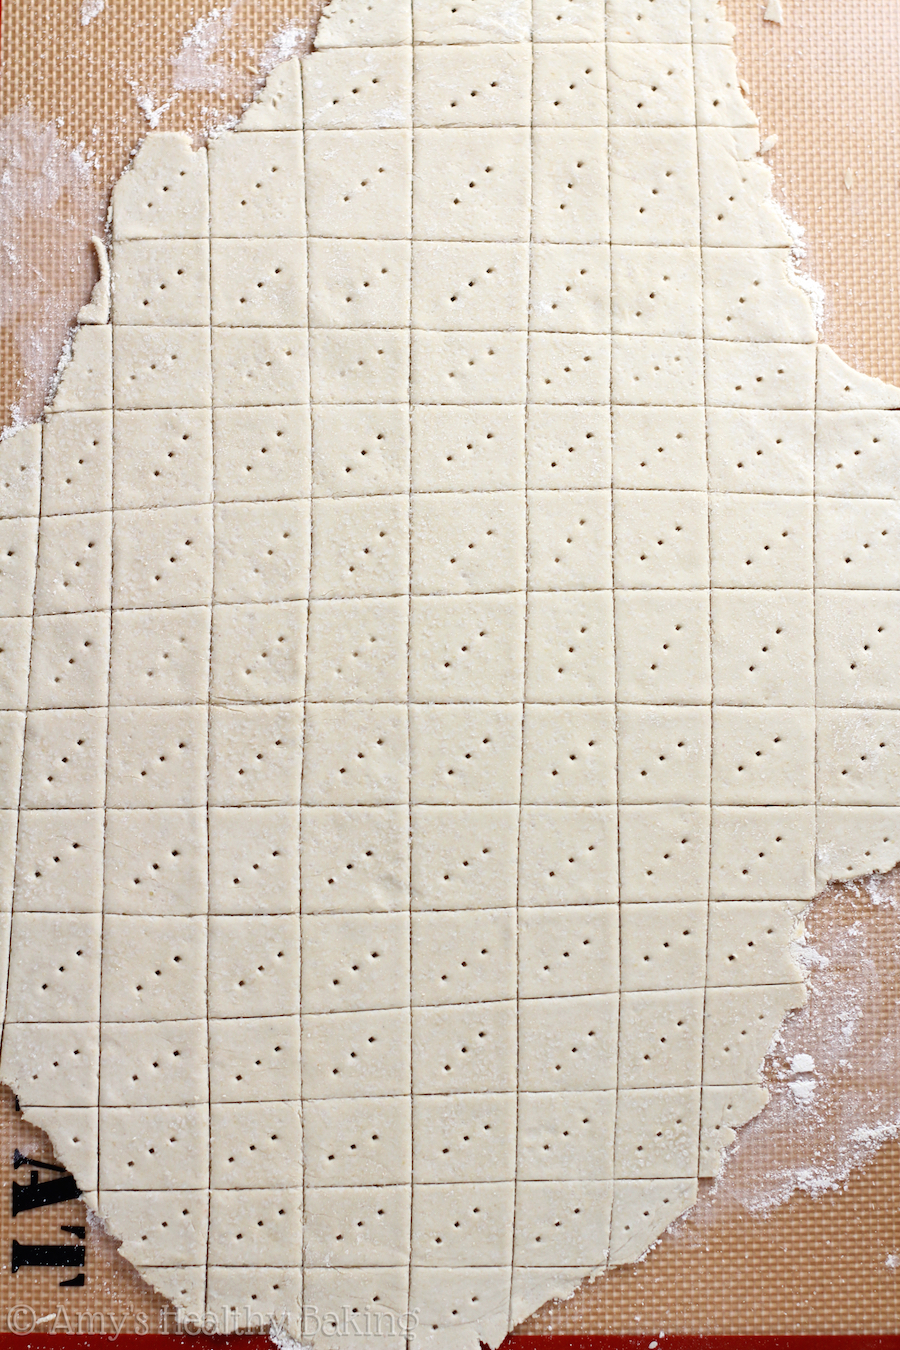
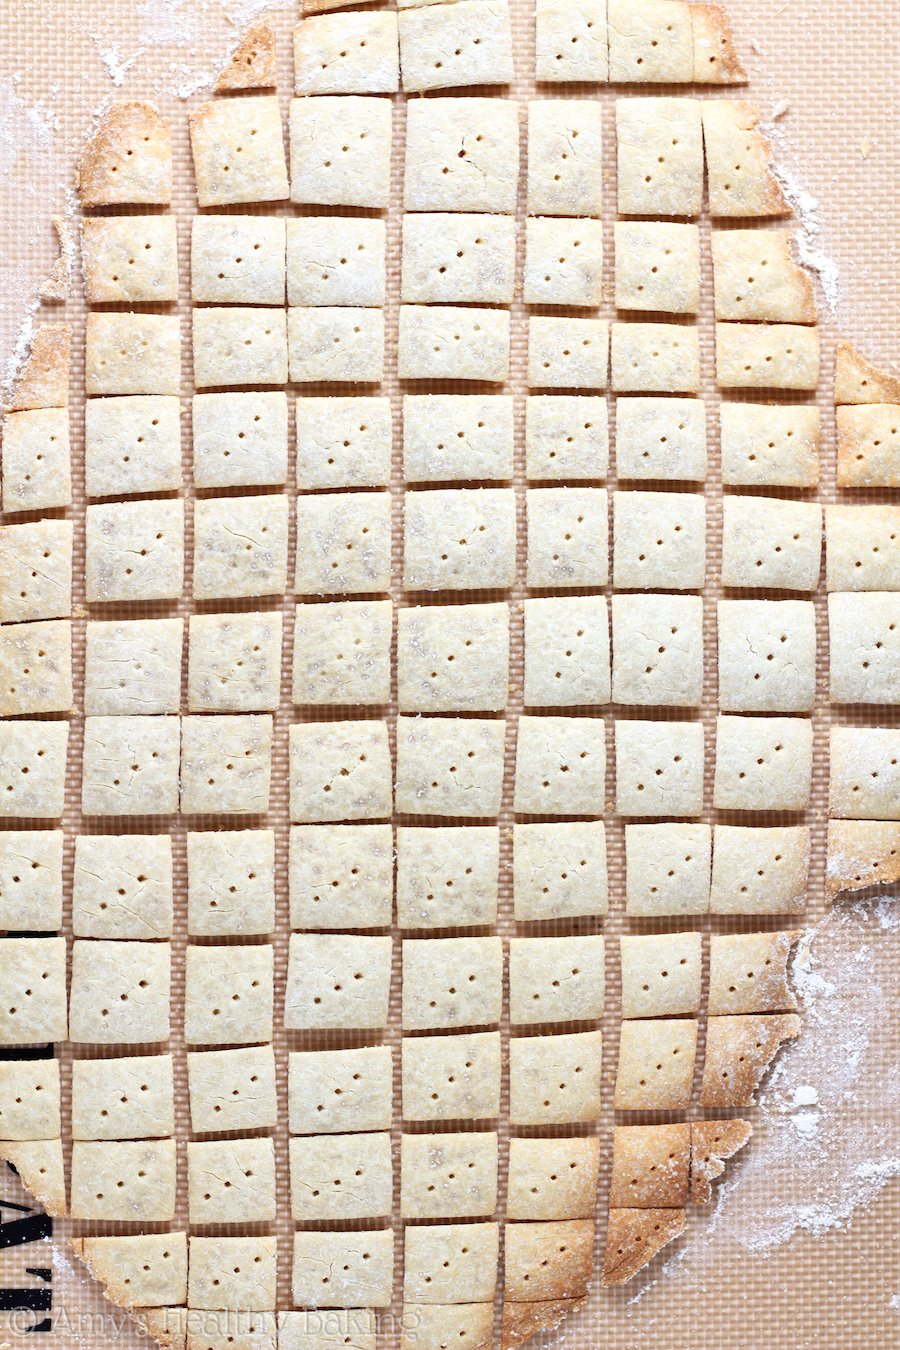
Helpful Hint: Step-by-step photos are included beneath the recipe!
Like I said, these are unbelievably simple. You just need 4 ingredients, most of which you store in your pantry already! The only one that may require a separate trip to the store is quinoa flour. It’s made from finely ground white quinoa, and although you can make your own, I saved time by purchasing mine. Someday I’ll try making it from scratch!
After mixing together all of the ingredients, roll out the dough onto a well-floured silicone baking mat or parchment paper. I highly recommend silicone baking mats for this! They’re non-stick, reusable, and stay put on the countertop while rolling out the dough. (Unlike parchment paper, which you have to tape down, and when the tape or paper rips… Very frustrating, to say the least!) I own a few, and they’re worth their weight in gold!
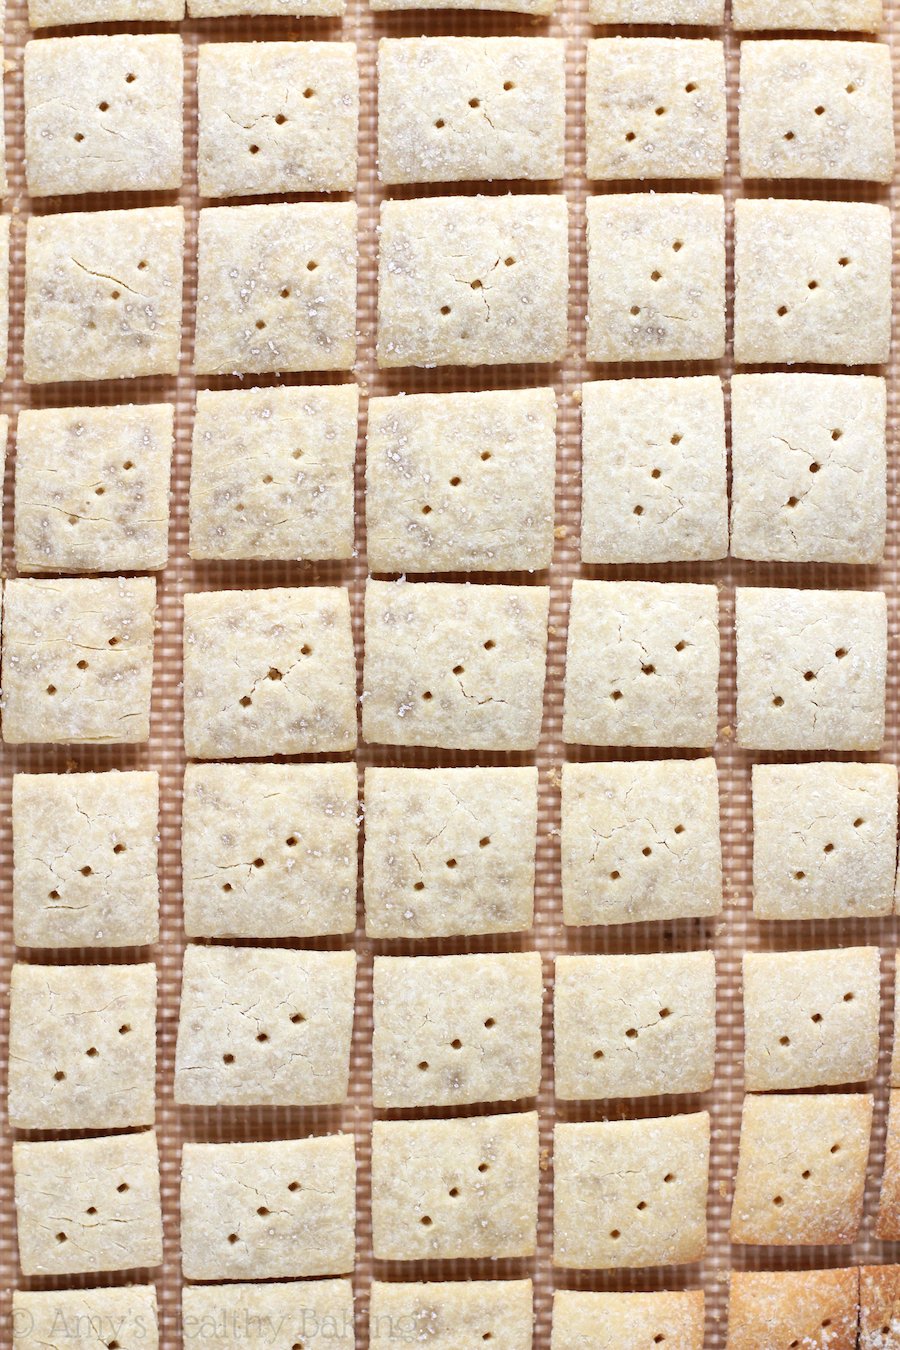
To cut the crackers, skip the knife and use… A pizza cutter! The edges turn out more even and much cleaner. And don’t forget to prick the centers with a fork! This prevents the crackers’ centers from turning puffy from air bubbles. Then transfer the silicone mat to a baking sheet, pop it in the oven, and wait.
In general, the edges turn really crispy and almost burnt, while the middle crackers have a little more chew to their texture. If you prefer all of the crackers to be crispy, remove the dark edge pieces from the pan, and continue baking the center crackers until they’re as crunchy as you’d like.
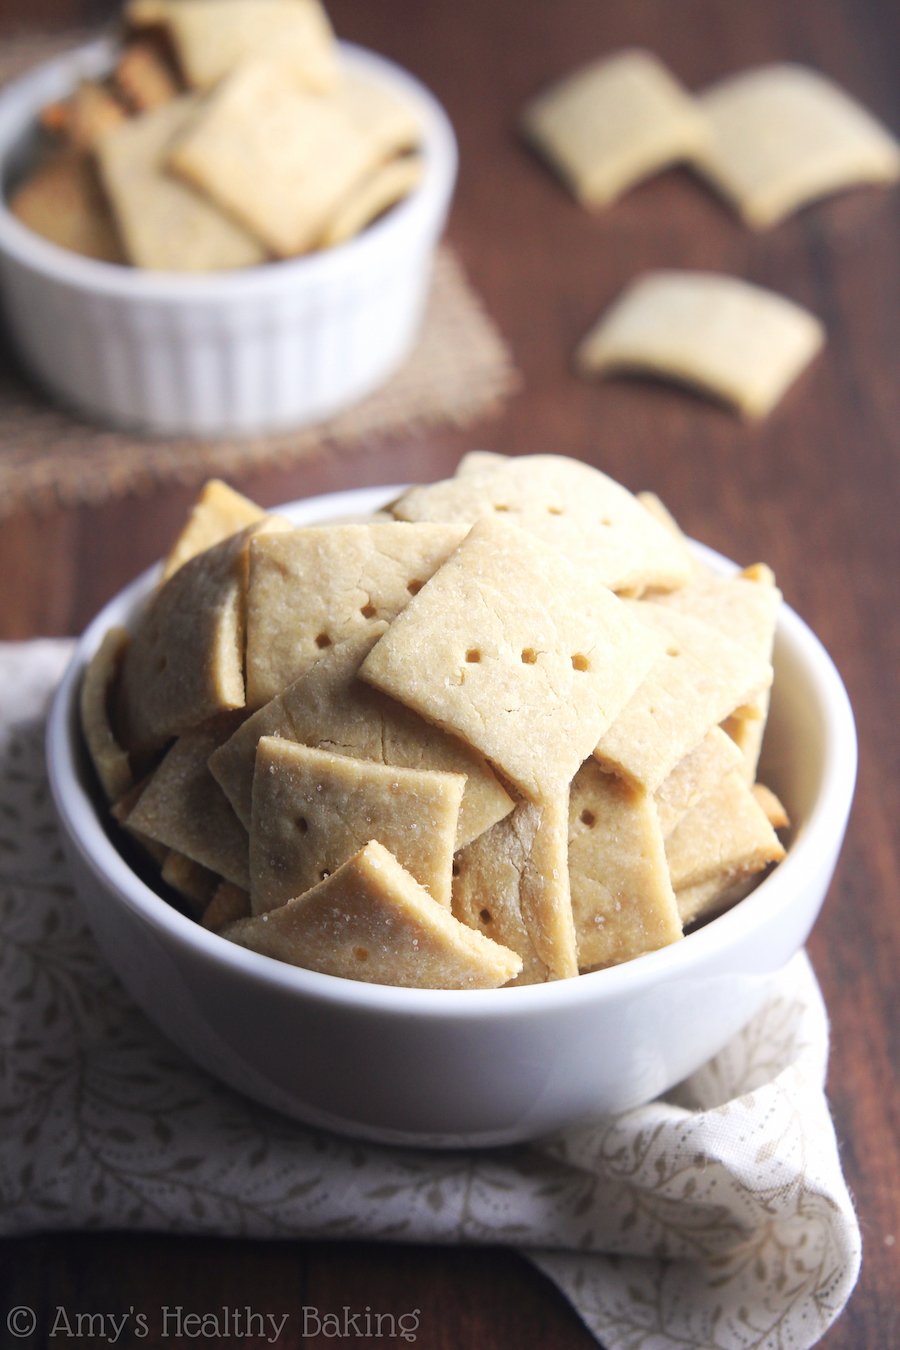
My dad gave these two thumbs up, especially because of the familiar quinoa flavor! That’s the best compliment I could’ve asked for.
| Simple Quinoa Crackers | | Print |
- 1 cup (120g) quinoa flour (measured correctly), plus more for rolling
- ½ tsp salt
- 1 tsp coconut oil, melted
- 6 tbsp (90mL) warm water
- Preheat the oven to 350°F, and set out a large baking sheet. Spread a silicone baking mat onto a level surface, and lightly sprinkle with quinoa flour.
- In a medium bowl, whisk together the quinoa flour and ¼ teaspoon of salt. Make a well in the center. Add in the melted coconut oil and warm water. Stir until combined.
- Turn out the dough onto the prepare silicone mat. Lightly flour a rolling pin with quinoa flour, and roll out the dough to 1/16” thick. Cut the dough into 1” squares with a pizza cutter, and prick the center of each square with a fork. Sprinkle the remaining ¼ teaspoon of salt on top, and gently press it into the dough.
- Transfer the silicone mat to the baking sheet. Bake at 350°F for 25-30 minutes, or until crunchy. Cool completely to room temperature on the baking mat before transferring to an airtight container.
In a pinch, parchment paper may be used in place of the silicone baking mat. However, it’ll probably rip when slicing the crackers with the pizza cutter, so you’ll need to line the baking sheet with a second piece of parchment paper.
This recipe can be doubled.
{gluten-free, vegan, clean eating, low fat, low calorie, sugar-free}

More homemade cracker recipes from other food bloggers…
♥ Homemade Ritz Crackers by Cupcake Project
♥ Homemade Wheat Thins by Two Peas and Their Pod
♥ Black Sesame and Wild Rice Crackers by Snixy Kitchen
♥ Homemade Flax and Hemp Seed Crackers by Gourmande in the Kitchen


Wow! What a simple and nourish recipe 🙂 Can’t wait to try it. I am thinking of making some also with sesame.
Sesame sounds lovely! I really hope you enjoy the crackers Anca!
Is crushing on crackers a thing? Because I’ve totally fallen hard for these! One; your photography is on point (gorgeous job) and two; these crackers look uhmazing! Like, crispy crunchy, the perfect dippers, fantastic color (not dark brown like whole wheat) and just what my carboholic heart needs! What a sweet gift for your dad. My guys aren’t huge quinoa fans (texture wise) so flour form sounds great. Plus, this is crackers we’re talking about. Who doesn’t love crackers?? Thanks so much for this recipe Amy, it’s a keeper!
Aww Mary Frances, you’re just the sweetest! Thank you so much for your kind words! It means a lot to me that you like the photos. 🙂 I totally get the quinoa texture thing; I was like that for a really long time. My guy doesn’t like the smell of it, so he’s a lost cause… But hopefully you’re able to convert your guys with a little more luck!
I love your step-by-step photos, Amy!! I’ve never played around with quinoa flour… maybe that will have to change…
Aww thank you! Come on over and we can make these! Or maybe in your new kitchen? 😉
Yay this recipe looks awesome! I have quinoa flour that I have no idea what to do with so am defintely going to try these! Thanks for sharing 🙂
My pleasure Elien; I really hope you enjoy the crackers!
I want to try making these to go along with my homemade humus, but I don’t like coconut. Can I use olive oil or a another oil?
Yes! Olive oil would be a great substitute, but just about any oil will work. I hope you enjoy the crackers Angel!
Hi Amy!
I would love to try these crackers with chopped sun dried tomato – have you experimented with such add ins? Thanks!!
I haven’t experimented with mix-ins, but I’m fairly sure that sun dried tomatoes would work. It sounds like a lovely flavor combo! 🙂 I hope you enjoy the crackers Sara!
Hi Amy,
These crackers sound great; can’t wait to try them!
Do you know how long the crackers will last in an air tight container?
I answer that in the text beneath the recipe title Chelsea! 🙂 They’ll probably last for longer than that, but I can’t guarantee that they’ll stay as crunchy. I hope you enjoy the crackers!
I made these crackers and loved the flavour! Unfortunately they turned out so hard I couldn’t eat them. What did I do wrong?
Oh no! How thin did you roll out the dough, and how long did you bake the crackers? The thinner the dough is, the faster it bakes, so my first guess is that the crackers were just baked for a bit too long. I’m glad you enjoyed the flavor though Janis!
I’ve seen some cracker recipes that suggest putting a pan of water underneath the crackers (rack below) perhaps that evens out cooking them evenly?
I haven’t heard that before, but it’d be fun to try! 🙂 I’d love to hear what you think if you try these crackers Kristine!
My son has food allergies and we have yet to trial an oil for him, but he can safely eat quinoa. Do you know whether this recipe would work without the oil?
I really appreciate your interest in my recipe Margie! The texture of the crackers is much better with the oil, but they’ll still have the same flavor without. Any oil will work, if you’re ever able to find an oil that works for your son! 🙂 I can’t wait to hear what you think of these crackers if you try them!