

Nearly every day after arriving home from middle school, I dropped my backpack on the floor next to the kitchen table and walked straight into the pantry to rummage around for a snack. Mom had designated an entire shelf to quick grab-and-go finger foods, located at just the right height for short preteens to stare at and reach.
In addition to the packaged chewy chocolate chip cookies and fudgy cupcakes, that shelf held a wide variety of less sugary snacks: mini pretzel twists, fruit-filled granola bars, Goldfish, Triscuits and Wheat Thins. Although the big one-pound bags of pretzels usually disappeared in less than a week between my younger brother and me, the crackers were always a popular choice too.

We’d alternate between craving the simple woven wheat style of the larger Triscuits and the slightly sweeter, less messy Wheat Thins. I generally preferred the latter, mainly because they were smaller and I could eat more! But regardless of which snack we chose, we’d set the box in the middle of the kitchen table and take turns politely reaching in to grab a few crackers while starting on our homework.
Eventually, my brother and I started gravitating towards healthier snacks like fresh fruit or veggies with dip, so Mom stopped buying quite so many boxes of kid-friendly crackers at the store. Instead, those were replaced by more “adult” tasting varieties from Trader Joe’s flavored with rosemary, thyme, and other herbs for Dad to snack on at night.

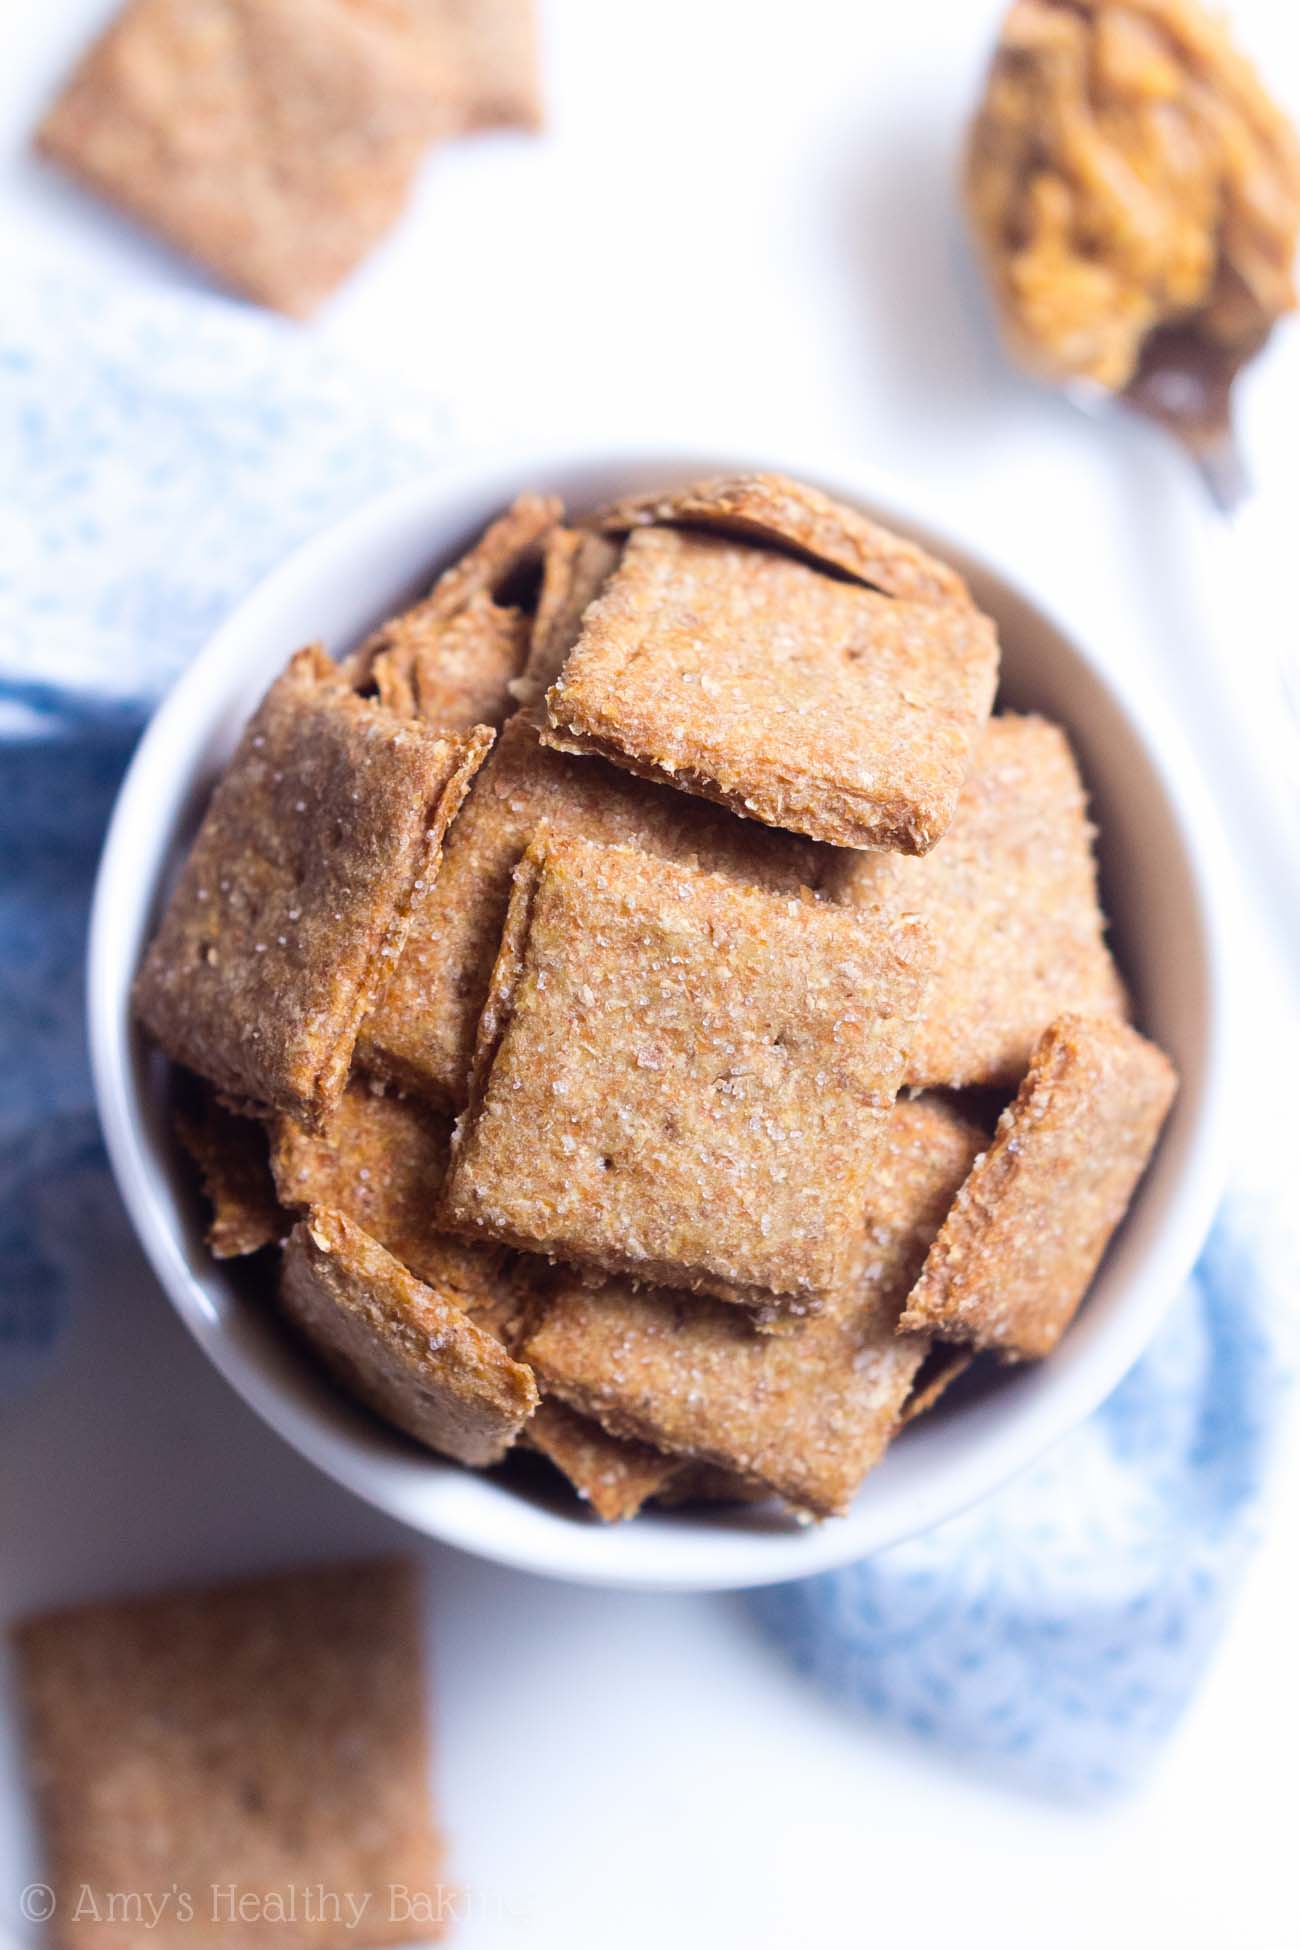
However, with this recent heat wave (106°F in September??), my family and I lost the desire to cook dinners, and we turned to lots of salads or smorgasbord evening meals instead. Because my dad still enjoys his nightly crackers, albeit with gourmet goat cheese and Brie lately, I decided to bravely turn on the oven and bake these Homemade Wheat Thins for him!
Although I probably should’ve made a double batch… It turns out my brother loves them too and has been snacking on them in the afternoons!
Truth be told, these aren’t quite exactly like Wheat Thins. When I looked at the ingredients list and saw three different kinds of sugar, I knew I could make my recipe healthier! So we’re trading the processed ingredients for 100% wholesome ones, which means this DIY version is clean eating friendly.

Even better, these require just 5 ingredients, all of which you probably stash in your pantry already! Whole wheat flour, salt, coconut oil, maple syrup, and water. That’s it! I skipped baking powder or baking soda because I prefer my crackers to be nice and flat, instead of puffy and raised in the center. That look is fine on my cupcakes, but… I’ll keep my crackers thin, thanks!
The secret to crunchy crackers is to roll them out as thin as possible. Aim for less than 1/16”, if you can! I always roll mine out with a silicone rolling pin because that has a non-stick and more even surface than wooden ones, and I do it right on the silicone baking mat on which I plan on baking the crackers.
My other trick is to slice the flattened cracker dough into squares using a pizza cutter! It results in straighter lines than a knife, but either will work.
Then pop the tray in the oven, wait impatiently, and snack to your heart’s content!
| Homemade Wheat Thins | | Print |
- 1 cup (120g) whole wheat flour (measured correctly)
- ½ tsp salt, divided
- 1 tsp coconut oil, melted
- 2 tbsp (30mL) pure maple syrup, room temperature
- ¼ cup (60mL) water, room temperature
- Preheat the oven to 350°F.
- In a medium bowl, whisk together the flour and ¼ teaspoon of salt. Make a well in the center. Pour in the coconut oil, maple syrup, and water. Stir until all of the flour mixture is fully incorporated.
- Turn the dough out onto a lightly floured silicone baking mat, and lightly knead a few times. Roll the dough into a 1/16” thick rectangle. Slice the dough into squares using a pizza cutter or a sharp knife. Prick the center of each square with a fork, and sprinkle with the remaining salt. Slide the silicone baking mat onto a baking sheet, at bake at 350°F for 28-32 minutes or until crunchy. Cool the crackers on the baking sheet for at least 5 minutes before serving.
For a gluten-free version, use this recipe instead or the following gluten-free flour blend: ½ cup (60g) millet flour, ¼ cup (30g) tapioca flour, ¼ cup (30g) brown rice flour, and ½ teaspoon xanthan gum.
{vegan, clean eating, low fat, low calorie}


As someone who loves crackers and is trying to get healthy, I decided to stop buying boxed crackers because of the additives. I followed the directions exactly and the crackers were delicious. I’m wondering, would the crackers get hard or become hard bread-like crackers the day after baking them? I’ve tried out recipes that tasted wonderful the first day, but became hard and inedible the next.
Thank you 🙂
I’m so glad you enjoyed these crackers Jayce! I’ve never had them turn inedible when eating them the day after baking. They maintained their texture for at least 5 days, just like I included in the text underneath the recipe title in the recipe box. 🙂 (We finished them in 5 days, hence the timeframe! 😉 )
Could you use olive oil instead of coconut oil?
Yes, definitely! I’d love to hear what you think of these crackers if you make them Alyssa! 🙂
I only cooked these for 17 minutes, and some of them burned ???? However, they weren’t completely burnt, just a bit, so they were still fine to eat. The others that didn’t burn were so, so good though! Was planning to take these for snack this week but ended up eating lots of them off the pan lol! I think because some of them were thinner than others, they cooked unevenly. Next time after 12 minutes or so I’ll just take out the thin ones and put the others back in so they none of them burn, which I probably should’ve done this time. They tasted better than the store bought crackers! I used olive oil bc I didn’t have coconut and part honey and part syrup (bc I ran out of syrup). I didn’t have a baking mat so I rolled them out on a wooden *pie-board-thing-not sure what the name for that is* and transferred them to a baking sheet. Overall a great snack and something I’ll make more often! One of my favorite recipes I’ve made from this website so far!
I’m so glad you loved these crackers too Emily! It means SO much to me that you’d say these are better than store-bought crackers. Thank you for taking the time to let me know! 🙂 I’ve had the same issue of snacking on more than I anticipated straight from the baking tray… You’re not alone there! 😉 Was it a pizza peel? That’s the first thing that came to mind when you described the wooden board!
My BF likes to eat Wheat Thins and I was so happy to find a ‘clean’ version of them to try. I baked them today and my apartment smelled delicious. I experimented with the salt topping and did some with truffle salt, some with smoked salt and some with onion powder. They were all winners! I really like this recipe and will make a double batch next time. The dough was easy to work with and I was able to roll it out quite thin. (I only had to bake them for about 20 minutes, because I think I got them a little too thin.)
I’m so glad you enjoyed these homemade Wheat Thins Jennifer! That truly means so much to me that you’d consider making them again — and a double batch too! That’s the best kind of compliment there is. Thank you so much for taking the time to let me know! 🙂 (And I love the sound of your flavor variations too! I need to remember to try that sometime!)
I really want to make these and they look amazing but i’m on low calorie diet so do you know about how many calories there are per serving or for the whole thing?
The full nutrition information (including calories per serving!) is actually included directly underneath the recipe box. I know it can be easy to miss! 😉 I’d love to hear what you think of these homemade wheat thins if you try making them, Siena!
Dear Amy,
Could you please help me what I did wrong?? Followed the recipe along , but they tured out really hard. I was baking them for 20 minutes. They tasted sooo good so I would make them again. Maybe overbaked them??
God Bless: Gyorgyi
I’m honored that you tried making my recipe, Gyorgyi! These crackers are supposed to be crunchy and somewhat hard. Were they not crunchy at all? Or were you expecting soft crackers instead?
How thick was your dough after rolling it out? How many oven rack positions does your oven have, and which one did you use?
Thank you for getting back to me Amy :). You are really doing an amazing job and I really like your recipes !! Just made snickerdoodles and they turned out perfect :).
I was expecting crunchy ones but they were not crunchy at all just really really hard. The dough was about 2 mm thick. I have 5 oven rackes and I used the 2nd from the bottom.
It’s my pleasure, Gyorgyi! I’m happy to help. It means SO much that you’d call the snickerdoodles perfect too — thank you for taking the time to let me know! 🙂
If your dough was about 2mm thick, then that would’ve been a bit thinner than the thickness to which I rolled out my dough. That could potentially be why your crackers were hard after just 20 minutes in the oven! If you do end up making them again, either (a) roll out your dough so it’s not quite so thin or (b) leave the dough thickness the same and bake them for shorter, around 15 minutes instead. I’d also recommend the middle (3rd) oven rack position to make these crackers. That should bake them a bit more evenly than the 2nd from the bottom!