Step 3: Pick a website builder.
Congratulations, you just paid for your first fancy filing cabinet! Err, I mean… Your first blog host! Before you begin transferring your files, you’ll want to make sure you set up an organized system to store everything. Now it’s time to choose the website builder, or what the dashboard, post editor, and comment response area will look like.
There are multiple options for website builders, just like for hosts. These include Weebly, Squarespace, and Edicy, but because I started with WordPress.com, I wanted to keep the appearance the same and went with WordPress.org.
(Note: Nearly every self-hosted food blogger I’ve talked to has also chosen WordPress.org. And even better—it’s free!)
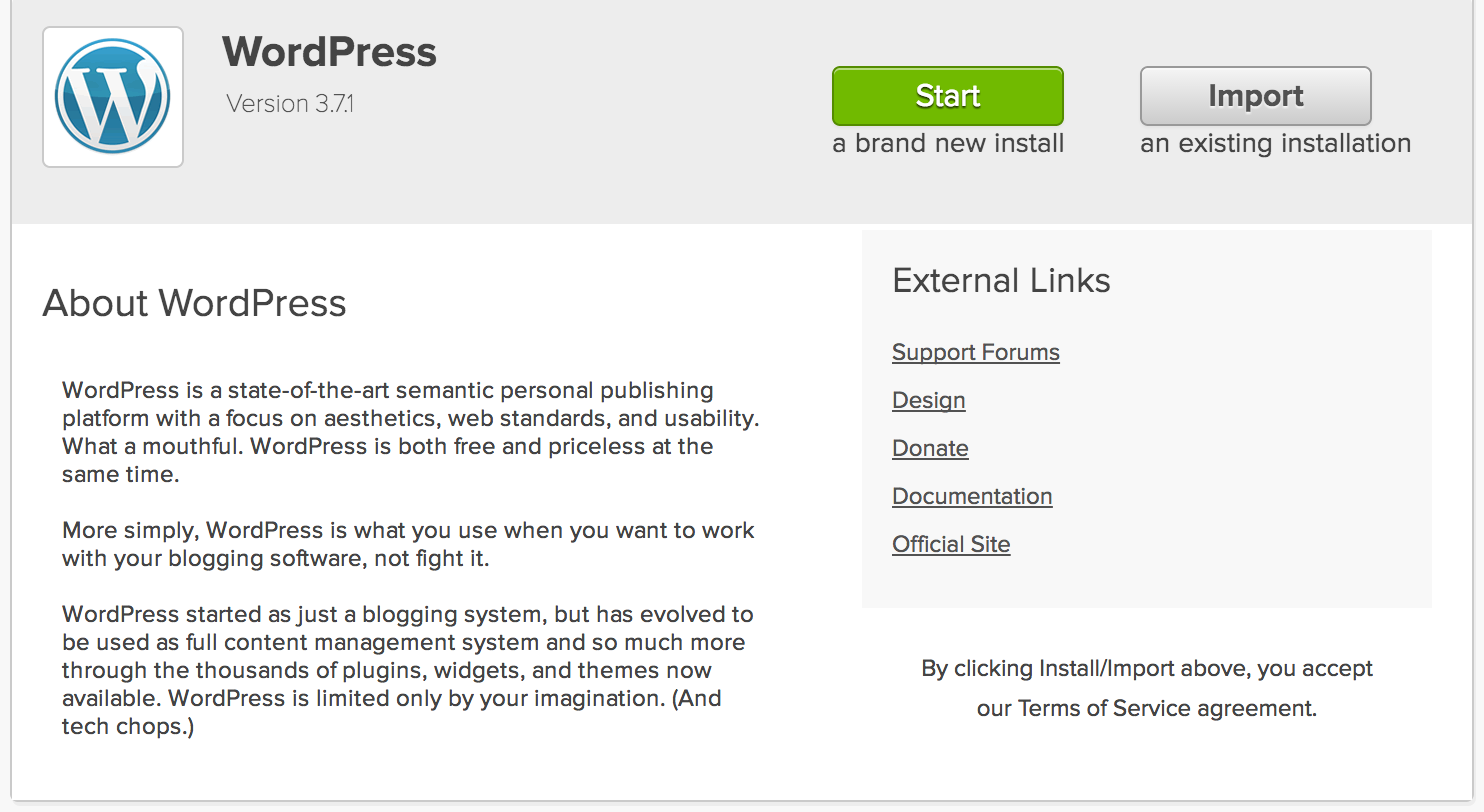
To set up WordPress in BlueHost, access your cPanel, or “homepage.” Scroll down to “Website Builders,” and click on the WordPress icon. On the page that appears, click the green “Start” button.
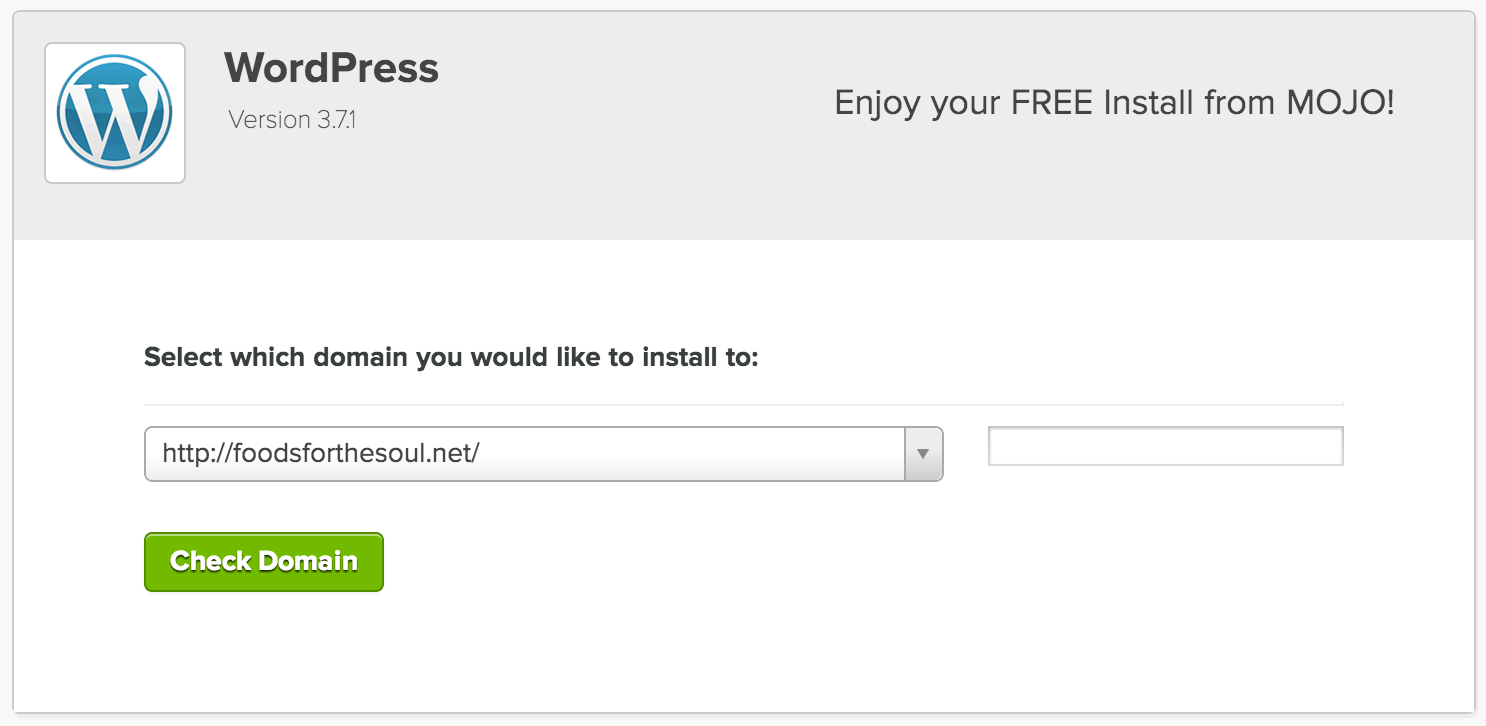
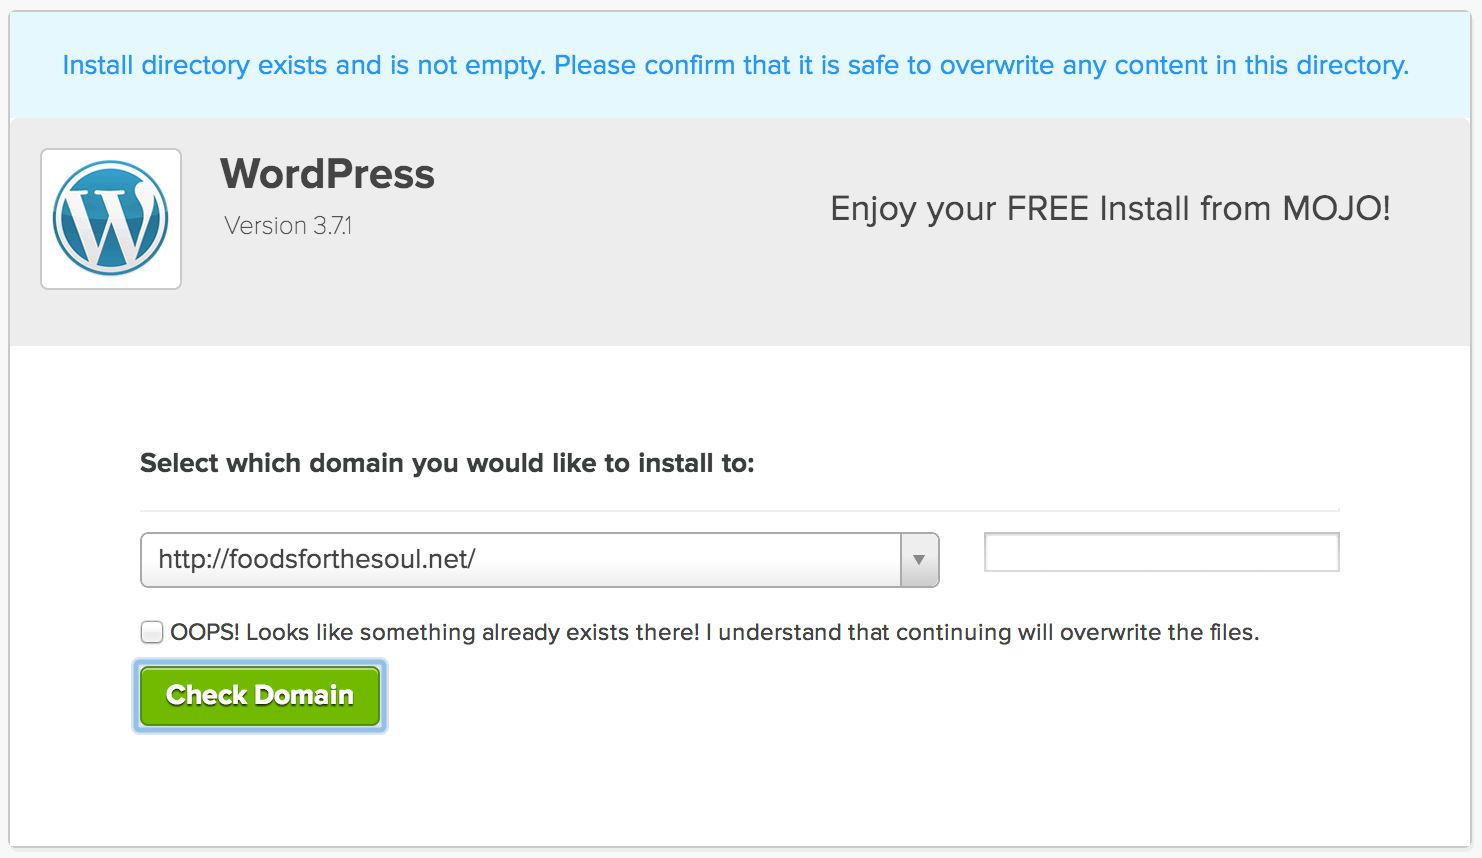
On the next page, you should not need to change anything. Make sure your domain name is selected, and leave the following field blank. Click “Check Domain.” If you receive the following message, click to check the box and continue.
When the installation is complete, write down the following information: Site URL, Login URL, Username, and Password. (You may change the password later.) In a new browser window, copy and paste the Login URL. When the login screen below appears, type in your Username and Password.
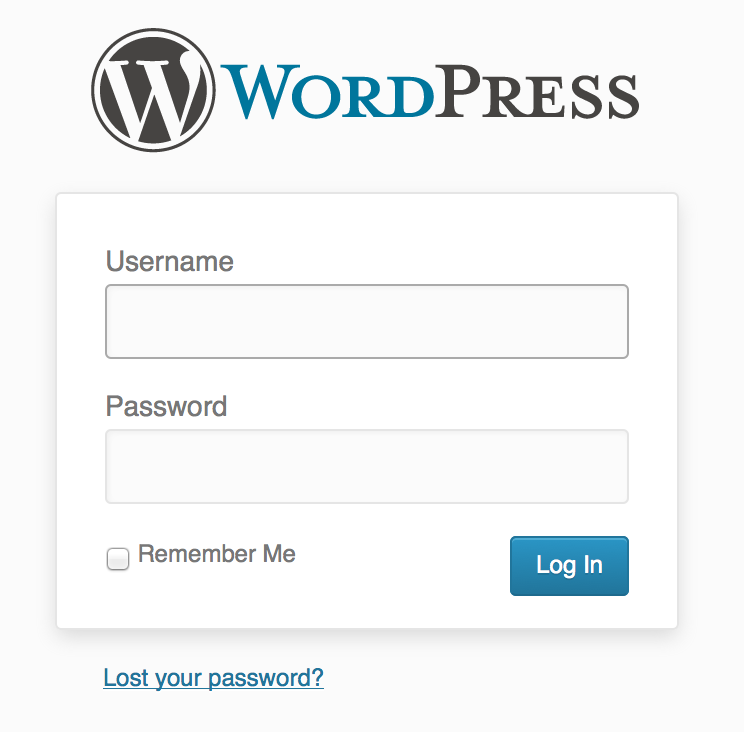
Hooray—you’ve accessed your blog’s dashboard!
Other Steps in This Series…
Step 3: Pick a Website Builder
Step 5: Save, Export, and Upload Your Content
Step 7: Add Email and RSS Subscription Options
Step 8: Reach Out to Old Readers
Bonus: 4 Features of a Successful Blog
