Step 5: Save, export, and upload your content.
You already typed up 236 posts and uploaded 947 photos. You’d rather not lose them—and you don’t have to! To transfer all of your stuff from your old filing cabinet to the new, you just need a FTP (File Transfer Protocol). It’s like a little robot that does all of the heavy lifting and moving work for you!
I downloaded Cyberduck for free, but many other FTPs exist too.
First, you’ll need to download your files from WordPress.com (or blogspot.com, or wherever you are now) to your desktop. For WordPress.com users, access the “Tools” section in your Dashboard’s sidebar, and choose the “Export” option.
(Note: You may select the “Guided Transfer” instead, but I’ll explain how to do it yourself so you save $129!)

Choose the “All Content” option. Although you might prefer to change your current page titles or delete some old comments, it’s easier to do that after uploading everything to your new filing cabinet, rather than sorting through your 1538 files right now.
Click “Download Export File.”
Here comes the tricky part! WordPress.org wrote the instructions for their “Famous 5-Minute Installation,” but unless you aced every single Computer Science class in college, it may take a teensy bit more time. I paraphrased them below and added my own advice to minimize any of your anxiety or apprehension.
First, download the current version of WordPress.org, and save it to your desktop. You’ll need to access files in there later.

Open a new web browser, and log into your new hosting service. If you signed up with BlueHost or another host that contains a cPanel, scroll down to “Database Tools.” Click “MySQL® DB Wizard.”
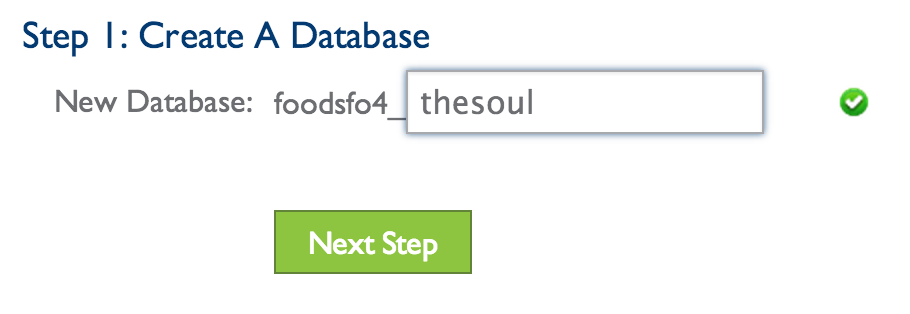
Create a database. Choose whatever word or phrase you’d like—as long as you write it down! Then click “Next Step.”
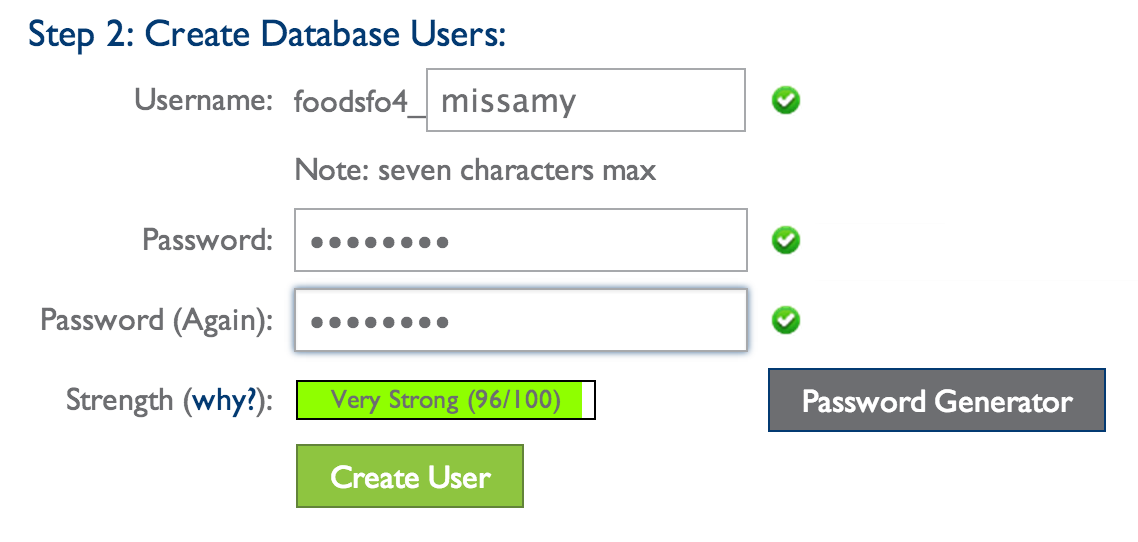
Now create a database user. I recommend typing in your name or nickname. Once you select a password and write down both it and your user name, click “Create User.”
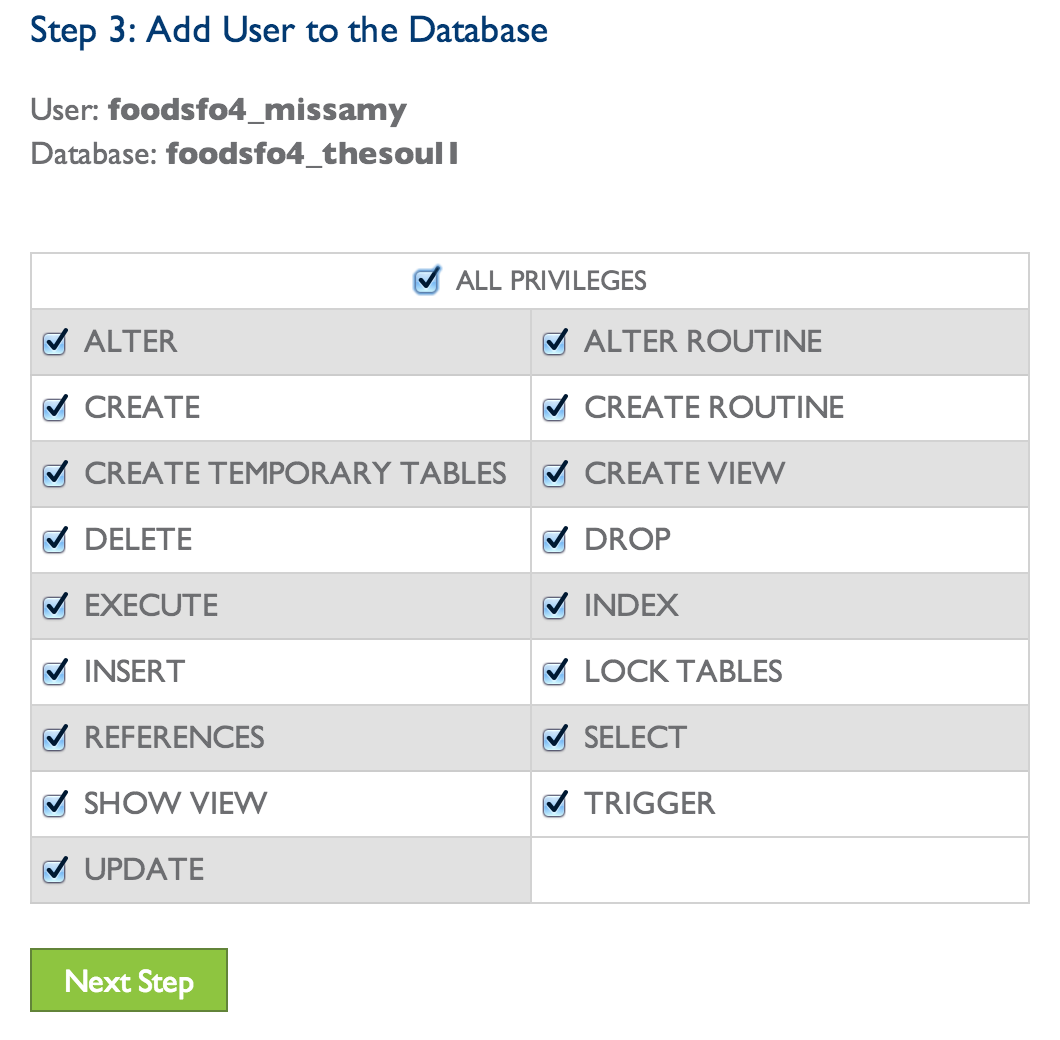
Next, give yourself “All Privileges.” It’s your blog—you should be able to do whatever you want!
You should have written down your database name, username, and password. Now, remember the WordPress.org files you saved to your desktop? (The folder should be labeled “wordpress.”) There should be a file called “wp-config-sample.php.” Rename it to “wp-config.php” and open it in a text editor. (NOT Microsoft Word!)

In the spaces provided, fill in your database name (‘DB_NAME’), database username (‘DB_USER’), and database password (‘DB_PASSWORD’). Make sure the hostname (‘DB_HOST’) is ‘localhost’.
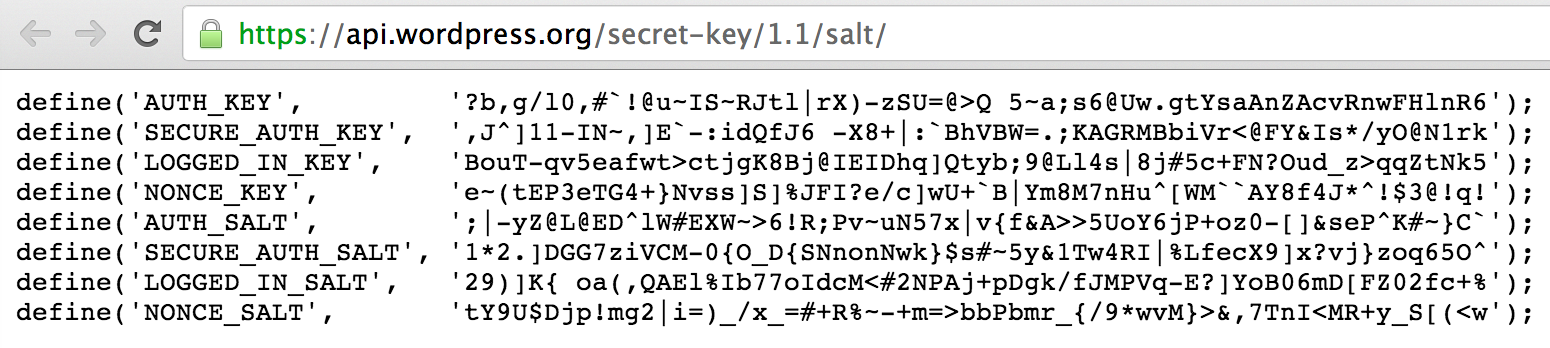
Scroll down a little until you see “The Authentication Keys.” Use this online generator from WordPress.org to create the super long, complicated codes for each of these keys. Simply copy and paste what the online generator creates into the text file. Easy as pie! (But do NOT use the example above!)
Save this file before closing the text editor. Make sure you save it as a .php file!
Take a deep breath. You’re doing great! Just stay with me here—it gets a tiny bit more complicated. But you’re almost done!
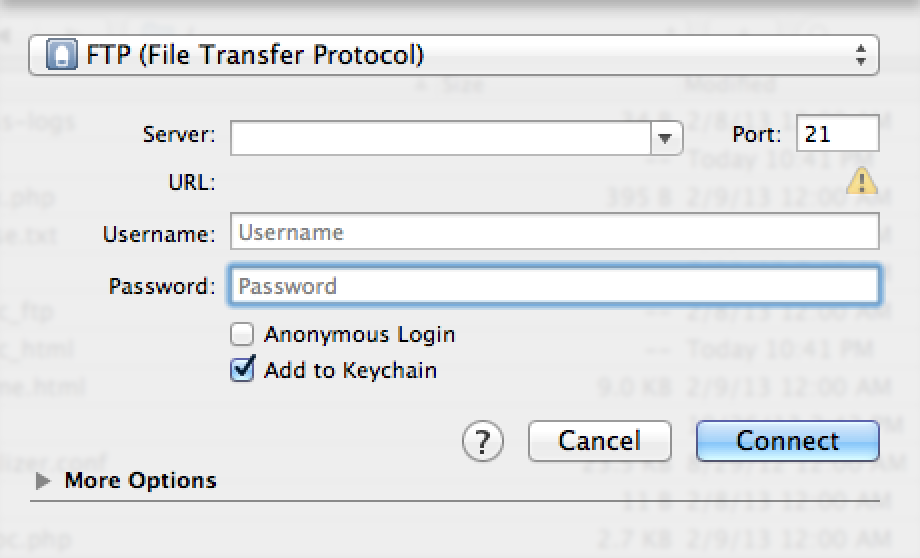
Open your FTP (aka Cyberduck, from the very beginning of this step!). Click “Open Connection.” Select “FTP” or “FTP-SSL” the top drop-down menu, and make sure it stays selected! Type in your FTP Host (you wrote this down in Step 1!) in the “Server” spot, your FTP Username, and your FTP Password. Click “Connect.”
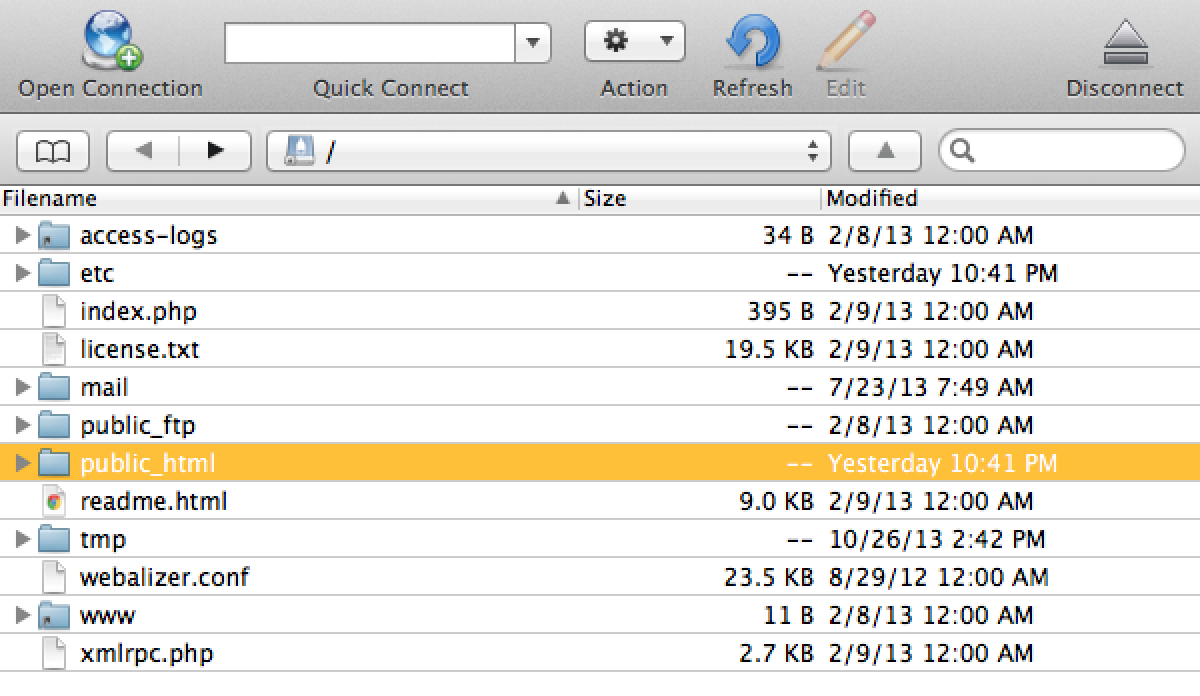
YAHOO! You’re in! Now comes the hardest part. Open the “wordpress” folder on your desktop, select all the files inside… And drag them into the “public_html” folder in the FTP window. (Seems simple, doesn’t it? But WordPress.org’s “Famous 5-Minute Installation” fails to specify which folder in the FTP window into which you drag your “wordpress” files!)
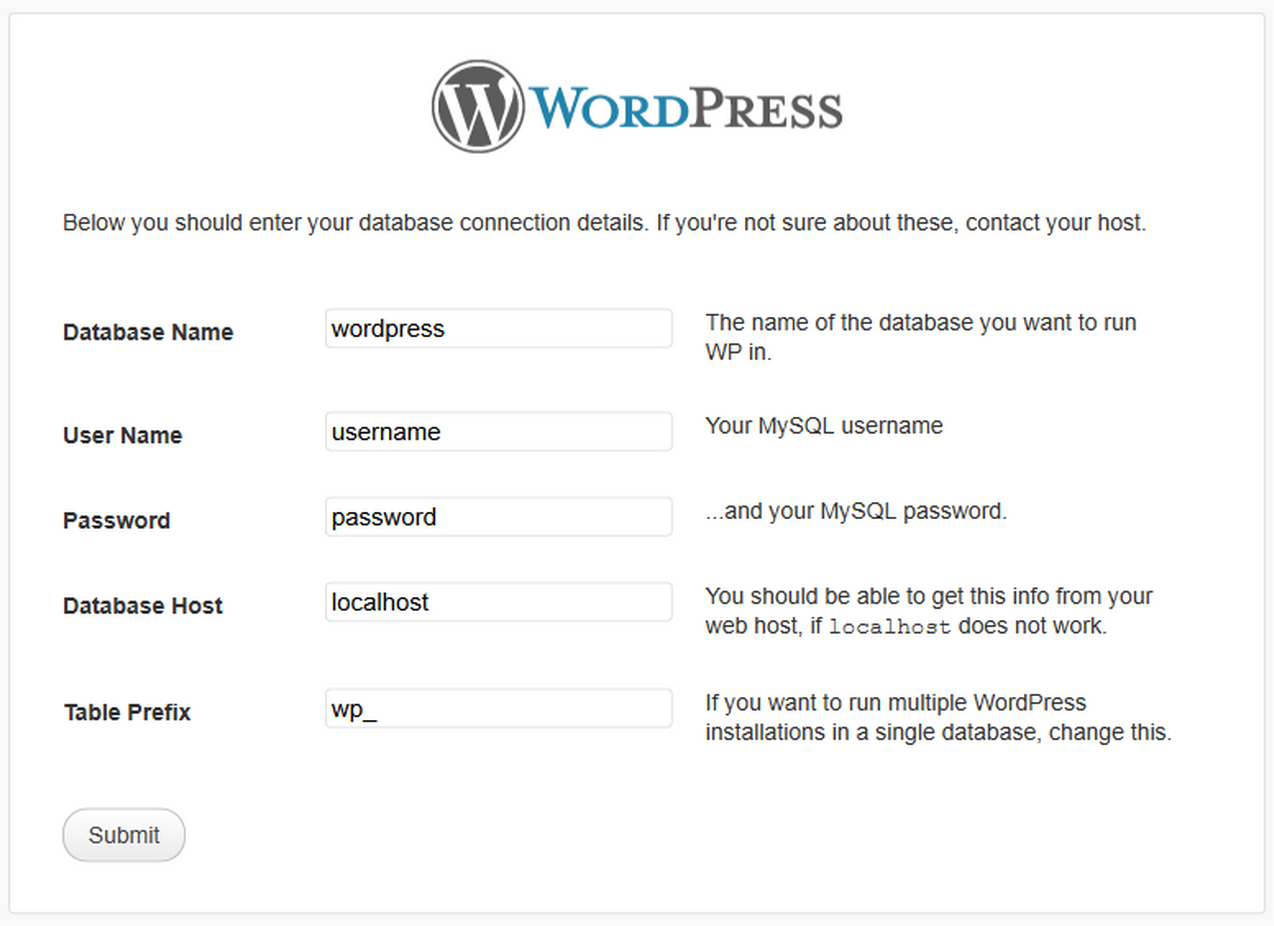
Open a new web browser, and type in the address “http://example.com/wp-admin/install.php” (replace the “example.com” with your domain name). If prompted, type in your database name (you created this in your cPanel earlier in this step, remember?), user name, and password; then click “Submit.”
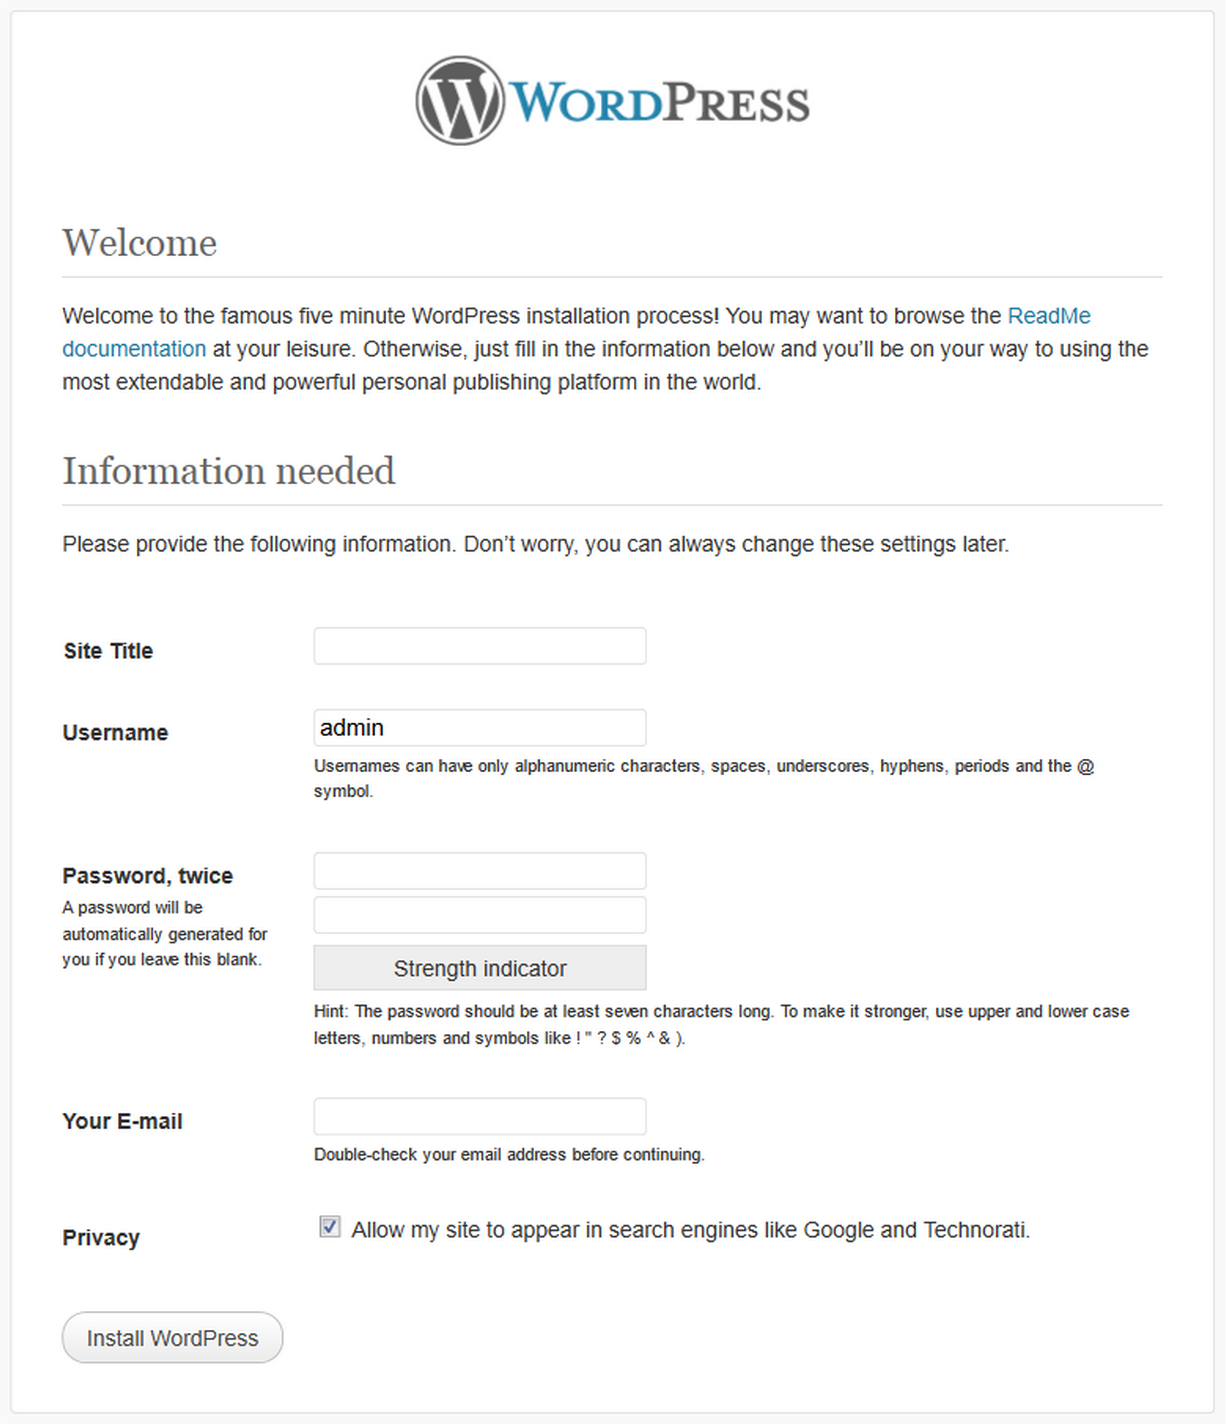
This screen appears next. Under “Site Title,” type the name of your blog (i.e. “Foods for the Soul”). For “Username,” choose your preferred name (i.e. “foodsforthesoul”). Fill in your password and email address, and click “Install.”

TADA!! You’re all done! Using the URL “http://yourawesomenewblog.com/wp-login.php” (replace “yourawesomenewblog.com,” of course!), log into your dashboard. All your old content should magically appear!
Note: If your content does not magically appear, don’t worry! Click on Tools (generally in the top sidebar or left sidebar) > Import and select the Install Importer option that pertains to you (Blogger, WordPress, etc.). The prompts should guide you from there!
Other Steps in This Series…
Step 3: Pick a Website Builder
Step 5: Save, Export, and Upload Your Content
Step 7: Add Email and RSS Subscription Options
Step 8: Reach Out to Old Readers
Bonus: 4 Features of a Successful Blog
