Step 7: Add email and RSS subscription options.
Although your mom may scan your blog three times a day searching for new content, most of your readers don’t have that much time. To notify them when you publish a post, you’ll need an email and RSS subscription service. Currently, FeedBurner (now run by Google) is one of the most popular RSS services.
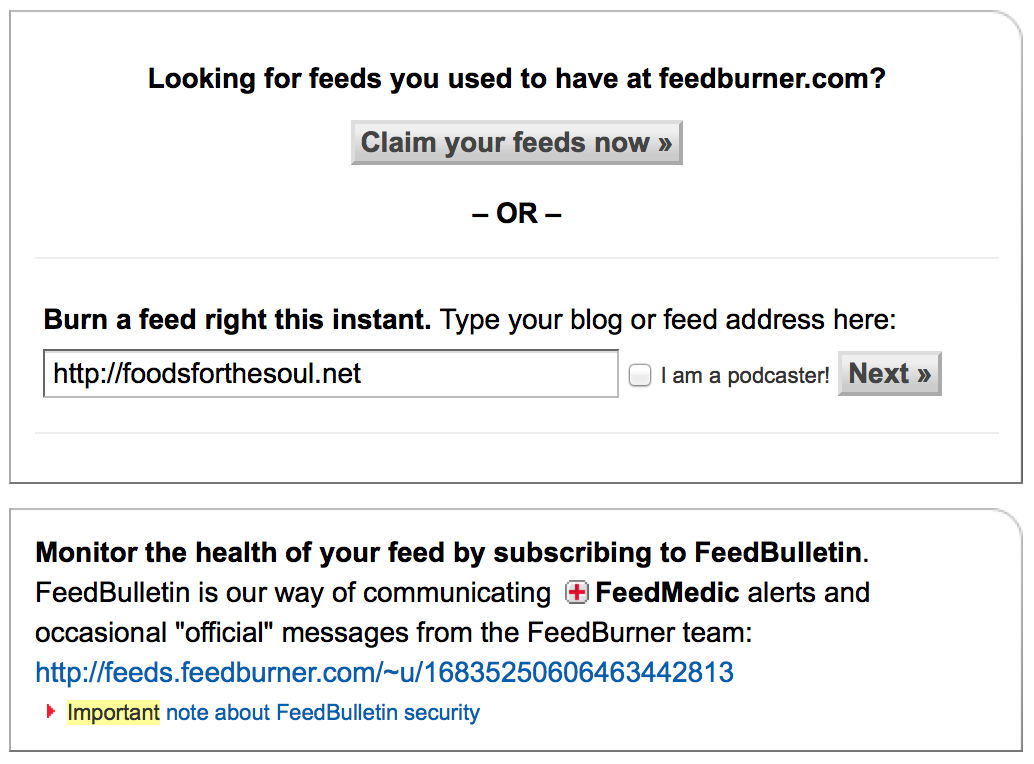
To sign up, open a new browser window and type in http://feedburner.google.com/. Where prompted, type in the URL of your blog.
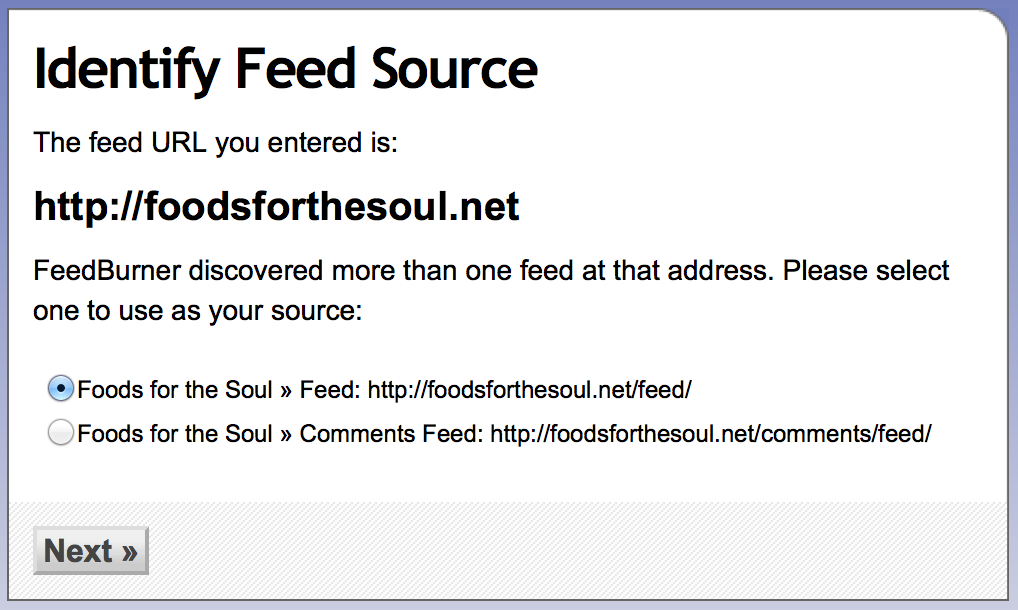
If the screen above appears, select your regular Feed—not the Comments!
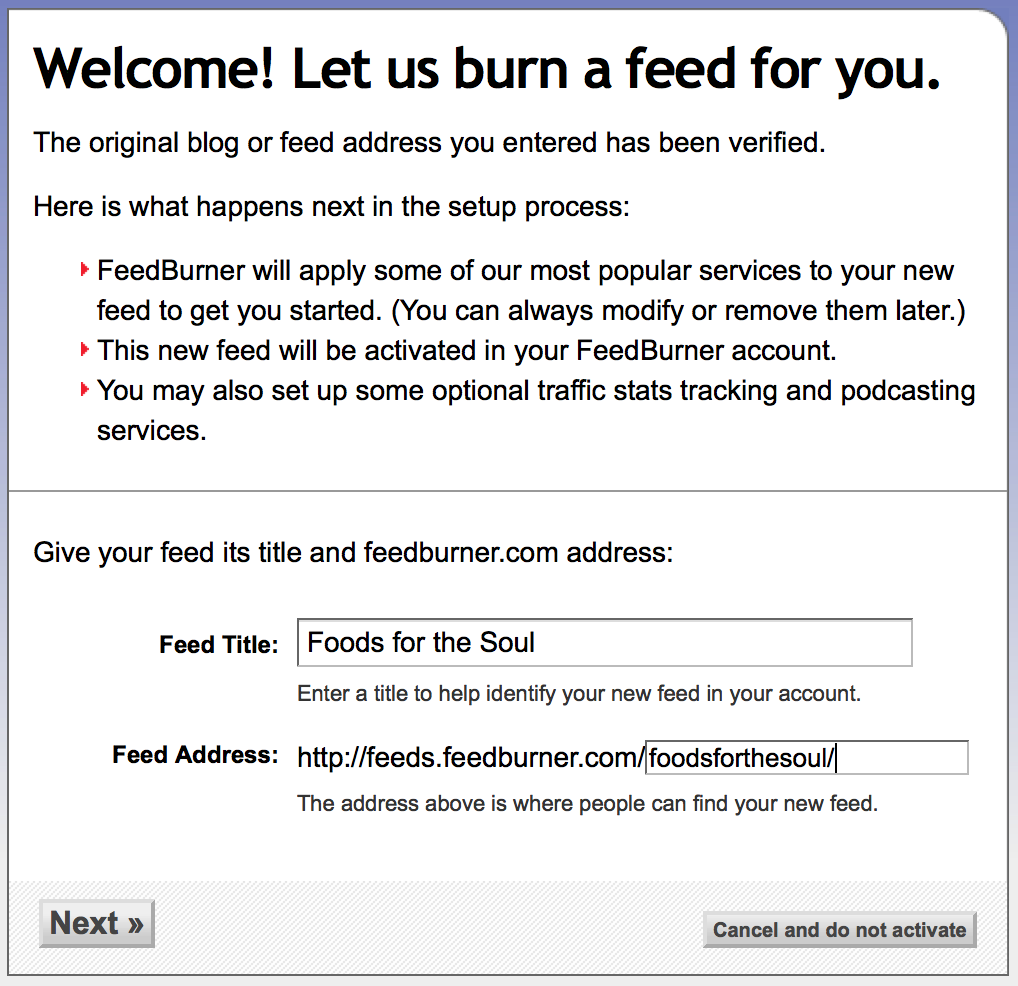
Next, title your feed and its FeedBurner address. Try to stick to your blog’s title, if you can!
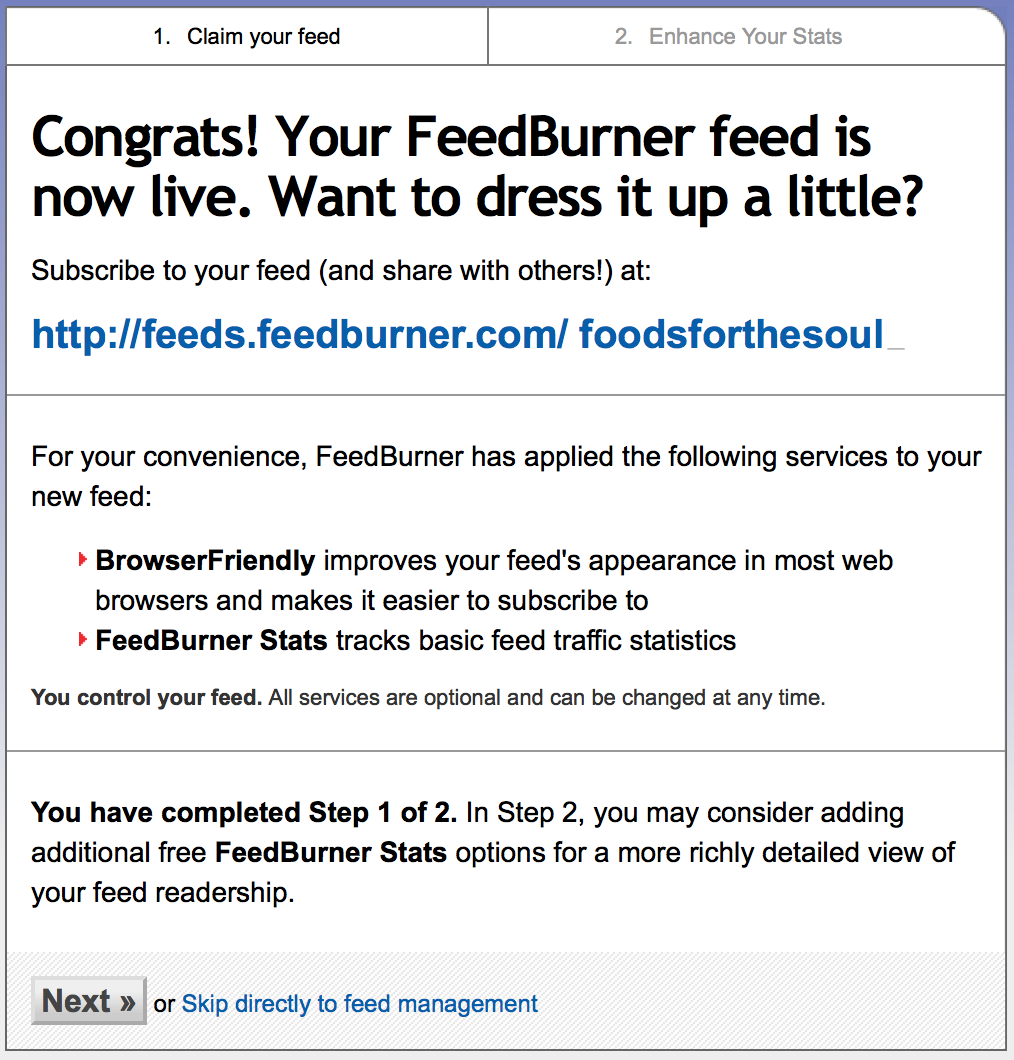
At this time, you may choose to enhance your stats. Otherwise click “Skip directly to feed management.”

Hooray! You have an RSS feed! Before I set you loose to start customizing it and obsessing over stats (P.S. the RSS ones are in under “Analyze” and the email under “Publicize” and “Subscription Management” in the sidebar), it’s time to set up the subscription options on your blog.
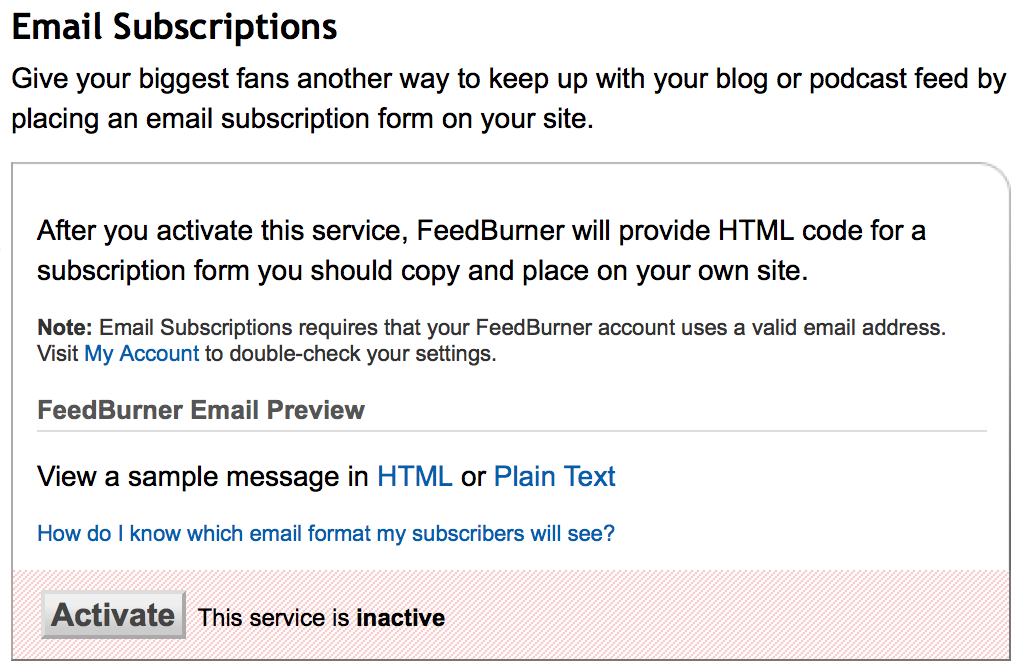
But first, one important little detail. Click on the “Publicize” tab; then click on “Email Subscriptions” in the sidebar. Activate the service.
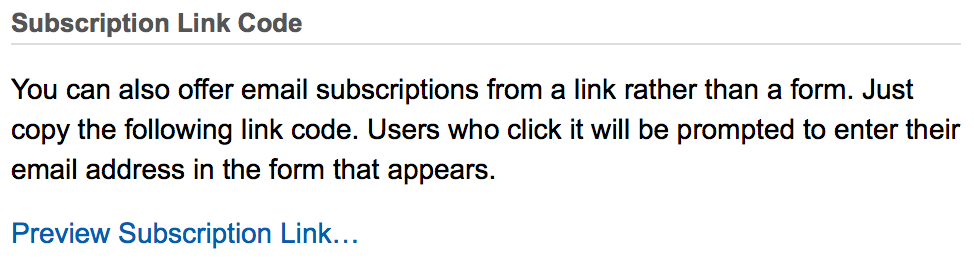
Scroll down until you see “Subscription Link Code.” Under “Preview Subscription Link,” there’s a tiny bit of HTML code. Copy the text in between the quotation marks after “<a href=” to your clipboard—you’ll need it soon!
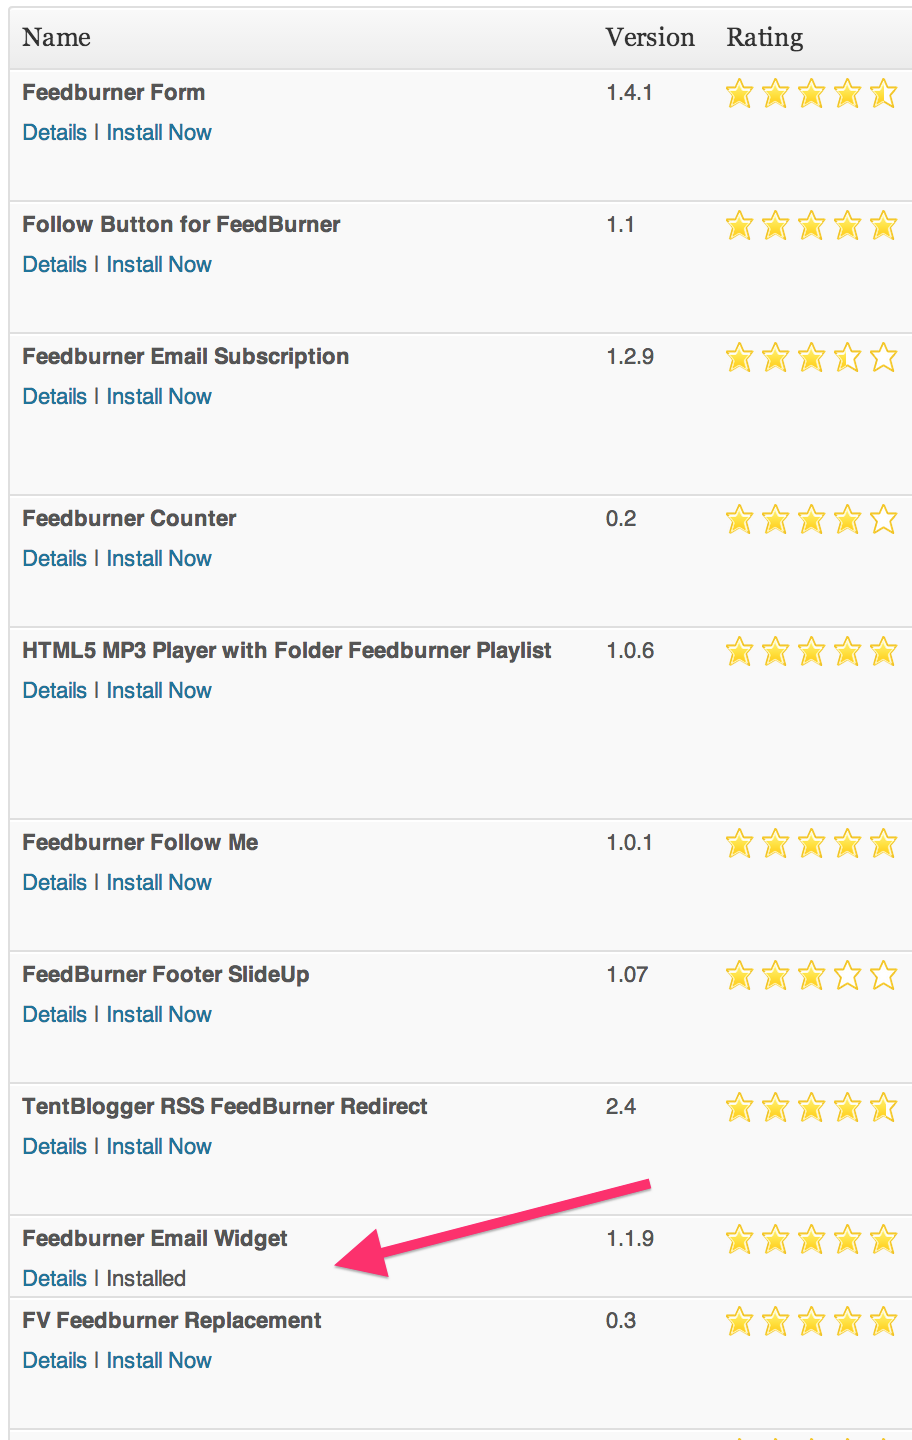
Go back to your blog’s dashboard, and under “Plugins,” select “Add New.” Type in “FeedBurner.” You’ll see multiple options; I currently use the FeedBurner Email Widget. Click “Install Now,” then “Activate.”
(Note: In the screenshot, it says, “Installed” under the widget’s name because I already installed and activated it on my blog.)
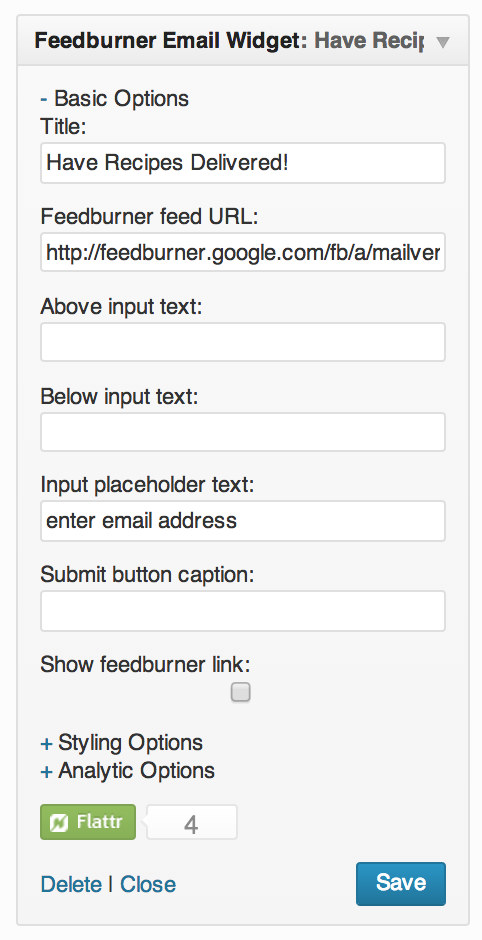
Under “Appearance” in your dashboard sidebar, click on “Widgets.” Drag and drop the “Feedburner Email Widget” to your blog’s sidebar widget area. At the bare minimum, paste the HTML code for the email subscription link you just copied to your clipboard under “Feedburner feed URL.” I also added a widget title and placeholder text.
Yippee! You’re all ready for subscribers!
Other Steps in This Series…
Step 3: Pick a Website Builder
Step 5: Save, Export, and Upload Your Content
Step 7: Add Email and RSS Subscription Options
Step 8: Reach Out to Old Readers
Bonus: 4 Features of a Successful Blog
