
During my childhood, my mom let us enjoy a few extra sweet treats on Valentine’s Day, as compared to any other ordinary day of the week. After our class parties in elementary school, we usually came home with a shoebox full of little cards and candy, so she agreed we could nibble on a piece or two as part of our afternoon snack.
Once we finished dinner, we went back for a few more pieces of candy from our shoebox stash, or we picked out a store-bought baked treat from the pantry. Mom knew how much we loved festive sprinkle-covered sugar cookies and Little Debbie’s heart-shaped cupcakes!

As I grew up, I started skipping those cute colorful desserts and gravitated more towards the extra chocolaty treats. Chocolate cookies, chocolate cupcakes, dark chocolate truffles… Basically whatever Mom brought home for herself. She certainly passed along her chocoholism to me!
During my high school years, Mom discovered Trader Joe’s chocolate ganache torte: a round two-layer cake with chocolate mousse sandwiched between the layers and covered in a silky smooth chocolate ganache. After our first bite, we were both hooked… And snuck seconds every time we carved ourselves a slice. It rarely lasted more than two days!

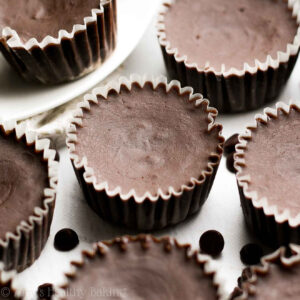
I’ve already glimpsed lots of incredibly tempting chocolate treats on stores’ shelves… Including that Trader Joe’s cake! To avoid cramming every last one into my shopping cart, I resolved to bake a batch of these healthy chocolate chunk flourless brownie bites when I returned home instead. That completely did the trick!
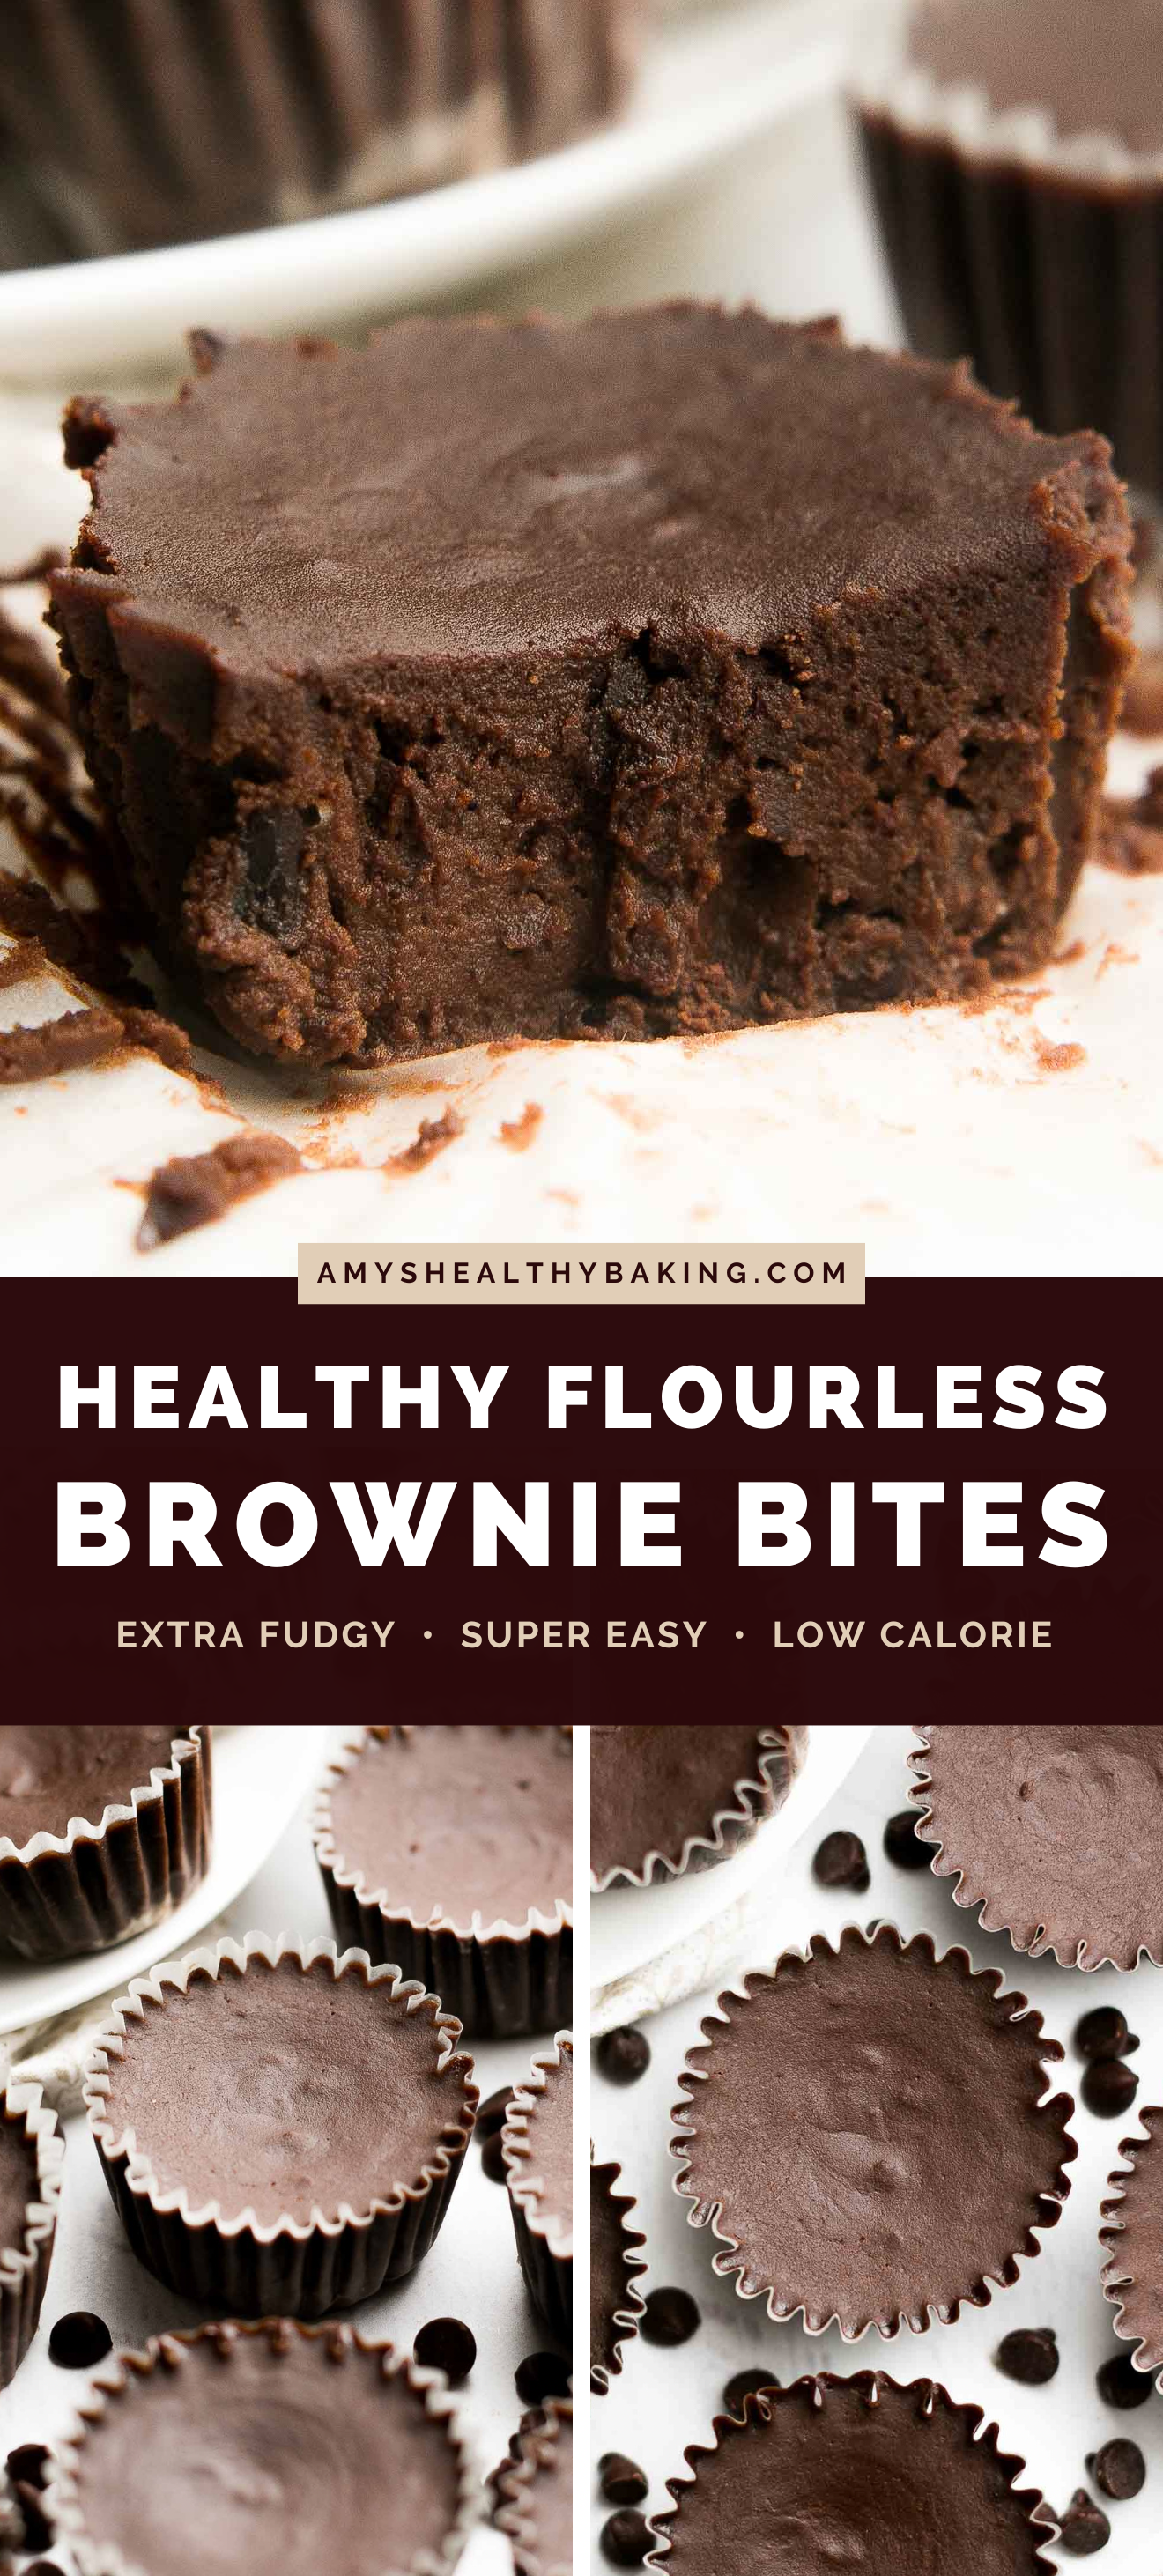
They’re beautifully rich and decadent, just like many of those desserts I spotted while running errands, with an ultra smooth and fudge-like texture… Even with no butter or oil! They’re also super quick and easy to make. You need less than 30 minutes — and not a single mixing bowl!
A chocoholic’s dream come true, right??

INGREDIENTS TO MAKE HEALTHY FLOURLESS BROWNIE BITES
Let’s cover what you’ll need to make these healthy chocolate chunk flourless brownie bites!
Unsweetened cocoa powder. To make this recipe super simple and much faster, you’ll skip the melted chocolate and use unsweetened cocoa powder. You’ll add in a full ½ cup, so your flourless brownie bites taste really rich and decadent!
Hint: I don’t recommend substituting Dutched or special dark cocoa powder. They have a different flavor and acidity level, which can affect both the taste and texture. I’ve found that these two end up tasting less rich with a noticeably more muted chocolate flavor, so I strongly suggest sticking with regular unsweetened cocoa powder for the best results!
Sweetener. Instead of refined sugar, you’ll sweeten your healthy flourless brownie bites with pure maple syrup. Remember to buy the real kind that comes directly from maple trees! The only ingredient on the label should be “maple syrup.” It generally comes in thin glass bottles or squat plastic jugs (like this!).
Milk. I opted for unsweetened cashew milk to make these flourless brownie bites dairy-free. It’s really thick and creamy with just 25 calories per cup! (It also makes amazing lattes and homemade coffee creamer. Yum!) Almost any type of milk will work though, so feel free to use whatever you already have in your fridge.

Egg whites. These bind together the other ingredients. The egg whites also provide your flourless brownie bites with a protein boost!
No flour. Now things are about to get a little interesting… Rather than flour, you’ll use black beans! I know — it sounds really strange. But I promise these brownies do NOT taste like beans! That earthy flavor completely bakes off while the brownie bites are in the oven, so your healthy flourless brownie bites simply taste super rich and chocolaty once they’ve cooled. (Just don’t taste the raw batter!)
Bonus: The black beans help make these brownie bites extremely fudgy, just the way I like them. Truly — their texture is just like fudge! They also give your healthy flourless brownie bites another protein boost. I call that a win-win!
Vanilla. A very common baking ingredient! It adds richness and rounds out the decadent chocolate flavor.
Dark chocolate. I love chopping up bars of dark chocolate to make the chocolate chunks because they have such an amazing flavor, and they also turn melty and gooey in the oven. Ghirardelli and Lindt are two of my favorites!

HOW TO MAKE THE BEST HEALTHY FLOURLESS BROWNIE BITES
Let’s quickly go over how to make the best healthy chocolate chunk flourless brownie bites! They’re one of the easiest desserts you’ll ever make. It blows my mind how fast and delicious these are! And that’s because…
No mixer. You’ll use a blender or food processor to make the batter! Just add all of the ingredients to the bowl — except the dark chocolate — pop on the lid, and blitz until the batter is liquidy and smooth.
Prep the mini muffin cups. Before adding the batter to your mini muffin pan, slip a liner into each cavity. That makes these flourless brownie bites much easier to pop out! Remember to coat those liners with cooking spray too. Low fat batters (like this one!) tend to stick to liners like super glue, but spraying them first helps the liners peel away quite easily.
Sprinkle + swirl. Just before popping the pans in the oven, you’ll sprinkle a little of the finely chopped dark chocolate into each cavity’s batter and swirl it in with a knife. This brownie batter is very thin and liquidy, unlike most of my traditional brownie recipes, so if you added the chocolate chunks to your food processor or blender, they’d just sink to the bottom… Meaning the majority of your brownie bites would be missing those chocolate chunks. Not good! So wait until after you’ve portioned out the batter, and you’ll be all set.
Bake + cool. To ensure these black bean brownie bites end up with an ultra smooth and fudge-like texture, you’ll do two things. First, remove them from the oven when the edges look set but the centers still look glossy. The residual heat from the pan will continue to cook those centers all the way through while you let the bites cool in the pan, without drying them out or resulting in a cakey texture.
Second, wait at least 3 hours after they’ve reached room temperature before eating any. These brownie bites turn fudgier the longer they rest. If you try nibbling on them sooner, they’ll taste more cake-like. I know it’s really hard, but if you can wait longer, like 8 hours or more, that’s even better!

Time for dessert! And when you make your own, remember to snap a picture and share it on Instagram using #amyshealthybaking and tagging @amyshealthybaking IN the photo itself! (That guarantees I’ll see your picture! 🙂 ) I’d love to see your healthy chocolate chunk flourless brownie bites!
Healthy Chocolate Chunk Flourless Brownie Bites
Ingredients
- 1 (15oz) can reduced sodium black beans, drained and thoroughly rinsed
- 3 large egg whites (room temperature)
- ½ cup (40g) unsweetened cocoa powder (measured like this)
- ½ cup (120mL) pure maple syrup
- ¼ cup (60mL) unsweetened cashew milk
- 2 tsp vanilla extract
- 2 tbsp (28g) finely chopped dark chocolate
Instructions
- Preheat the oven to 300°F. Line 24 mini muffin cups with paper liners, and coat with nonstick cooking spray.
- Add all of the ingredients except the finely chopped dark chocolate to a blender or food processor in the order that they’re listed. Blend until completely smooth and no large pieces of beans remain.
- Divide the batter between the prepared muffin cups. Evenly sprinkle the dark chocolate between the muffin cups, and use the tip of a butter knife to swirl them into the batter. Bake at 300°F for 14-18 minutes, or until they no longer jiggle when lightly shaken. (The centers should still look glossy and slightly underdone!) Cool completely to room temperature in the pan; then let them sit for an additional 3 hours for the fudgiest texture.
Notes
View Nutrition Information + Weight Watchers Points
You may also like Amy’s other recipes…
♡ Flourless Brownie Bites
♡ Flourless Peppermint Mocha Brownie Bites
♡ Practically Flourless Extra Fudgy Brownies
♡ Brownie Batter Energy Bites
♡ Dark Chocolate Frosted Fudge Brownies
♡ Dark Chocolate Cheesecake Swirled Fudge Brownies
♡ Slow Cooker Fudge Brownies
♡ …and the rest of Amy’s healthy brownie recipes!


My mini muffin tins are a dark non-stick material. Should I adjust the oven temperature?
We really appreciate your interest in this recipe, Kathy! I’ve used both light and dark metal mini muffin pans to make our brownie bite recipes and I haven’t needed to make any modifications to the baking temperature or baking time for any of them. So I don’t think you should have to adjust anything with your muffin tins either.
I’d love to see your brownie bites if you decide to try this recipe! 🙂
Can I freeze these?
We really appreciate your interest in this recipe, Debbie! We haven’t tried freezing these yet. If you’d like to experiment on your own, I’d highly recommend removing the paper liners before freezing. (It’s harder to peel them off after thawing or reheating!) For other brownie recipes I’ve frozen, I like to thaw individual brownies in the microwave on 30% power until they’re warmed all the way through. They almost taste freshly baked like that! I’d love to hear back if you decide to give it a try! 🙂
Can you bake these in a silicone mini muffin pan?
Yes, a silicone mini muffin pan will work! Even so, I still recommend using the paper liners mentioned in Step 1 because they make it much easier to slip out the brownie bites without squishing them. 😉 I’d love to hear what you think of these if you end up making them, Vicki!
Thank you for your answer! I guess my question came from the fact that the receipe says to take them out when the center looks still not done – that the heat from the pan will continue to cook them. I didn’t know if that would happen with a silicone pan? Thanks for the tip about still getting the liners.!
My pleasure, Vicki! I’m happy to help. 🙂
I completely understand that thinking! There should still be some residual heat in a silicone pan. Its material will also keep the brownie bites insulated from the ambient air, meaning that the bottoms and outermost parts of the brownie bites don’t cool as quickly (compared to popping them out to cool on a wire rack!), and their warmth will help cook the centers all the way through too. I hope that makes sense!
Thank you so much! I believe you are the first one I’ve ever contacted with questions (on other sites) that answered! Blessings – Jesus loves you!
You’re so welcome, Vicki! You’re such a sweetheart. ♡ I’m really looking forward to hearing how your brownie bites turn out!