Confession: I stole a set of measuring cups as a kid.
I wanted to be just like Mommy, flipping pancakes and baking chocolate chip cookies, so when she left the old tan set sitting on the counter, I slipped in, stood on my tippy-toes, and snuck off before anyone saw me. And despite banging them around my Fisher Price Kitchen for all of preschool, it took me another 13 years to finally figure out how to use them properly.
But I completely forgot to share those secrets with you!
So today, we’re going back to the basics. Many of you may know these tips and tricks already, but skim through them anyway—every one of them will convert you from a beginner into a baking pro!
The Recipe
- Read through the recipe completely before beginning. I know, I know… You’re probably rolling your eyes at me. But raise your hand if you’ve ever dove straight into creaming butter or mixing muffin batter after only reading the ingredients list. (Both of my hands are high up in the air!) It only takes an extra minute or two, but reading through every step will save you time, flour, and lots of burned cookies.
- Watch out for commas! It’s a subtle point, but how the ingredients are written dictates how you prepare and measure them. For example, “1 cup sifted all-purpose flour” means sift the flour before measuring, whereas with “1 cup all-purpose flour, sifted,” you would measure first and sift after. Perform any tasks on the ingredients in the order that they’re written: anything that comes after the comma is done second.
- Understand the language. Sliced, diced, chopped, cut, broken, beaten… Each word means something slightly different, so if you aren’t familiar with any of the terms in a recipe, look them up!
The Measurements
A quick tip before we dive in… I highly recommend investing in a kitchen scale, especially for measuring dry ingredients! This is the one I own. It’s really affordable, and I’ve used it almost every day for 4+ years. It’s my #1 secret for making sure that my recipes turn out with the perfect taste and texture every time I make them!
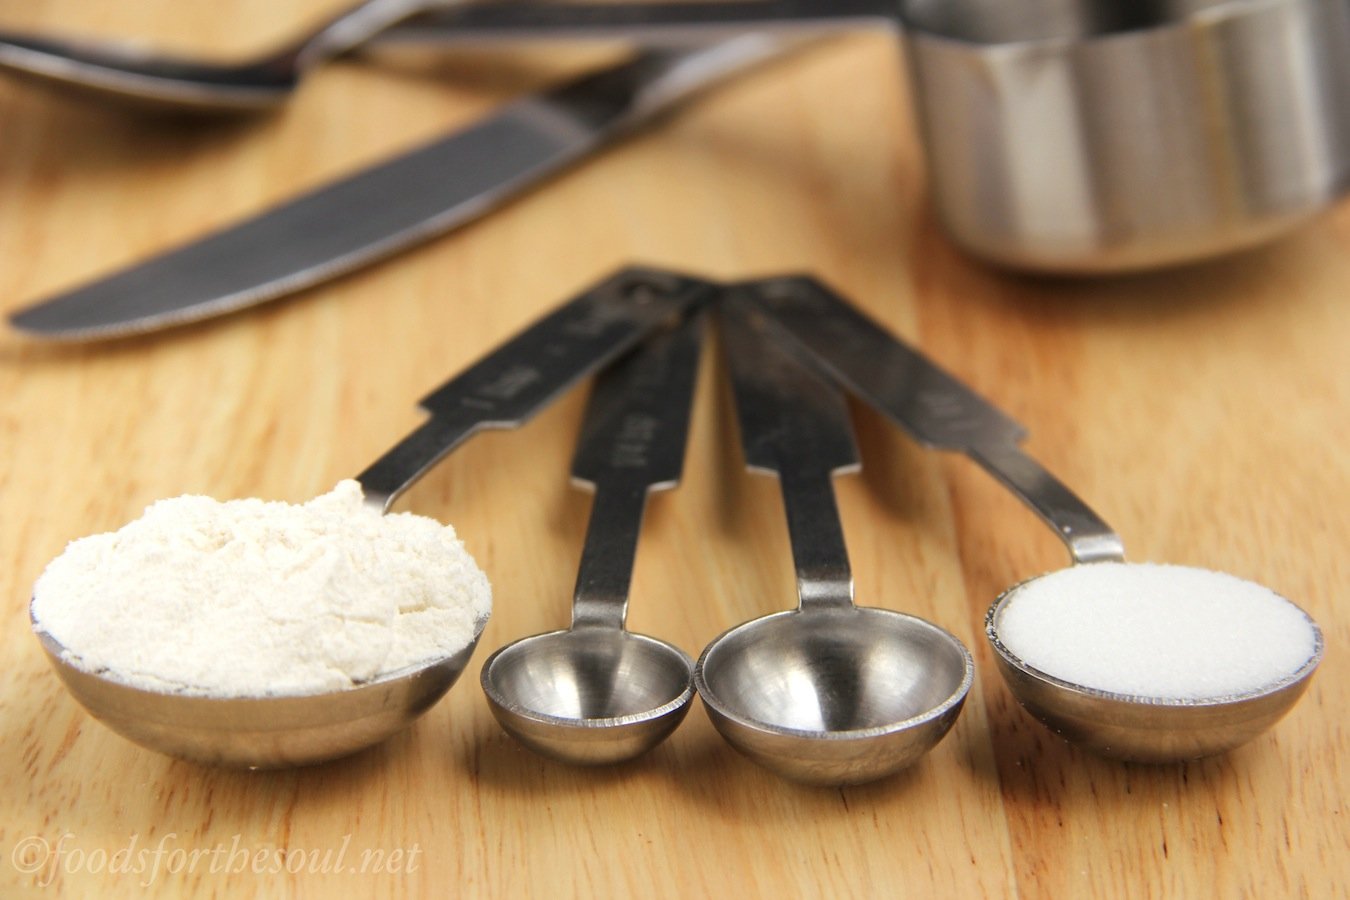
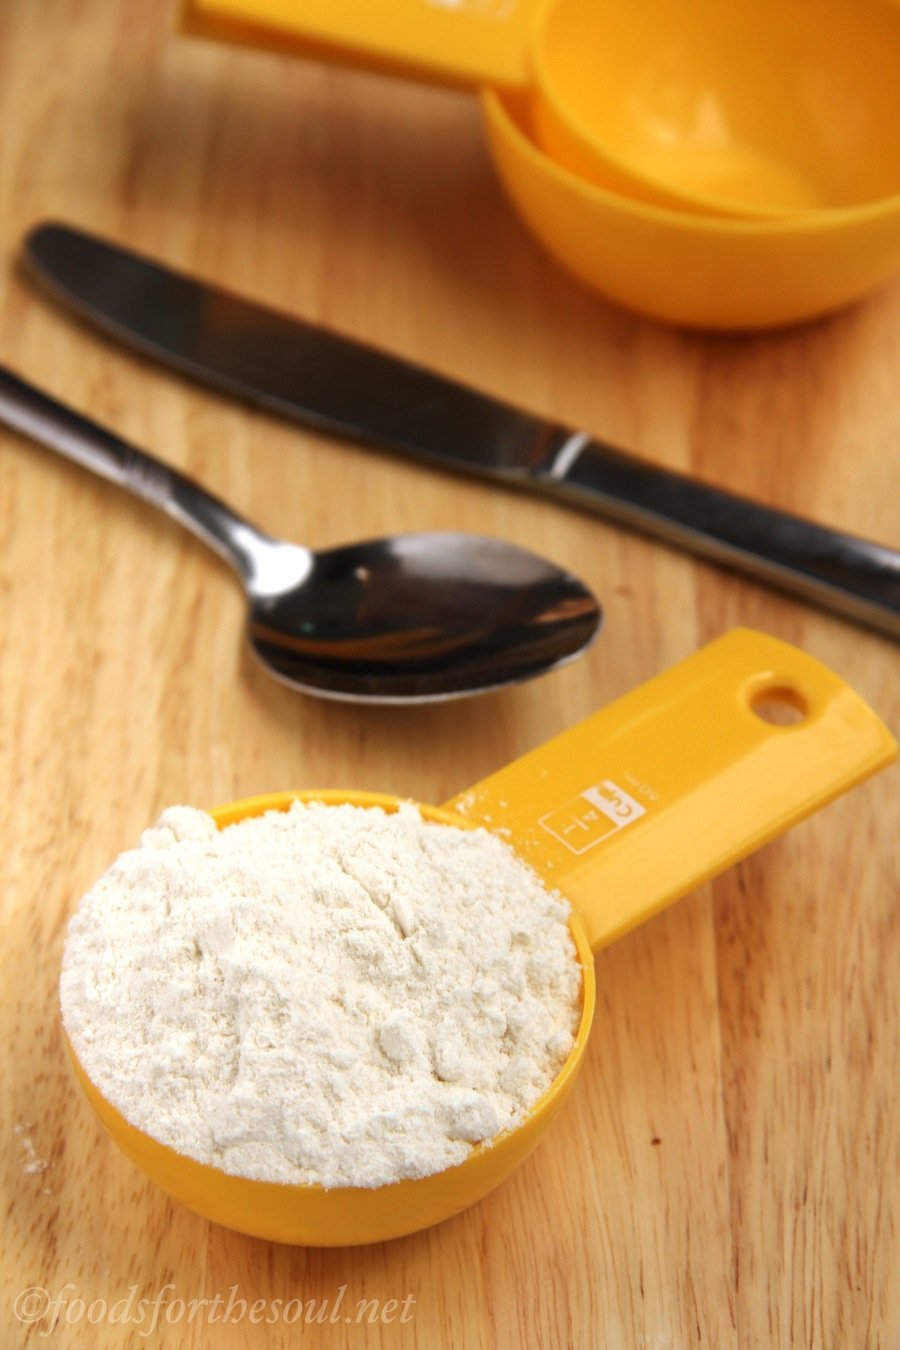
- Flours. All-purpose, whole wheat, gluten-free, peanut, almond, coconut, cocoa powder, and even oats are all the same. Use a fork to “scoop” up flour (or whatever you’re measuring!) from the container, and lightly shake the fork back and forth over the top of your measuring cup to transfer the flour into it (like you’d do with a hair drier!). Once there’s a small mound of flour extending above the rim of the measuring cup, then place the flat backside of a knife against the top of the measuring cup, and gently scrape it across the top to get rid of the excess flour. Never “pat” the flour down with the knife or fork, and never shake the measuring cup either. Also, do NOT scoop the flours, cocoa powder, or oats directly out of the container with the measuring cup or pack them in. This results in 1.5 times more than is required in a recipe, which dries out your baked goods and turns them crumbly. Not good! However, this fork method acts like a sifter (without dirtying another dish!) and guarantees you’ll add the correct amount of flour to your recipe!
- Leaveners. With baking powder and baking soda, lightly fluff the leavener with a measuring spoon before scooping it out and leveling with a knife. Some containers have a flat edge built in—that works too!
- Sugars. For white sugar, use the same technique described for flours, except use a spoon instead of a fork. With brown sugar, lightly pack it into the measuring cup using a fork or spoon until the cup is completely filled and level (unless the recipe states otherwise). When you invert the measuring cup, the brown sugar should be packed tightly enough to hold its shape.
- Salt and spices. Treat them like the leaveners: fluff, scoop, level.
- Butter and margarine. Most stick-style butters and margarines are wrapped in a label with tablespoons marked on the side. Count out how much you need, and cut through the stick with a sharp knife. You should avoid using a butter knife because the blade is duller and you won’t carve off as accurate of an amount. With tub-style butter, margarine, and shortening, press the necessary quantity into a measuring spoon or cup, and level with a knife.
- Liquids. Milk, oil, juice, honey, syrup, and extracts are a little tricky. If using regular measuring cups, place the measuring cup on the counter, pour in the liquid, and get down at eye level. The liquid at the edges tends to stick to the sides of the cup, while the liquid in the center curves upward ever so slightly. You want to make sure the center of the liquid is even with the rim of the cup for the most accurate measurement. You can also use a clear liquid measuring cup instead. Here, the liquid in the center sinks down a touch. (In science-speak, it’s called a meniscus!) The bottom of that concave meniscus should brush the top of the marking lines on the liquid measuring cup’s side, almost so it looks as if you’ve added slightly more of the liquid. For teaspoons and tablespoons, fill them to the brim but not overflowing or bulging out the top. And be careful when pouring the liquids into the mixing bowl! (Also, never use a kitchen scale to measure liquids. The “ounces” option on kitchen scales is for dry ounces, not liquid ounces!)

I may add to this post as new things come up in the future. But for now, it’s time to bake something sweet! Which of these recipes are you going to try next? I can’t wait to hear!! ♡

Do you have any more blog posts like this – the actual how to? So many times I want to try baking something, but don’t, because I realize I don’t understand about half the instructions. It’s information like what you put in this post that I need! Thanks!
I’m really glad you found these tips useful Ashley! I sometimes include “how to’s” within a specific blog post recipe (these scones, for example!) to demonstrate the tips for that specific recipe, but is there any topic in particular that you were hoping to learn more about?
Hi Amy, when you use melted butter (e.g. In your chocolate cookies) do you measure the butter in solid form and then melt it or do you measure it melted?
I explain this under the “Recipe” heading (read #2!). But to reiterate, you measure the butter in its solid form and then melt. 🙂
thanks for this, I am one of those who delves straight in, not reading the recipes sometimes even substitution,g, but the note about sifting flour before measuring is not something I ever considered and always sift after measuring. I am really happy to have discovered your site. Although I suspect my hips will not be very grateful.
ha!
It’s my pleasure! 🙂 I highly recommend reading the recipes all the way through, at least for baking recipes. It’ll save a lot of time and ingredients! And hopefully your hips don’t notice anything at all since these are all healthier baked treats! 😉
I learned from momma about 60 years ago when she was measuring and mixing (and had failed to read first ) so was missing ingredients!
Your momma sounds like quite an amazing lady Linda! 🙂
An old method of measuring butter/lard/coconut oil etc. is to fill a clear measuring vessel with cold water. If the recipe calls for 1/2 cup butter fill the clear measuring cup with 1 & 1/2 cup cold water, then add slices/chunks of solid (butter etc.) until the water reaches the 2 cup mark. Old trick from Home-Ec 1965.
What a great trick Susan! Thanks for sharing. 🙂
Thank you for posting this. I didn’t grow up baking as a kid. Now as a mom bake sales and potluck parties happen frequently. No one frowns upon store bought stuff but somehow I feel less of a mom Becuase I don’t bake. I’m trying and to be honest I have had some wins and losses. Thid information seems like something bakers just know. Now I feel almost like a baker because now I know!!! 🙂
I’m so glad you found this information helpful Sue! And you are no less of a mom because you don’t bake very often — don’t let yourself think that for one minute! My mom very rarely baked while I was growing up (the occasional chocolate chip cookies or boxed-mix brownies were about all she’d make!), and she is the BEST mother I ever could’ve asked for. I’m sure your kids think the exact same thing about you! 🙂 I can’t wait to hear which recipes you try!
America’s Test Kitchen dips and drags when measuring our flour. They test the recipe using multiple methods and say scooping the flour into the cup with a separate spoon isn’t a good method.
I actually have a few cookbooks from America’s Test Kitchen where they describe the spoon-and-level method as the best for measuring flour, so I’m interested where you found that contradictory fact that you mentioned Rachel! Do you have a link you could send along? 🙂
It was on the New York Episode where they made bagels and cheesecake from season 16. They’re on season 17 now so they’ve changed their mind on it I guess.
Thanks for following up and letting me know Rachel!