Topped with a sweet cream cheese glaze.

I omitted a few adorable details from the story in my last blog post.
When I presented my neighbors with a plate of skinny double dark chocolate cupcakes for their 8-year-old daughter’s birthday, the mom opened the door while the birthday girl stayed in the restroom, cleaning up the front tooth she just lost. Once their 4-year-old son heard my voice, his little brunette head peeked over the top of the sofa before he completely sprinted to the front porch and barreled into me for a big bear hug.
I nearly melted into a mushy puddle on their doormat. So cute.
After he heard I baked the treats for his older sister’s birthday, the small boy tugged at my hand. “Will you bake chocolate cupcakes for my birthday? With sprinkles?”
“Of course I will! What color sprinkles would you like? Rainbow? Chocolate?”
He furrowed his brow, deep in concentration, in the darling way only a toddler can manage. Very seriously he replied, “Red.”
His mom joined in, explaining, “It’s his favorite color.”
“That was my brother’s favorite color growing up too!” I responded. “Well, I have red sparkly sugar sprinkles. Will those work?”
He cocked his head, touched his chin, and answered after a moment, “Yes, that’s okay.”
With that most important piece of business out of the way, I posed another question. “When is your birthday?”
“October 14th!” he exclaimed.
My stomach sank like a submarine. “Umm… We might move before then. But if we’re still here, I promise I’ll bake you chocolate cupcakes with red sprinkles for your birthday!”
He paused, then raised his index finger in the air with a brilliant AHA moment. “What if you bake the cupcakes and we pretend it’s my birthday?”
“Sure thing!” I replied. “We can hold an un-birthday celebration like in Alice in Wonderland!”
And with that, he nodded, completely satisfied, and dashed back into the house.
But in the meantime, I still felt like I owed the little boy something. I remembered back to my own childhood with my younger brother; we usually suffered a small amount of disappointment on the other sibling’s birthday, where they chose the cake flavor and ripped off the wrapping paper from all of the presents while we… Got nothing. To prevent my cute neighbor from feeling the same way, I set out to bake the first red thing that popped into my mind.
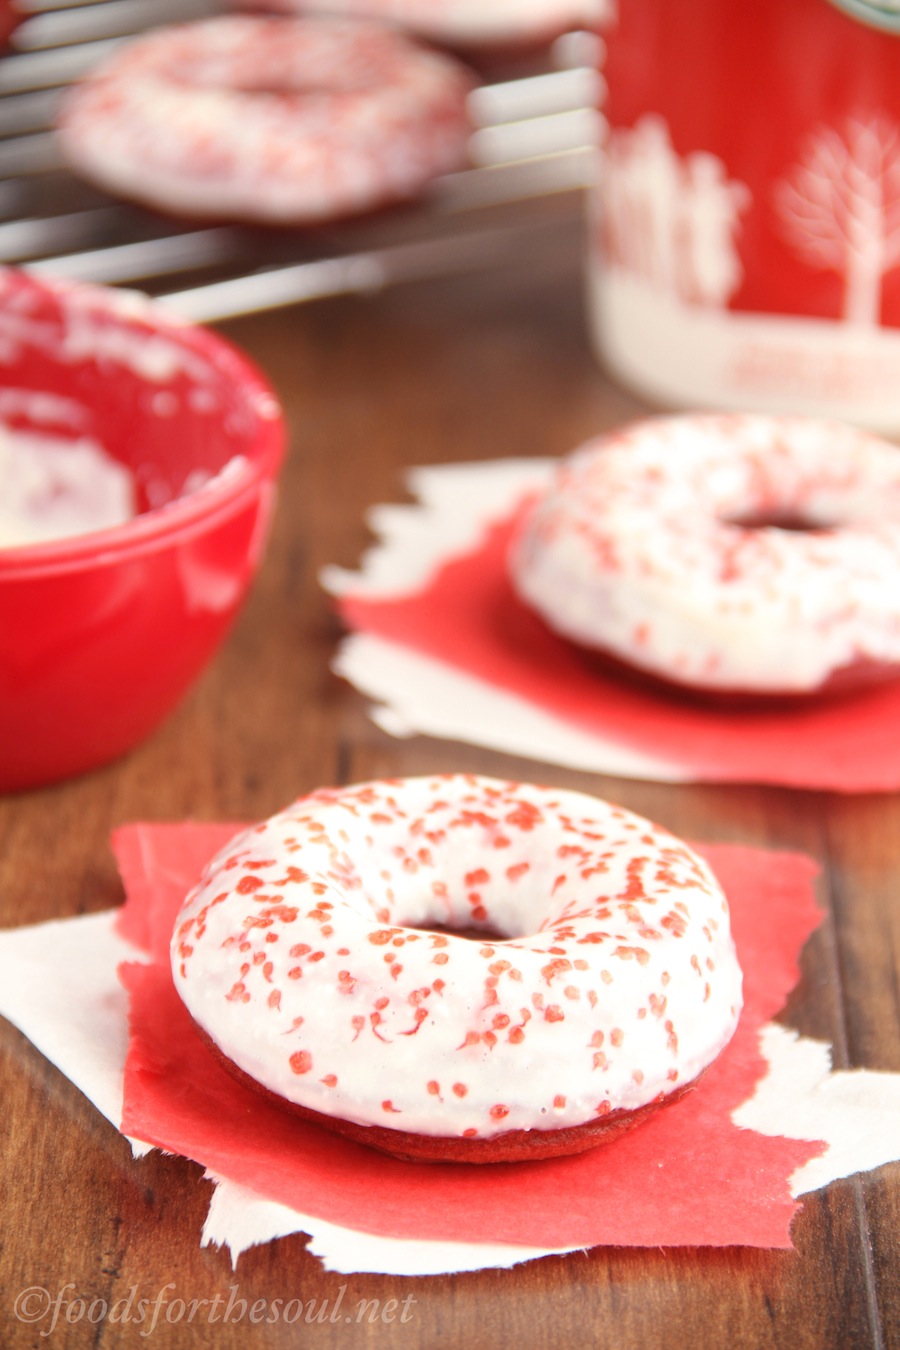
Red velvet donuts!
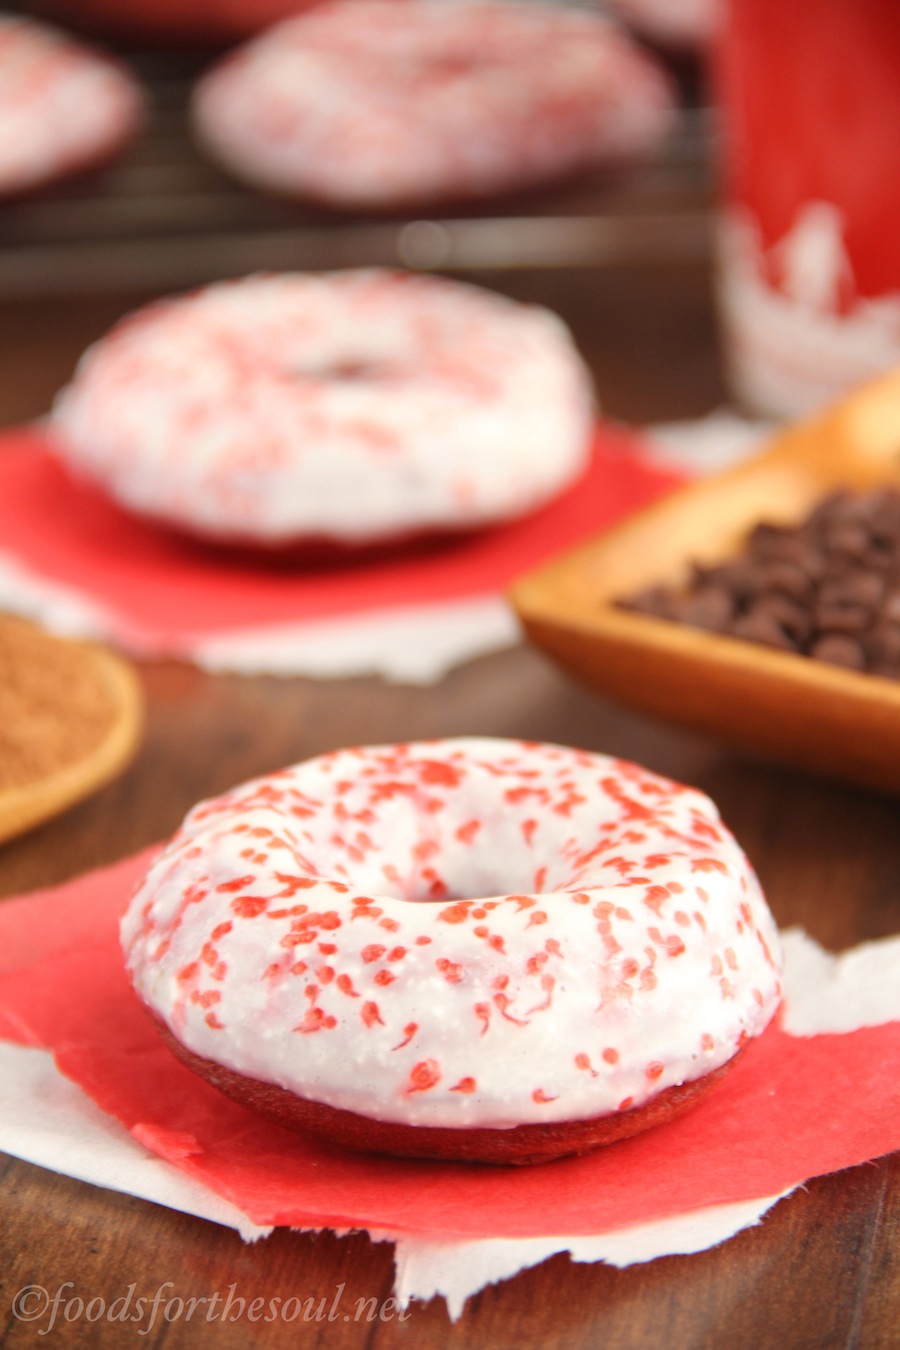
When I sampled my first red velvet treat 4 or 5 years ago, its flavor baffled me. Was it chocolate? Or vanilla? Or both? Compelled to double- and triple-check, I nibbled my way through 3 whole cupcakes before my wacky brain finally decided…
Red velvet tastes like a chocolaty vanilla. Or a vanilla-y chocolate. Kind of like those old-fashioned chocolate-and-vanilla swirl ice cream cones my mom bribed us with from the Drive-Thru Dairy as little kids. Red velvet is basically the best of both the Chocolate and Vanilla Worlds!

The ingredients for these healthy red velvet donuts are fairly predictable, but the recipe deviates from other typical ones for baked donuts in a few ways. I only mixed in a mere tablespoon of oil, so Greek yogurt—my secret weapon in healthier baking!—provides the majority of the moisture without adding excess fat and calories.
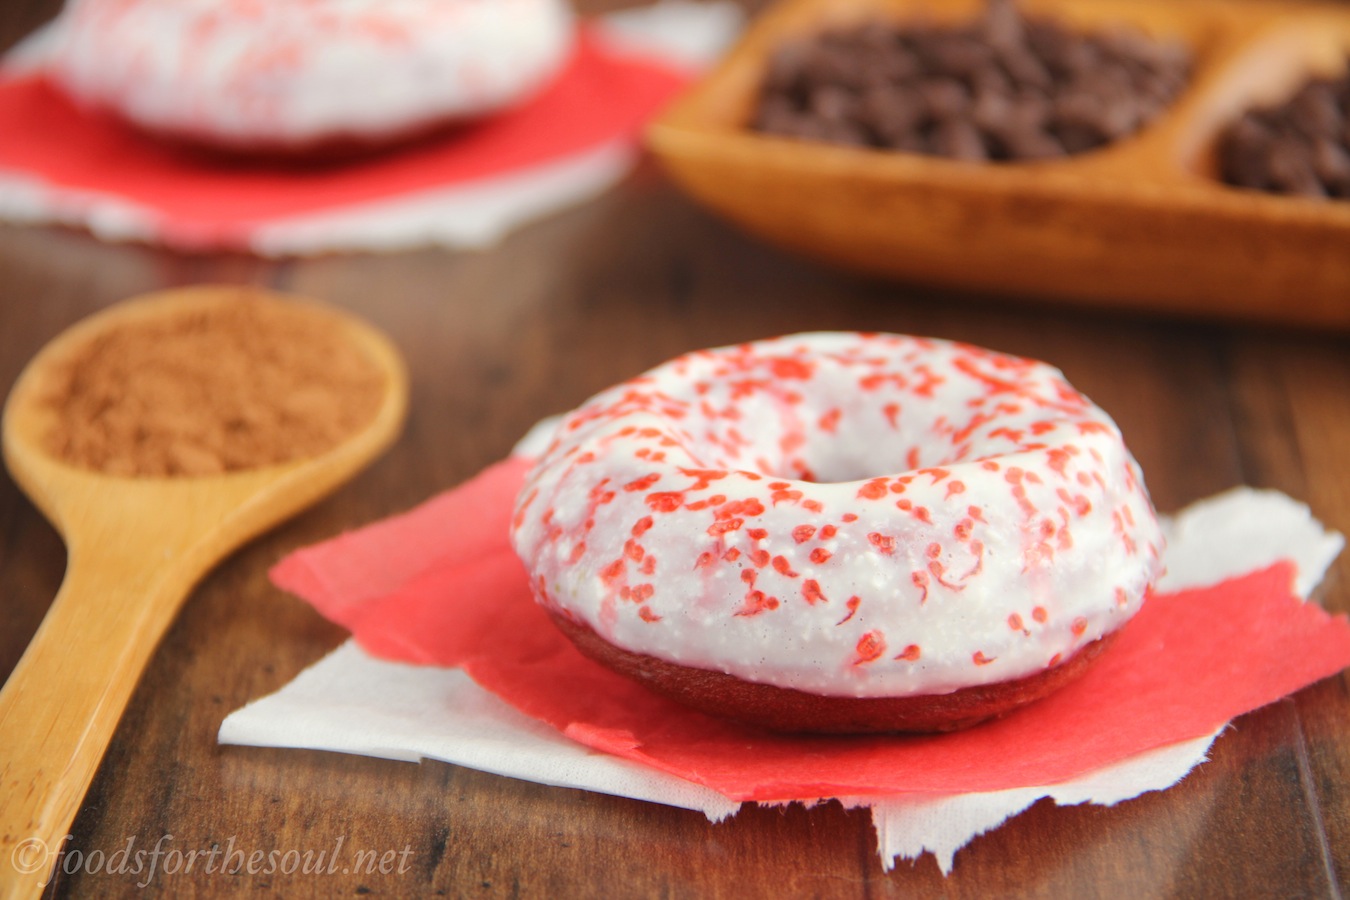
Also, because we’re baking red velvet donuts, you’ll need 2 teaspoons of red food coloring. Please oh please, do NOT squeeze out the food coloring from those tiny teardrop-shaped bottles! Most grocery stores, as well as Walmart and Target, sell individual 1 oz bottles of red food coloring, so you don’t actually need to buy 5 packages of the small droppers of assorted colors. The 2 teaspoons initially look like overkill when you mix them into the batter, but because red food coloring generally fades during baking, the donuts will still turn out a gorgeous maroon.
Note: Red food coloring stains everything, especially your clothes and fingertips, so slip on an apron if you’re a klutz like me!
Because my guy drove 100 miles to buy me an electric donut maker for Christmas, I almost always turn to it for baking my donuts, but you could also use a regular donut pan in the oven instead. For a virtually mess-free method of filling the donut cavities, grab a large drinking glass—the taller, the better!—and place one of the bottom corners of a 1-gallon Ziploc bag inside. Pull the open end of the Ziploc bag down over the rim of the glass, and spoon your batter inside. (The glass acts as another person holding open the bag!) Then snip off that bottom corner and pipe the donut batter into the cavities.
If using an electric donut maker, I highly recommend filling each cavity completely full of batter. If you leave any space, the donuts won’t rise high enough to reach the lid, resulting in lumpy/bumpy/uneven tops. But if that happens, just flip the donuts over and pretend the smooth rounded bottom is the top instead!

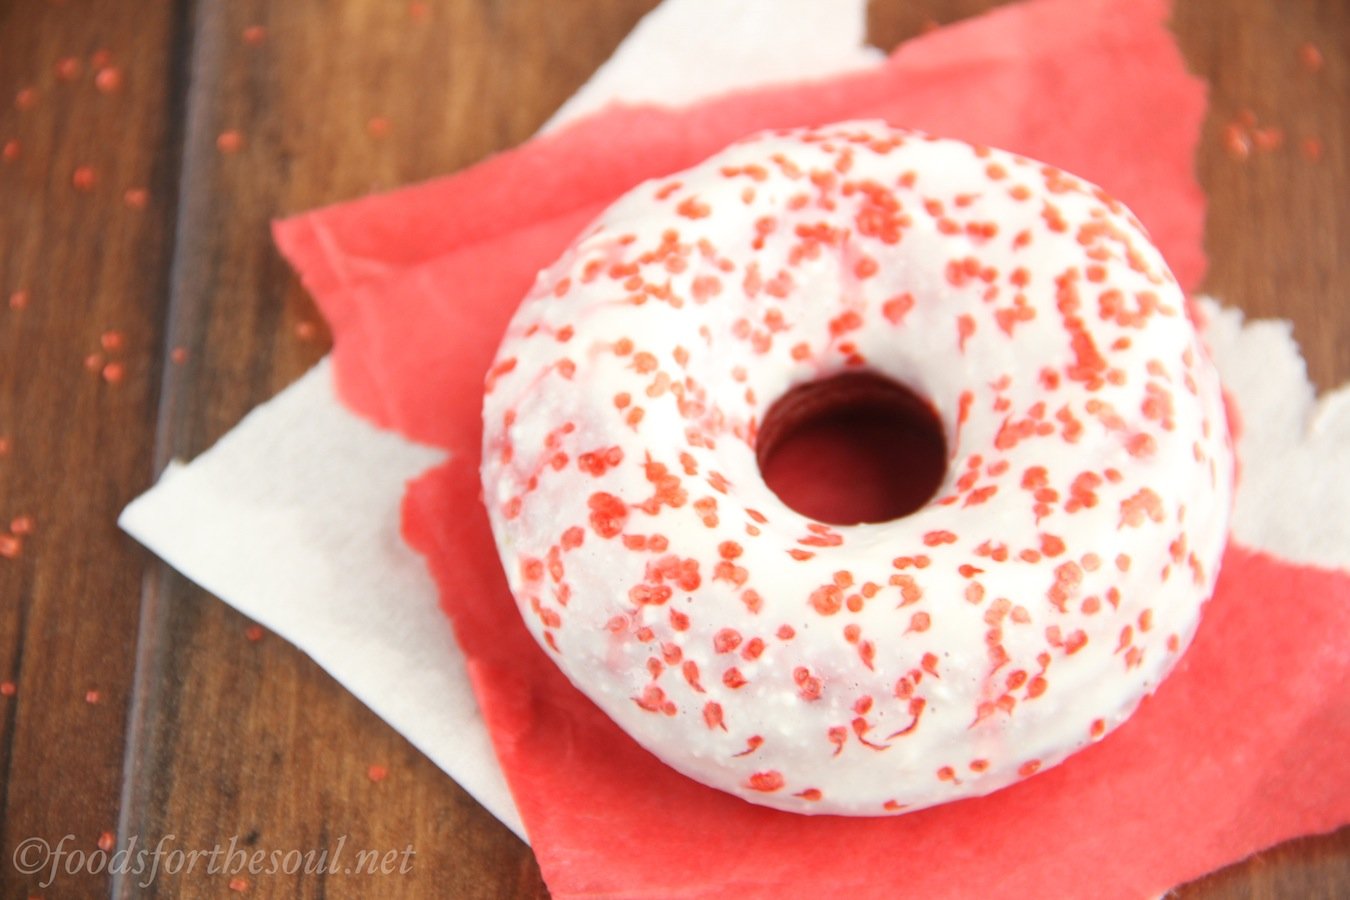
Traditionally, a cream cheese frosting graces the tops of red velvet treats, so I created a super simple cream cheese glaze for these donuts. I prefer my glazes not too cheesy—more of a sweet vanilla taste with cream cheese undertones—so my recipe reflects that. I also opted for clear vanilla extract to preserve the bright white color; Walmart actually stocks a large 4 oz bottle for only $4 on their wedding aisle!
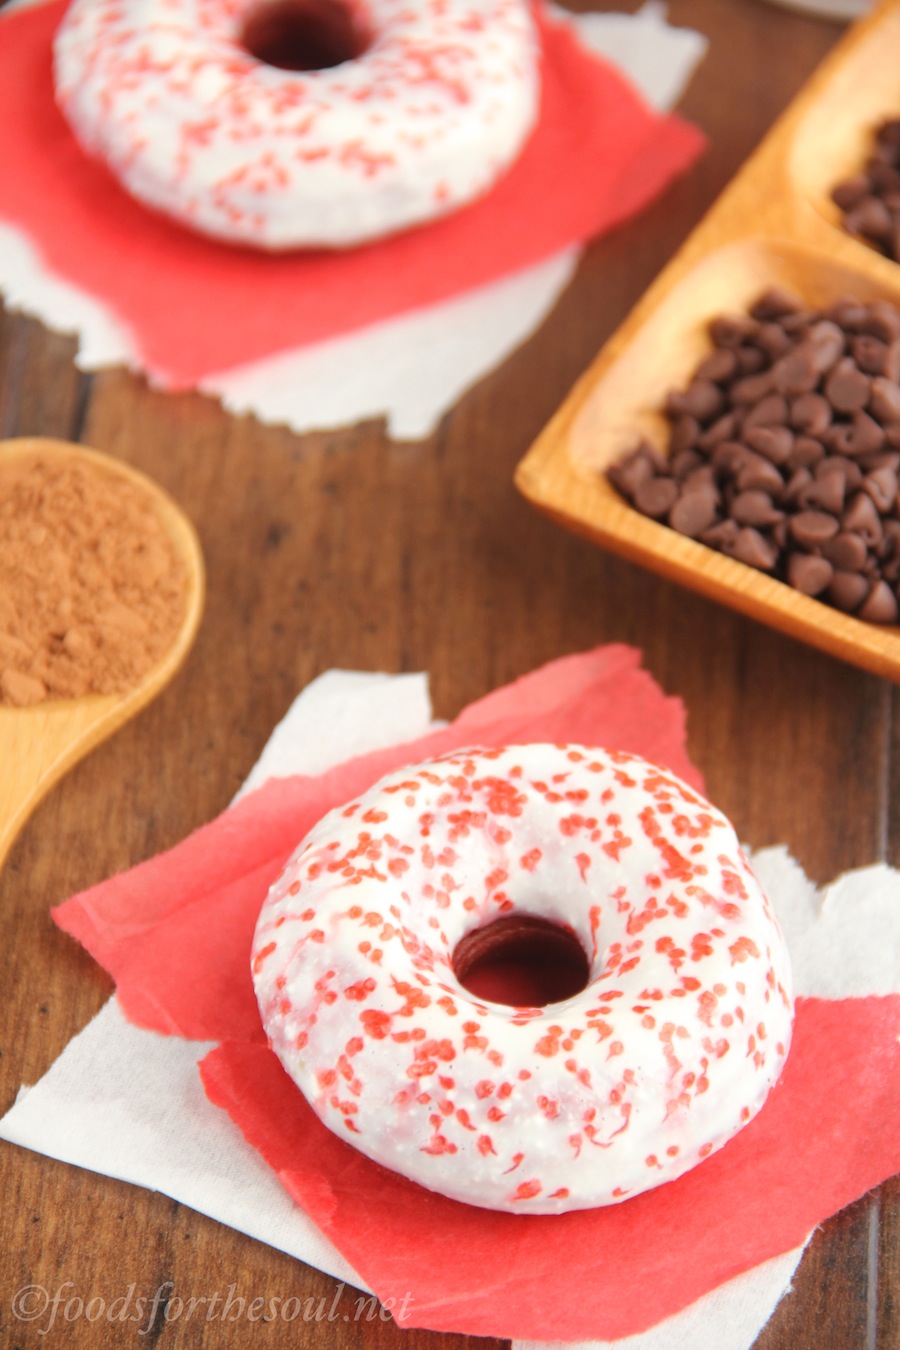
To satisfy my adorable neighbor, I finished the donuts with sparkly red sugar sprinkles. They looked beautiful when I first shook them on, but when I started photographing the donuts 5 minutes later, the sugar started to bleed into the bright white glaze! To avoid those little swirls of color, stick to jimmies (the long thin ones) or confetti sprinkles instead.
With their tender insides and sweet glaze, these skinny Red Velvet Donuts consist of the perfect combination of light airy cake paired with soft comforting icing. They taste like indulgent treats of chocolaty vanilla and slightly tangy cream cheese, but they’re much healthier than your typical fried donut! Compared to a single Krispy Kreme Red Velvet Donut, two of my baked donuts contain 35 fewer calories, 7.2 fewer grams of fat, and 5 more grams of protein.
Sounds like a pretty sweet deal to me!

When I knocked on my neighbors’ door the following afternoon holding a plate overflowing with donuts, the dad answered with his 2 kids close behind. I greeted him with, “I learned yesterday that someone’s favorite color was red, so I brought over these treats…”
The little boys’ eyes lit up as his father knelt down to show him the plate. “They look like donuts!” he exclaimed.
“They are donuts,” his dad explained.
“Mini donuts!” the boy shouted, and too overjoyed to speak anymore, he literally began jumping up and down while clapping his hands faster than I could blink.
Little kids just melt my heart.

These donuts taste like the perfect combination of chocolate, vanilla, and sweet cream cheese! They’re best if eaten the day they’re made. Store any un-glazed donuts in an airtight container for up to 2 days, and top with the glaze just before serving.
- Preheat an electric donut maker. Alternatively, preheat the oven to 350°F and coat a donut pan with nonstick cooking spray.
- To prepare the donuts, whisk together the flour, cocoa powder, baking powder, and salt in a medium bowl. In a separate bowl, whisk together the oil, egg, and vanilla extract. Carefully mix in the red food coloring. Stir in the sugar, Greek yogurt, and milk until smooth. Add in the flour mixture, stirring just until incorporated. Place the batter into a large Ziploc bag as described in the blog post above, and snip off the corner.
- If using the electric donut maker, lightly coat the pans with nonstick cooking spray. Fill each cavity all the way full, and close the lid. Bake for 8-9 minutes before turning out onto a wire rack to cool completely.
- If using the oven and donut pan, fill each cavity ¾ full. Bake at 350°F for 8-10 minutes before turning out onto a wire rack to cool completely.
- To prepare the glaze, stir together the cream cheese and sifted powdered sugar. Mix in the vanilla extract and 1 teaspoon of milk until thoroughly incorporated. For a thinner consistency, add the remaining milk. Dip each donut in the glaze, shaking off the excess, before placing glaze-side up on a wire rack. Top with sprinkles (jimmies or confetti), if desired.


Leave a Reply