

Nearly every year, I start thinking about my birthday a month in advance. Not because I envision extravagant parties with hundreds of helium balloons, rainbows of crêpe paper, adorable twinkly lights, and oodles of guests milling around while I make a wish and blow out the candles on my fondant-covered birthday cake. If I wanted all that, I’d ask my sweet and talented friend Ashley to help!
No, I need to begin my birthday brainstorming that early because I’m much too indecisive! I take weeks to decide on my birthday dinner meal, let alone my birthday dessert… That sweet treat requires an entire month’s worth of contemplation!

Should we stay in or go out, eat salmon or chicken, sushi or salad, pizza or French fries, cheesecake or brownies, ice cream or cake (or both!)?
It’s quite the ordeal for an indecisive girl!
But two years, ago, when my guy asked where I wanted to go to celebrate, I immediately responded without a single moment of thought. “Chevy’s!”

Ever since I was four years old and observant enough to pay attention, I noticed that in between bites of my kiddie cheese quesadilla, while I played with my flour tortilla dough ball at our table, a group of waiters banded together on almost every one of our visits, clapping and singing and shouting while they circled around another table, laying down a big scoop of ice cream smothered in chocolate sauce in front of a patron and setting a sombrero on their head.
I wanted that birthday sombrero. I really, really did. But every year, my special day quietly passed by without that festive hat. Because it falls at the start of summer, our family almost always planned a vacation and boarded a plane to head somewhere without a Chevy’s. Don’t get me wrong—I still loved every bite of our favorite hula pie ice cream dessert in Hawaii and the fresh fruit tartlets in Paris! But berets and leis just weren’t quite the same as sombreros.
So two years ago, when my birthday fell on a Monday, and my guy and I both had to work all day, I jumped at the chance to finally visit Chevy’s and get my sombrero. And after the singing waiters finished and I demolished my ice cream, I safely placed the festive hat at the top of my closet where nothing could squash or misshape it. Since I waited so long, I doubt I’ll ever give it up!

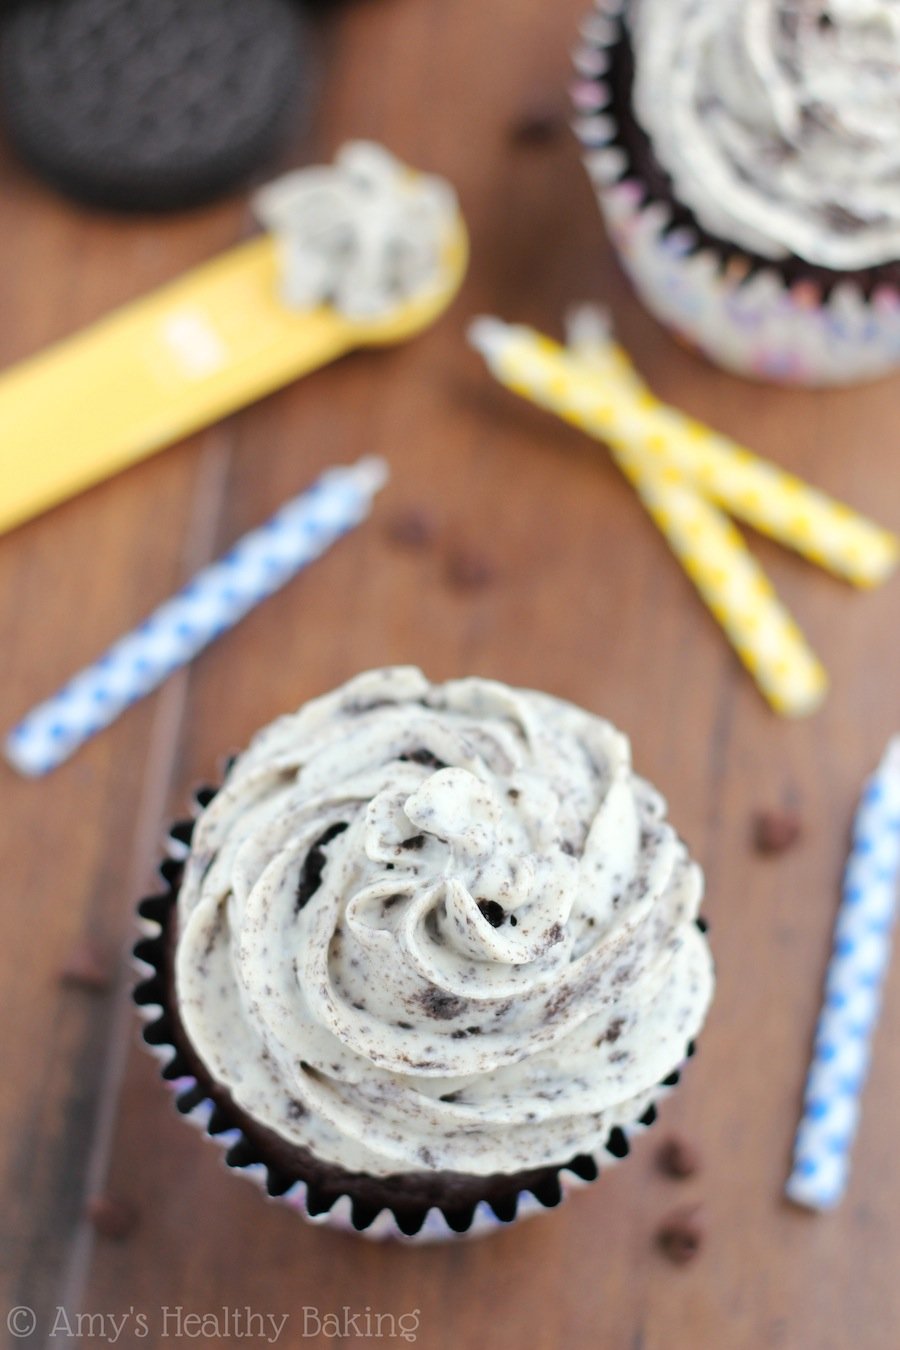
This year, too distracted by baking and baseball games, I nearly forgot that my birthday was this week! With no time to brainstorm what I wanted for my special dinner, I still have yet to choose… But I couldn’t let the day pass by without a fun chocolaty dessert to stick a candle in and make a wish!

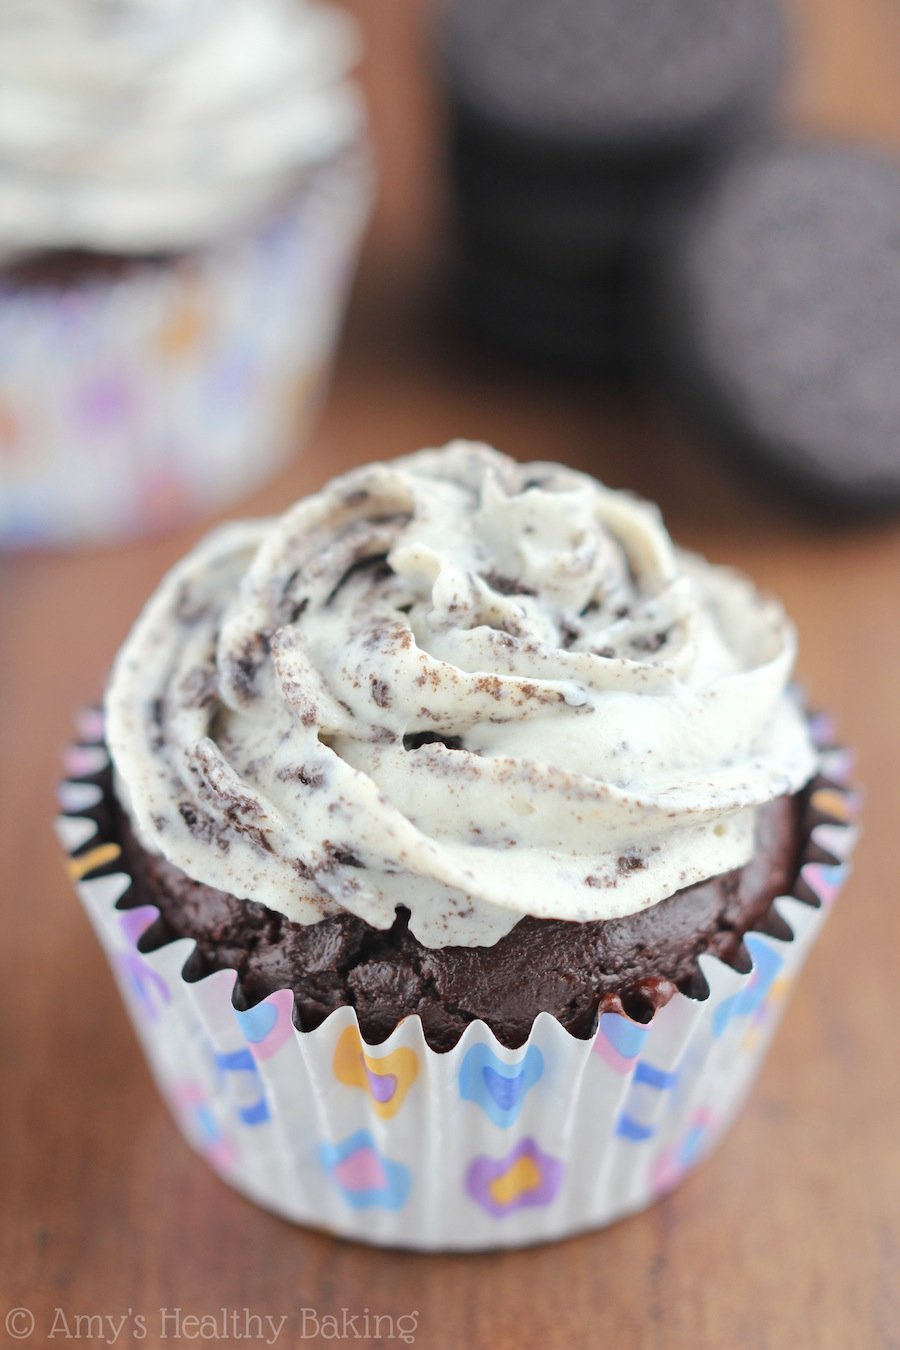
So I baked these Chocolate Cupcakes with Cookies ’n Cream Frosting to celebrate! Impressively decadent yet incredibly simple, every tender bite of these cupcakes bursts with rich chocolate flavor, followed by the sweet and familiar creamy vanilla frosting speckled with Oreo cookie chunks. And because they’re low fat, low calorie, and secretly skinny, I can completely justify polishing off two!

I started with my favorite healthy dark chocolate cupcake base. The treats always turn out so moist and flavorful, and the recipe is about as easy as a box mix. You don’t even need a mixer to make it!
The main difference between my recipe and the box’s directions is that alternating additions are mandatory. This means that you switch between stirring the flour mixture and milk into the egg mixture. The technique prevents the batter from becoming over-mixed, which would over-develop the gluten strands and result in tough, gummy cupcakes. As long as you use alternating additions, your cupcakes will stay fabulously moist and tender!

If you can find them, use metallic cupcake liners. This batter sticks to paper ones like superglue, even with liberally coating the liners with nonstick cooking spray. (Although you should still spray the metallic ones too!) I found my cute purple polka dot ones at Walmart, so check their baking aisle for their other “No Fade” metallic liners.
If you must use paper liners, bake the cupcakes a day in advance. Once they’re cool, seal the cupcakes shut inside of an airtight container, and leave them that way on the countertop for at least 12-18 hours. This helps loosen the liners so that they’ll peel back without as much of the cupcakes clinging to them.

If you’ve been around my blog this spring, you already know that I adore my Greek yogurt frosting! It’s so simple to make, packed with protein, and doesn’t require any butter or powdered sugar—yet it still ends up with the thick, pipe-able consistency of regular buttercream. (And you can top the leftovers with fruit and call it a healthy breakfast parfait!)
For this cookies ’n cream version, you’ll want to fold in the Oreo chunks last, just before chilling the frosting for 2 hours. Make sure to chop the cookies fairly small because they need to fit through the tip of a piping bag! The cookie chunks will soften in the frosting as it chills, which also helps them squeeze through the piping tip, but the smaller you cut them, the better.
(See here for my detailed description on how to pipe frosting!)
Rich, dark, and handsome, these Chocolate Cupcakes with Cookies ’n Cream Frosting are the perfect accompaniment for any party or celebration! Their tender texture and creamy frosting practically melt on your tongue, leaving you with an upscale taste of childhood nostalgia. And if the first cupcake magically disappears much too quickly, go ahead and sneak a second when nobody’s watching. With the Greek yogurt frosting, they’re basically health food!
Now what to do about that birthday dinner…

And when you make your own, remember to snap a picture and share it on Instagram using #amyshealthybaking and tagging @amyshealthybaking IN the photo itself! (That guarantees I’ll see your picture! ?) I’d love to see your cupcakes!
| Chocolate Cupcakes with Cookies ‘n Cream Frosting | Print |
- for the cupcakes
- 1 cup (80g) unsweetened cocoa powder (measured like this)
- ¾ cup (90g) all-purpose flour (measured like this)
- 2 tsp baking powder
- ¼ tsp salt
- 2 tbsp (30mL) canola or vegetable oil
- 2 large eggs, room temperature
- 1 tbsp (15mL) vanilla extract
- ¾ cup (144g) granulated sugar
- ¼ cup (60g) plain nonfat Greek yogurt
- ½ cup (120mL) nonfat milk
- for the frosting
- 2 cups (480g) plain nonfat Greek yogurt
- 0.5 oz (2 servings) sugar-free, fat-free instant vanilla pudding mix
- 3-4 tablespoons granulated Splenda (or other sweetener, to taste)
- 6 chocolate sandwich cookies, cream centers removed & chopped fairly small (such as Oreos)
- To prepare the cupcakes, preheat the oven to 350°F and place foil cupcake liners in 12 muffin cups. Lightly coat the liners with nonstick cooking spray.
- In a medium bowl, whisk together the cocoa powder, flour, baking powder, and salt. In a separate bowl, whisk together the oil, eggs, and vanilla. Stir in the sugar and yogurt. Alternate between adding the flour mixture and milk, beginning and ending with the flour, and stirring in each until just barely incorporated. (Note: For best results, add the flour in 3 equal portions and the milk in 2 equal portions.)
- Divide the batter between the prepared liners. Bake at 350° for 21 minutes. Cool in the pan for 5 minutes before turning out onto a wire rack to cool completely.
- While the cupcakes bake, prepare the frosting. Add the Greek yogurt, pudding mix, and Splenda to a large bowl, and beat for 2 minutes, or until thickened. Gently fold in the chopped cookies. Chill for 2 hours before piping onto the cooled cupcakes.
You will only need about ⅔ of the frosting, which has been taken into account for the Nutrition Information (see link below).
Try to frost the cupcakes just before serving, but if you have any leftovers with frosting, store them in an airtight container in the refrigerator (due to the yogurt in the frosting).
This recipe is also easily halved if baking for a smaller crowd!


Hi Amy – these look delicious! Typically you have an option for gluten free but I notice this recipe does not. Will it not turn out as well if it was gluten free? Thank you!
I’m so honored that you’d like to try making these cupcakes, Teresa! I originally shared this recipe a few months before I started diving into gluten-free baking, which is why it doesn’t have that option included in the Notes section. However, you can still make these gluten-free! For the gluten-free flour, I recommend ½ cup (60g) millet flour, 2 tablespoons (30g) tapioca flour, 2 tablespoons (30g) brown rice flour, and ½ teaspoon xanthan gum. Many store-bought gluten-free flour blends (like this one!) will work as well, if measured like this. (I’ve used both to make these cupcakes — I just haven’t remembered to update the recipe to share that! 😉 )
I’d love to hear what you think of these cupcakes if you try making them! 🙂