Last May when I flew to Miami for the BlogHer Food conference, I started craving chocolate chip cookies. Something about traveling triggers that craving (don’t ask me why!), so during my layover in Houston, I wandered around the terminal looking for a bakery or sandwich shop that offered treats.
I stumbled upon a stall not too far from my departure gate and walked up to the counter to ask the server whether any of their jumbo chocolate chip cookies were soft and chewy. In my world, that’s exactly how they should be—not crisp, crunchy, or stale!
Because the individual cookies were firmly wrapped in plastic, she kindly prodded each one for me before handing over the one that felt the softest. After giving her my money, I happily strolled down the walkway back to the gate to slowly enjoy my treat while waiting for the plane to arrive.
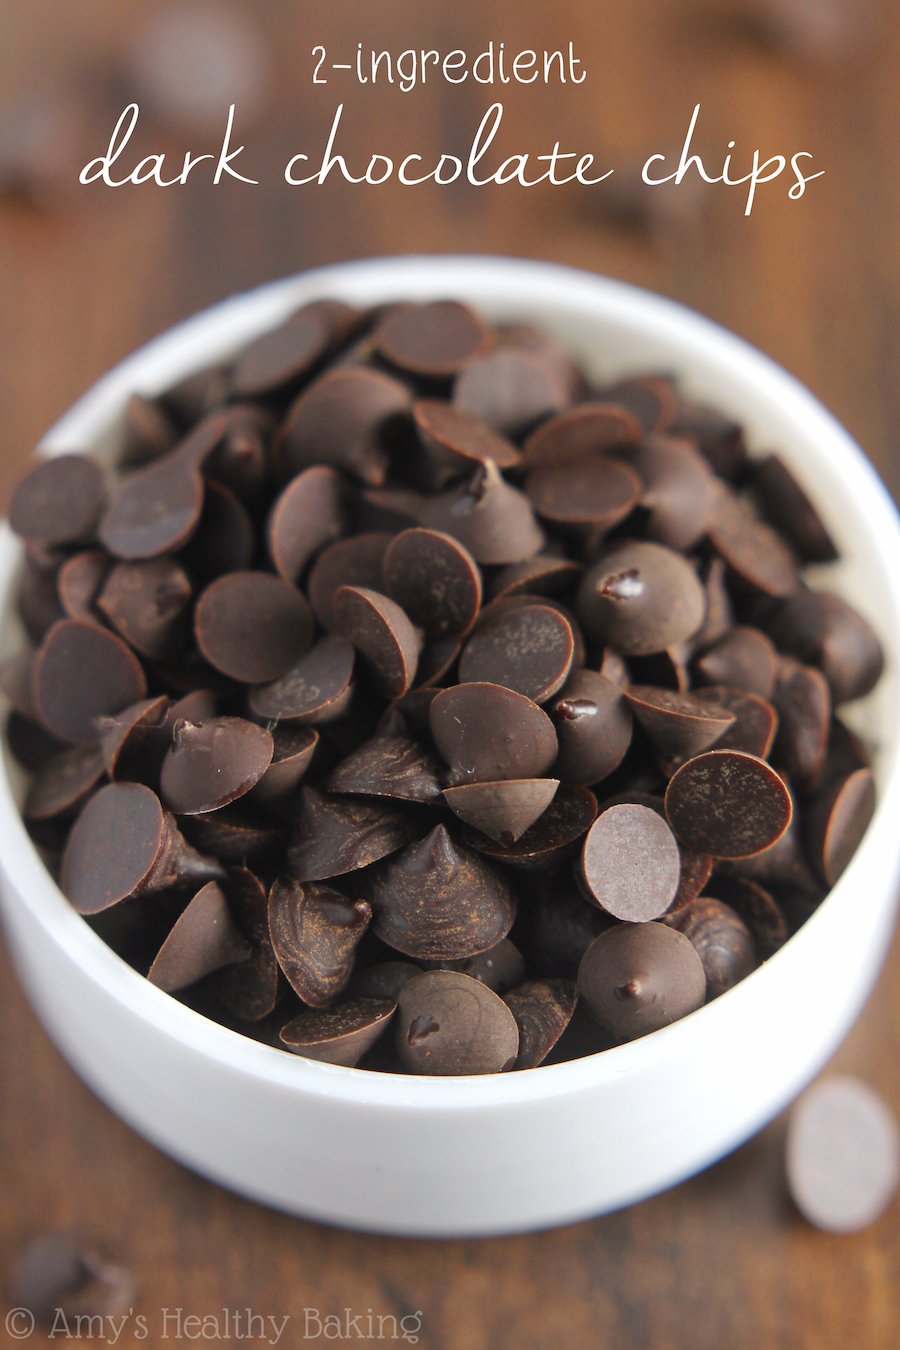
While I nibbled, I wondered about how chocolate chips were made. There were hundreds (okay, not really, but it looked like it!) of miniature ones studded throughout the cookie, but I completely forgot about that thought until my friend Lee posted her recipe for DIY vegan chocolate chips a few weeks ago. That inspired me to try making my own, so today I’m share how to make Homemade Dark Chocolate Chips!

I wanted to come up with a really easy recipe, so I narrowed this down to just 2 ingredients: unsweetened chocolate and sweetener. In order to make these healthier than store-bought, it’s really important to start with 100% unsweetened baking chocolate. The only ingredient on the label should be “chocolate.” Both Baker’s and Ghirardelli sell 4-ounce bars, and I love and use both of them.
For the sweetener, I chose Truvia. It’s my favorite sugar-free sweetener and one I always stock in my pantry. However, its crystalline form doesn’t quite dissolve, so these chocolate chips are slightly more grainy that store-bought. If you prefer a smoother chocolate, try powdered Stevia or agave instead.

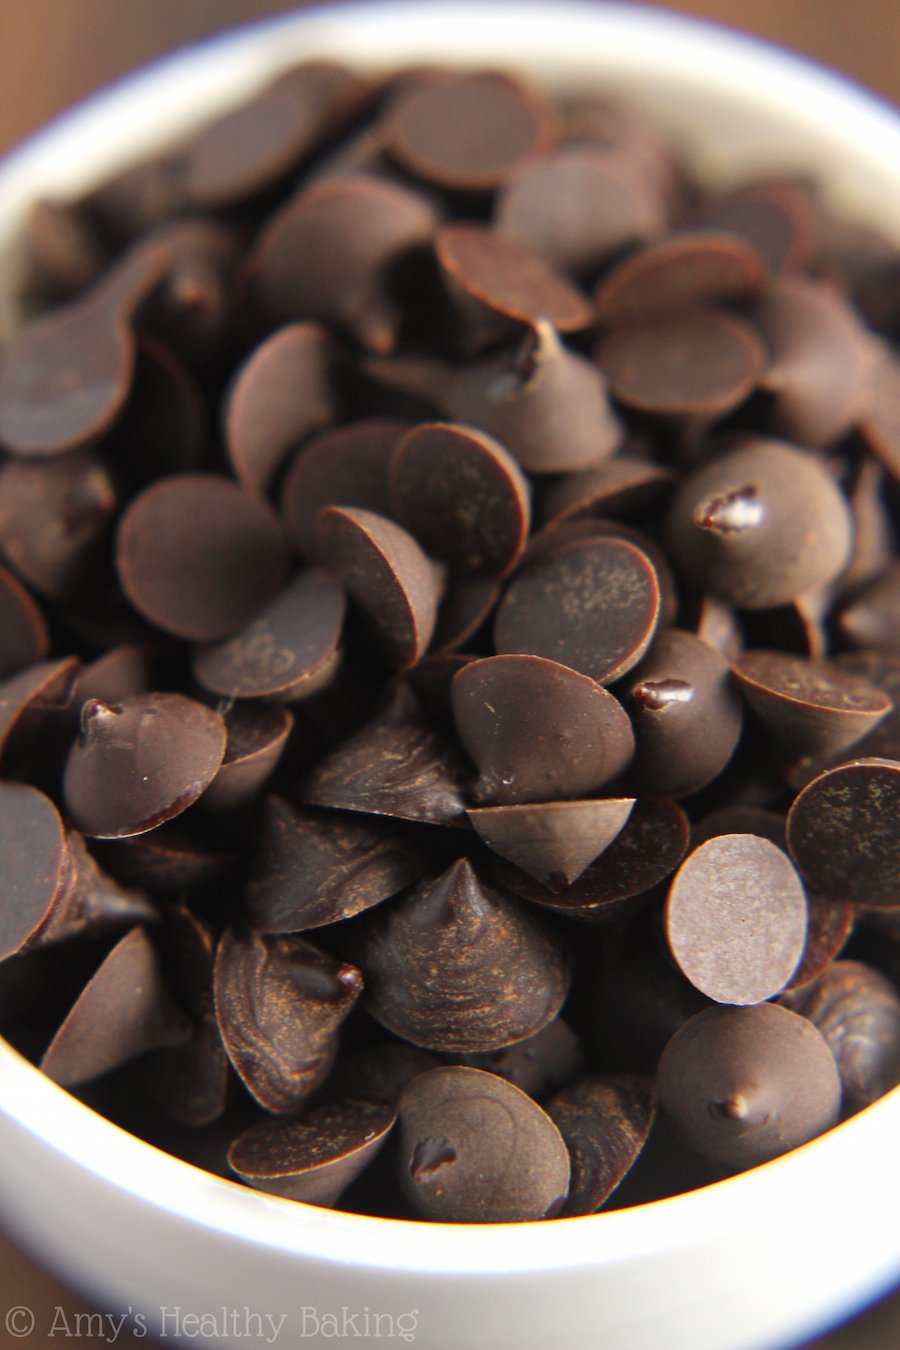
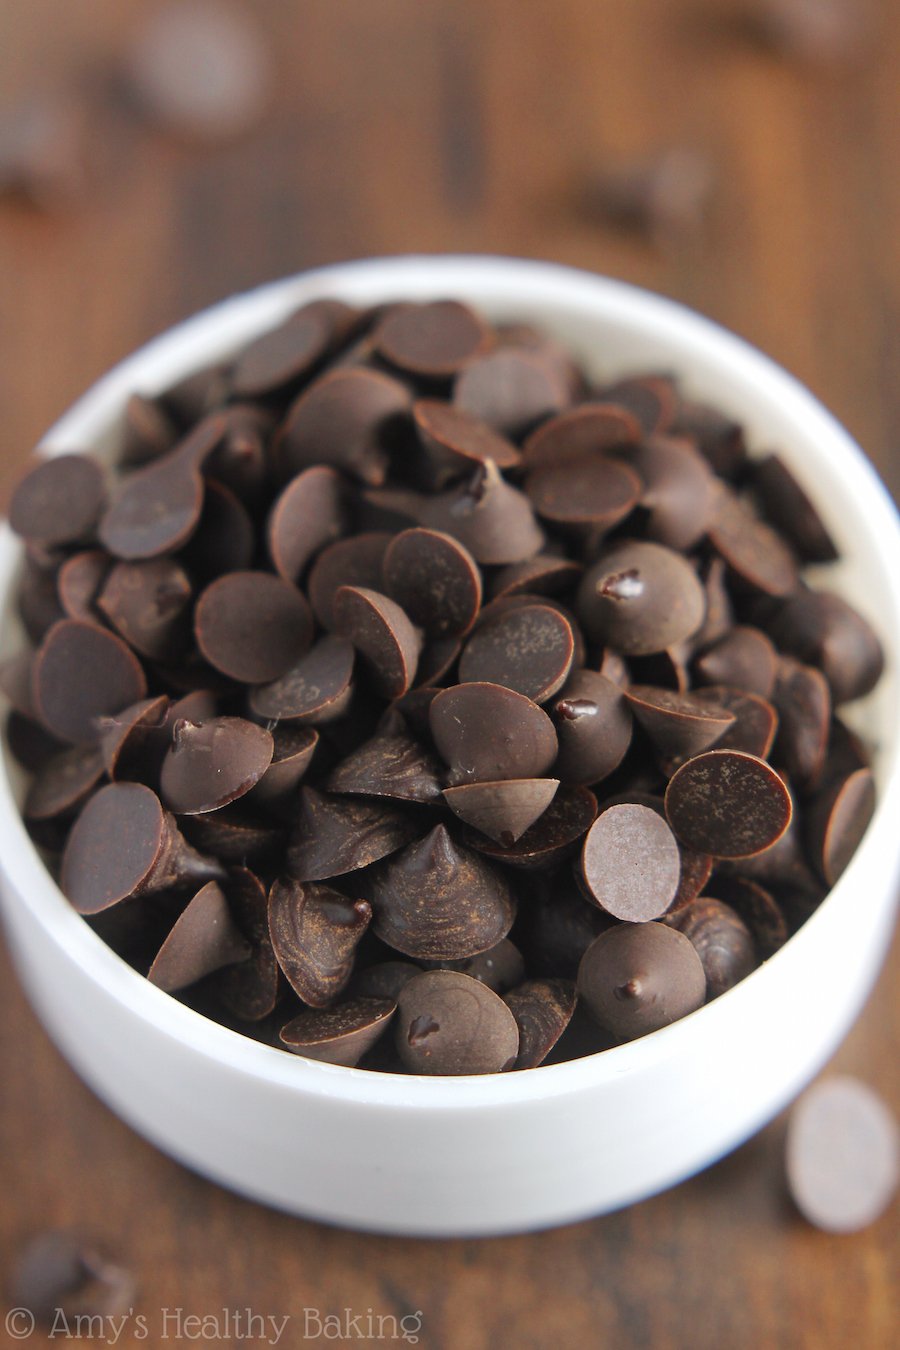
So all you need to do is melt the chocolate, stir in the sweetener, and pipe little dots using a zip-topped bag with the corner snipped off. You want the chocolate to still be warm when you start piping. As it cools, the ensuing chocolate chips will began to have what looks like a light brown coating dusted on them. That’s okay! Those chips will still taste the same; they just look a little different.
When you first start piping, the chocolate chips won’t hold their tips. They’ll look more like dots or round blobs. Once you’ve piped about half of the chocolate, take a toothpick (or just use the tip of your finger!) and lightly touched the center of the dot; then lift up. This reforms the iconic tip, but it’s totally optional. If you don’t care how they look, then leave them as dots!
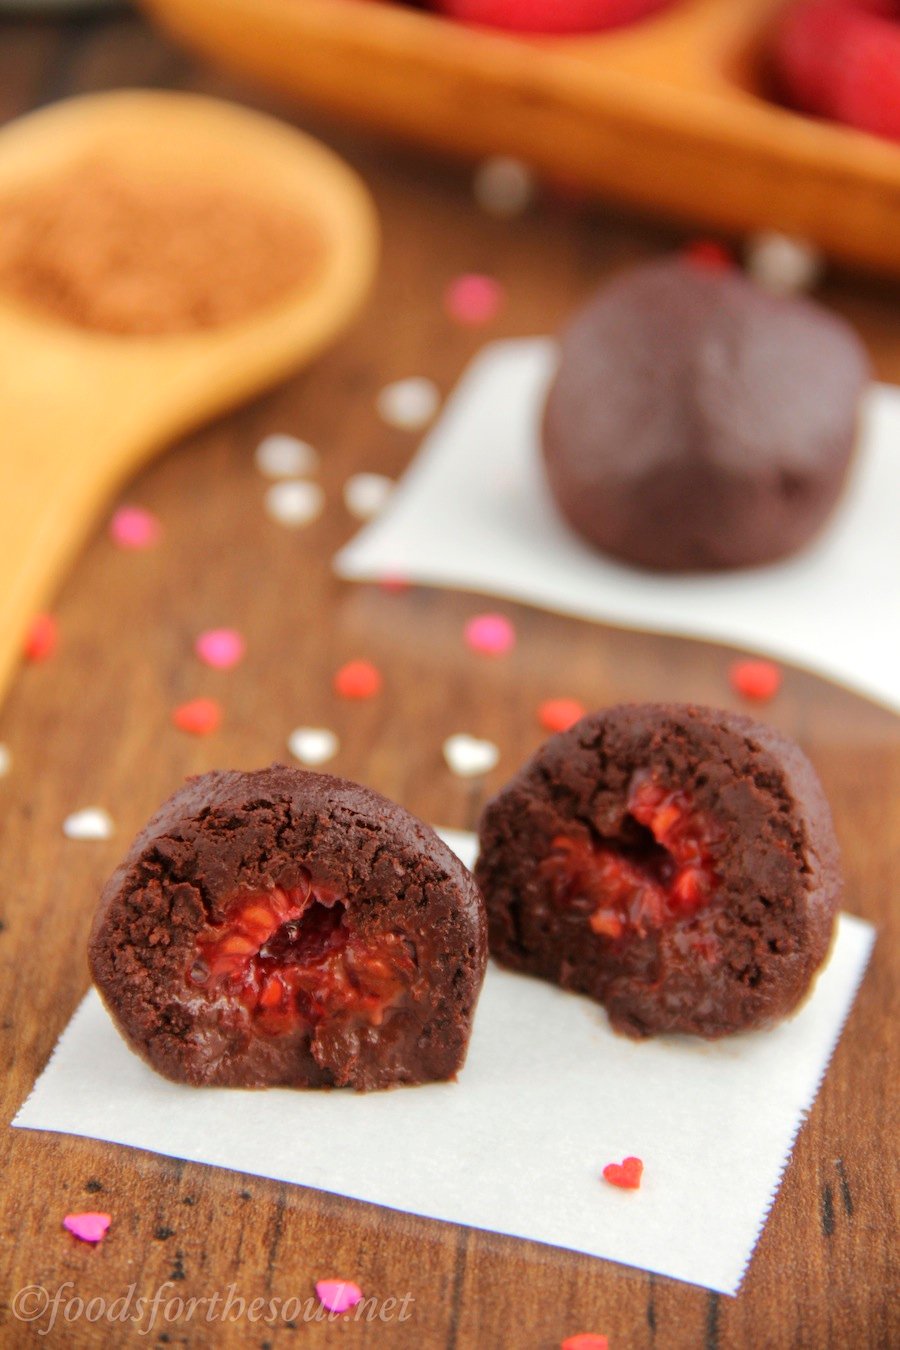
Of course, I had to test out how these Homemade Dark Chocolate Chips actually worked in cookies… Which was incredibly hard because I just wanted to eat them all. But I managed to save enough, so stayed tuned!

| Homemade Two-Ingredient Chocolate Chips | | Print |
- 1 oz unsweetened chocolate, chopped
- 1 tsp (5g) Truvia
- Line a baking sheet with parchment paper.
- Add the chocolate to a microwave-safe bowl. Microwave on HIGH for 20 seconds. Stir for at least 2 minutes. If the chocolate is still not completely melted, microwave on HIGH for 5 seconds; then stir for another 2 minutes. Continue until the chocolate is completely melted. Stir in the Truvia.
- Microwave the chocolate mixture on HIGH for 6 seconds. Spoon it into a small zip-topped bag. Snip off one corner, and pipe dots onto the prepared parchment paper. After piping about half of the chocolate mixture, gently touch a toothpick (or your clean, dry fingertip) into the center of each dot, and lift it up to create the iconic point. Continue with the remaining chocolate. Let the chocolate chips harden completely before transferring them to an airtight container.
For the unsweetened baking chocolate, I recommend Ghirardelli or Baker’s bars.
If the chocolate hardens in the zip-topped bag before your finish, let it completely cool. Peel open the bag, and roughly chop the cooled chocolate to make chocolate “chunks.”
Powdered Stevia may be substituted in place of the Truvia for a smoother, less grainy texture. Agave may work as well, although I haven’t tested it myself.
{gluten-free, vegan, clean eating, sugar-free}


More chocolate chip recipes from other food bloggers…
♥ DIY Vegan Chocolate Chips by Fit Foodie Finds
♥ Homemade Chocolate Chips by Whole New Mom
♥ Homemade Chocolate Chips by All Day I Dream About Food

Can you use this recipe only stopping at the point where you pipe them onto paper, could you dip strawberries into the warm chocolate and then cool it for a healthier version of chocolate covered strawberries? Thank you for the recipe either way because I have many diabetics in my family and friends and this will add a missing treat for them!
Yes! You can definitely do that Tina, and I think that sounds like a lovely idea. I hope you and your loved ones enjoy the chocolate-dipped strawberries!
Thank you! In my country these chocolate chips are very hard to find and once I found them there’s barely one brand in one shop and it’s ridiculously expensive, so I end up using chopped chocolate…
Also, will any sweetener do, or should I look very carefully for substitutions? Thank you again =^ . ^ =
Yes, most sweeteners will do just fine! Agave, maple syrup, honey, a variety of stevias… I’d recommend playing around with the amounts until the darkness level suits your tastes. 🙂 I’m excited to hear how they turn out for you Aura!
Hello! I just found your blog and made this right away. However. Mine melts right after. I’ve stored it in the fridge for 30 minutes, but when I take it out, it melts right away. How can i prevent this? Thank you.
Oh goodness! That definitely shouldn’t be happening Klarisse… Do you happen to live somewhere where the weather is currently really hot? Or did you substitute something for the Truvia? Also, what brand of unsweetened chocolate did you use? I’d like to work together to figure out what’s going on so it doesn’t happen to you again! 🙂
Can I pack these and sell in my shop? How long would they last on the shelf?
I really appreciate your interest in my recipe Evelyn! My recipes are available for home personal use, not for profit or selling as products to others.
Hello!
Can I use a granulated sugar like coconut sugar if I grinded it down further into a powder?
And if I wanted to use black cocoa powder, what would I have to do to turn this into a chip form like you did? Thanks so much!
Yes, you can use finely ground coconut sugar! Cocoa powder does not work as a substitute though; it has to be a bar-form of chocolate for this recipe to work. I’d love to hear what you think if you try making the chocolate chips Amy!
Hey! These look really cool… Can I put real sugar in the chocolate? Because I don’t want to use a sweetener.
Yes, regular granulated sugar is fine! I can’t wait to hear what you think of the homemade chocolate chips! 🙂
I know these are meant to be healthy but would normal sugar work instead of Truvia, or Stevia? Thank youuu
Omg I just realized you already answered that thanks ??
Of course! I can’t wait to hear what you think of these Ciara! 🙂
I’m late to the party. Thank goodness for evergreen content, right? Getting ready for Thanksgiving baking and no one in my area carries Lilly’s chocolate chips (stevia sweetened). After a couple of failed attempts at converting baking chocolate to something edible, I found your blog! Thank you, thank you, thank you!
It’s my pleasure Pamela! I’m truly honored that you’d try my recipe and incorporate it into your Thanksgiving dinner. Such a big compliment! 🙂 I hope you enjoy these chocolate chips! Happy Thanksgiving!
I tried making these with liquid Stevia and the chocolate seized up. I tried the next batch with Agave and they wouldn’t set. It was almost like fudge. I ended up scraping the idea and using them for ice cream 🙂 Next time I’ll try blending down the Truvia into a finer consistency.
I really appreciate your interest in my recipe Jerriann! That’s so strange that the agave version wouldn’t set… But I love your idea of repurposing for ice cream! 🙂 If you’d like to use your liquid stevia, then add it before starting to melt the chocolate. The chocolate shouldn’t seize up if added at the very beginning!
I have been on a low carb eating plan for a couple of months now and look at all the carb content in every food item I buy or don’t buy. I am delighted to have found this website for low carb chocolate chips for my banana bread made without flour. I was extremely shocked at the price to buy these sugar free chocolate chips on Amazon and decided I would find a recipe to make my own and very happy I did. These are super easy to make and you would not know the difference from the regular ones. Actually, I think these taste awesome and with only the two ingredients they are much healthier for you. I thoroughly enjoyed making these and will be making many more. Thank you so much for sharing, it is very much appreciated.
I’m so glad you enjoyed these homemade chocolate chips, Val! That means so much to me that you loved them so much and plan on making them again. What a huge compliment — thank you for sharing that with me! 🙂
I absolutely loved reading this. Will try it soon!! The toothpick idea is so nice! Thank you
I can’t wait to hear what you think of these chocolate chips! 🙂