
In 8th grade, my best friend from middle school moved to Australia because of her father’s job. Their family left in December, partway through our school year, because that was Australian children’s summer vacation, so my friend and her little sister could enroll in classes along with everyone else their age when schools opened their doors again at the end of January.
My parents quickly recognized how much I missed my best friend, so for Valentine’s Day, they surprised me with a plane ticket to Sydney during my Spring Break. It would be the longest trip I had ever made by myself — a full 14-hour flight! — and I started counting down the days on my calendar until the departure date.
The day after I arrived in Australia, my friend’s mom offered to schedule a low-key day in Sydney and around their house to give me time to adjust from the jet lag. Since I rarely sleep well on planes, I gratefully agreed, and she planned to drive us around the city in the afternoon to check out the Harbour Bridge, Opera House, and Luna Park.

But before we left on our sightseeing tour, her mom pulled out a thick cookbook from in the kitchen, flipped through a few pages, and let it fall open on a cinnamon roll recipe. I had never made cinnamon rolls from scratch before — all of the freshly baked ones in my house had come from a can! — so we took turns measuring ingredients, kneading the dough, and sprinkling cinnamon sugar across the top.
Although those cinnamon rolls turned out better than any I had tasted, including the gourmet ones from Cinnabon, at least five years passed before I tried baking a batch again on my own. As a teenager, I lacked the patience to wait for them to rise and bake… I wanted to eat them two hours ago, the same second that I pulled out the mixing bowls!
But fast forward to the present day, and I find baking cinnamon rolls to be incredibly peaceful and rewarding. The methodical kneading, rolling, sprinkling, sealing, arranging, waiting… And that magical moment when you pull the towel off of the top of the pan to see the rolls tall and airy and competing for space with their neighbors after they’ve risen… That’s pure, innocent joy.

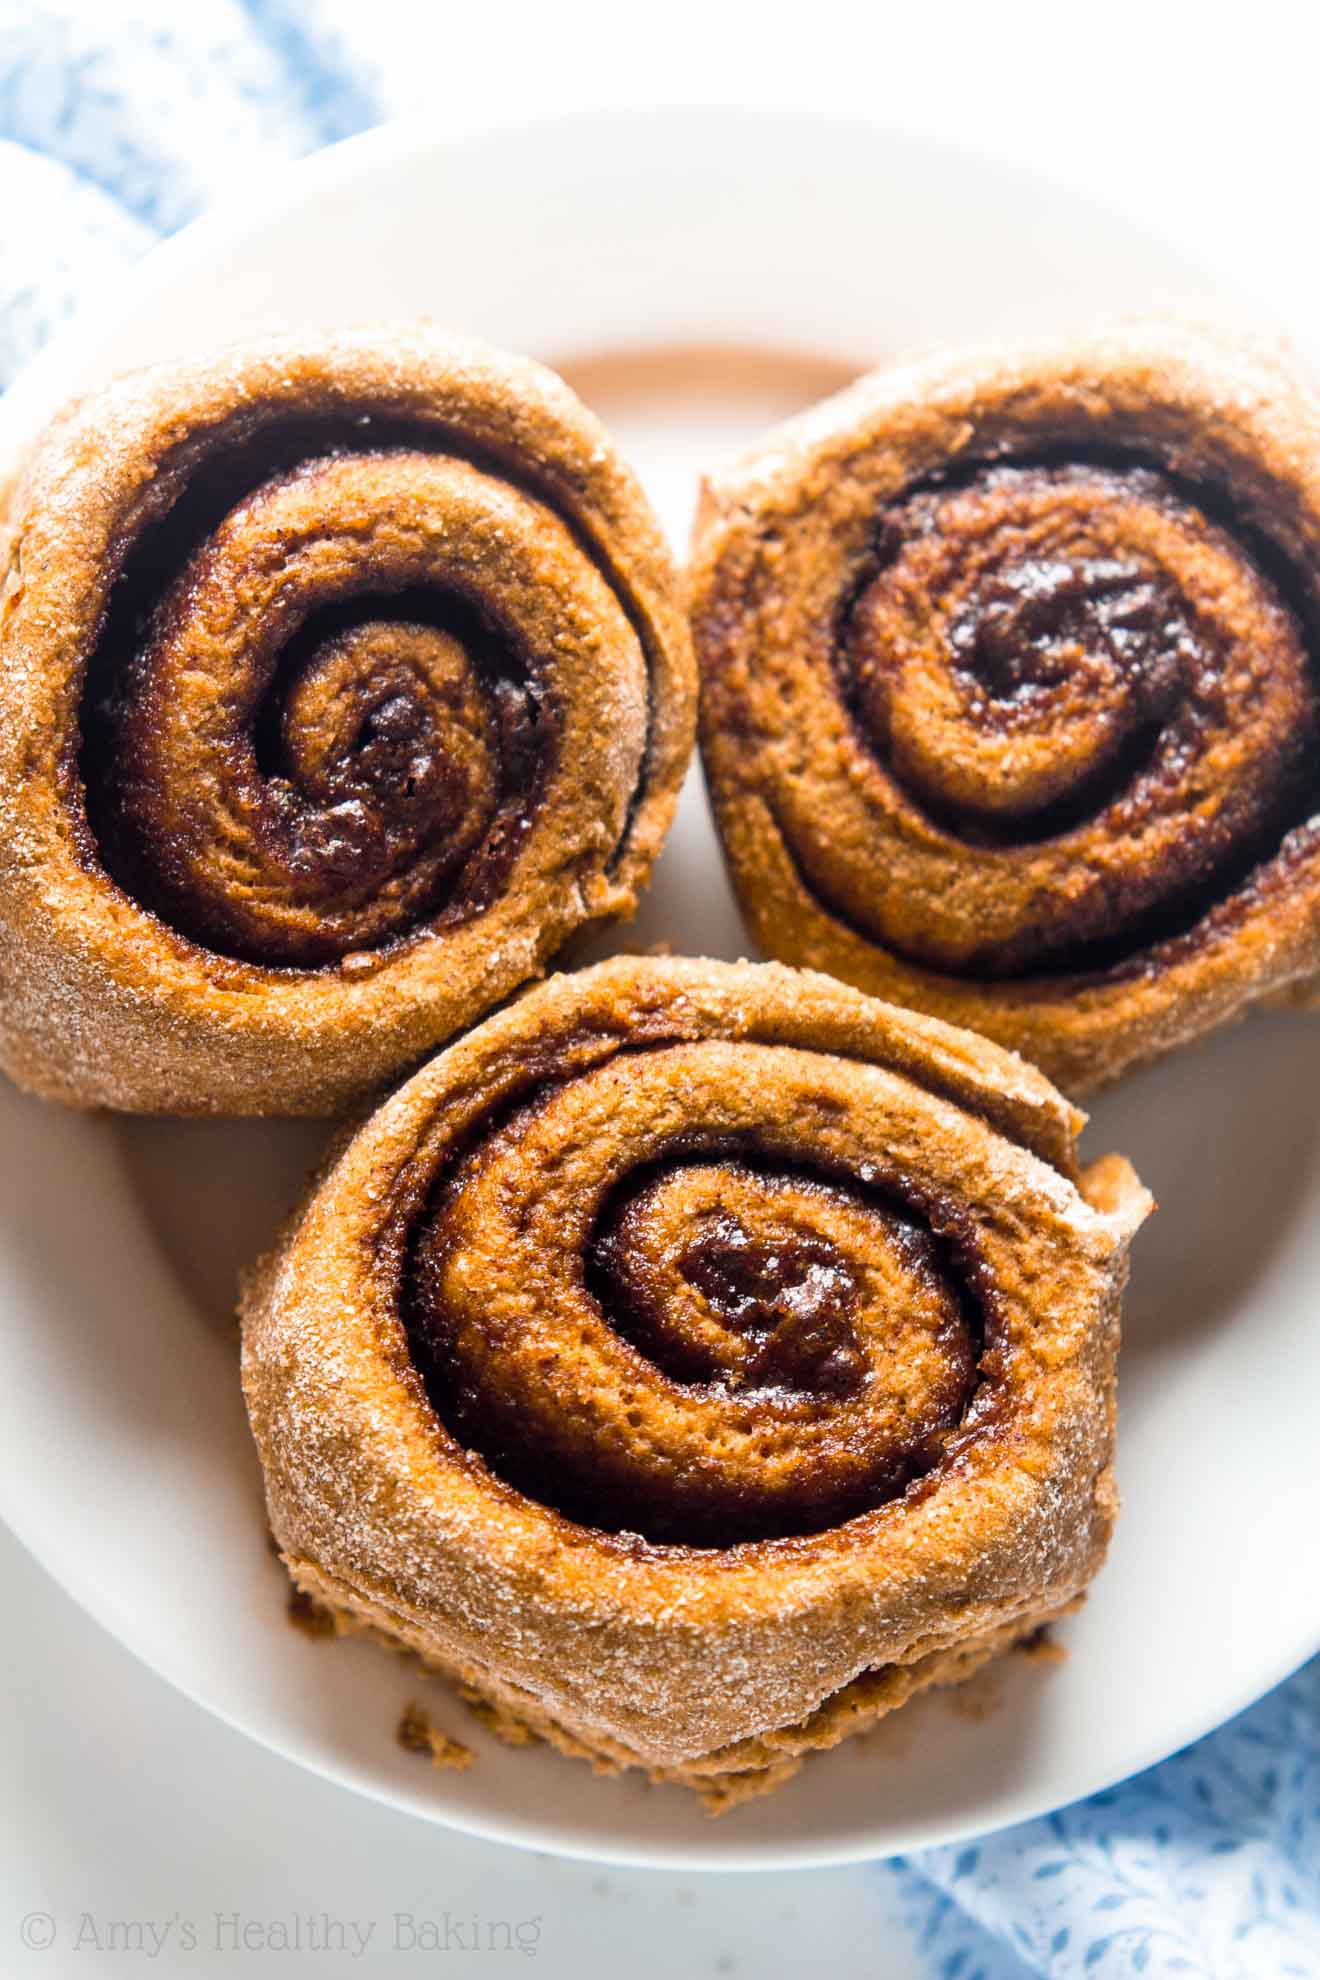
And the recipe for these healthy pumpkin cinnamon rolls is my new favorite! That warm pumpkin flavor, those cozy swirls of sticky cinnamon sugar, and the airy dough holding it all together is the equation for fall bliss. The entire pan never stood a chance around my family!
But between you and me, I didn’t mind one bit… That just gave me an excuse to bake another batch!

KEY INGREDIENTS TO MAKE HEALTHY PUMPKIN CINNAMON ROLLS
Let’s go over what you’ll need to make these healthy pumpkin cinnamon rolls! There’s a good chance you already have many of these ingredients in your kitchen.
Yeast. Yes, this is a yeast-based dough — but don’t let that scare you off! Yeast is very easy to work with, and it’s simply the ingredient used to create air bubbles to make these cinnamon rolls rise. Baking powder and baking soda react with acid to make pockets of air, whereas yeast reacts with warm liquid and sweetener to do the same thing. That’s all there is to it!
From my experience, some brands of yeast perform better than others. My favorite is Red Star Yeast. Both their regular active dry yeast and quick rise yeast work equally well in this recipe. They make these pumpkin cinnamon rolls rise to double their original size, which gives them the best soft and fluffy texture!
Tip: If using other brands of yeast, your cinnamon rolls might not rise as much — if at all. Just something to keep in mind — but I’ve also shared how to compensate for that in the Notes section of the recipe!
Milk. Just about any type will work, so just use whatever you normally keep in your fridge! I generally use nonfat milk and unsweetened almond milk the most. The most important thing about the milk is that it’s warm (not hot!), but we’ll cover that in more detail soon!
Tip: If you’d like to make your pumpkin cinnamon rolls vegan or dairy-free, then use your favorite dairy-free milk. It works really well!
Pumpkin purée. It’d be almost impossible to make pumpkin cinnamon rolls without pumpkin purée! It’s also called “pure pumpkin,” “100% pure pumpkin,” and “canned pumpkin.” It’s generally sold on the baking aisle at grocery stores, rather than with the other canned fruits and vegetables.
Tip: I don’t recommend substituting pumpkin pie mix. This contains added sugar and other ingredients, so it behaves differently in baking recipes.
Cinnamon. Another key ingredient in cinnamon rolls, as I’m sure you’ve guessed! You’ll use cinnamon in both the filling and the dough to ensure every bite is full of cozy flavor.
Tip: I highly recommend using Saigon cinnamon! It’s a bit stronger, sweeter, and richer than regular cinnamon. Many stores have started stocking it, but I often buy it online here. It’s really affordable and basically the only kind I now use in my baking!
Salt. Salt actually plays two roles in these pumpkin cinnamon rolls! It enhances their flavor, and it also prevents the yeast and dough from proofing too quickly.
Sweetener. Instead of granulated sugar, I used coconut sugar to make these pumpkin cinnamon rolls. Coconut sugar is exactly what it sounds like: an unrefined sweetener that comes from coconuts. However, it doesn’t actually taste like coconuts! It has a rich, caramel-like flavor (very similar to brown sugar!), and I love the caramel undertones it adds to the filling.
You’ll also mix some coconut sugar into the dough. This acts as “food” for the yeast, which helps with the proofing and rising steps.
Tip: Many grocery stores now stock coconut sugar on the baking aisle, right next to the granulated and brown sugars!
Butter. Unlike traditional recipes that call for a full stick or two (anywhere from ½ to 1 full cup!), you only need 1 tablespoon in this recipe. Yes, for the entire dozen! That really helps keep your healthy pumpkin cinnamon rolls low calorie and low fat. You’ll add half to the dough, and you’ll brush the other half of the melted butter over the dough after rolling it out.
Tip: To make your healthy pumpkin cinnamon rolls vegan and dairy-free, use stick-style vegan butter. This one and this one are my two favorites! Although coconut oil also works, it has a different flavor, and it also prevents the yeast from turning frothy and bubbly during the proofing step.
Flour. To make these pumpkin cinnamon rolls healthier, I opted for white whole wheat flour. It sounds a bit strange, if you haven’t heard of it before, but it’s not a combination of white (aka all-purpose) flour and regular whole wheat flour!
Instead, white whole wheat flour comes from a softer variety of white wheat (hence the name!), whereas regular whole wheat flour is made from a heartier variety of red wheat. They have the same health benefits, but white whole wheat flour has a lighter taste and texture. That lets the pumpkin flavor of your cinnamon rolls truly shine!
HOW TO MAKE HEALTHY PUMPKIN CINNAMON ROLLS
Let’s talk about how to make the best pumpkin cinnamon rolls! I have some tips and tricks for you to make sure your breakfast treats turn out beautifully tender and soft.
Select the pan. I highly recommend a springform pan for making cinnamon rolls! They tend to have higher sides than standard cake pans, which makes it easier for the cinnamon rolls to rise without bumping the top of the towel (more on that momentarily!). I also love how springform pans have removable sides. That makes it easier to slip these pumpkin cinnamon rolls out of the pan to serve!
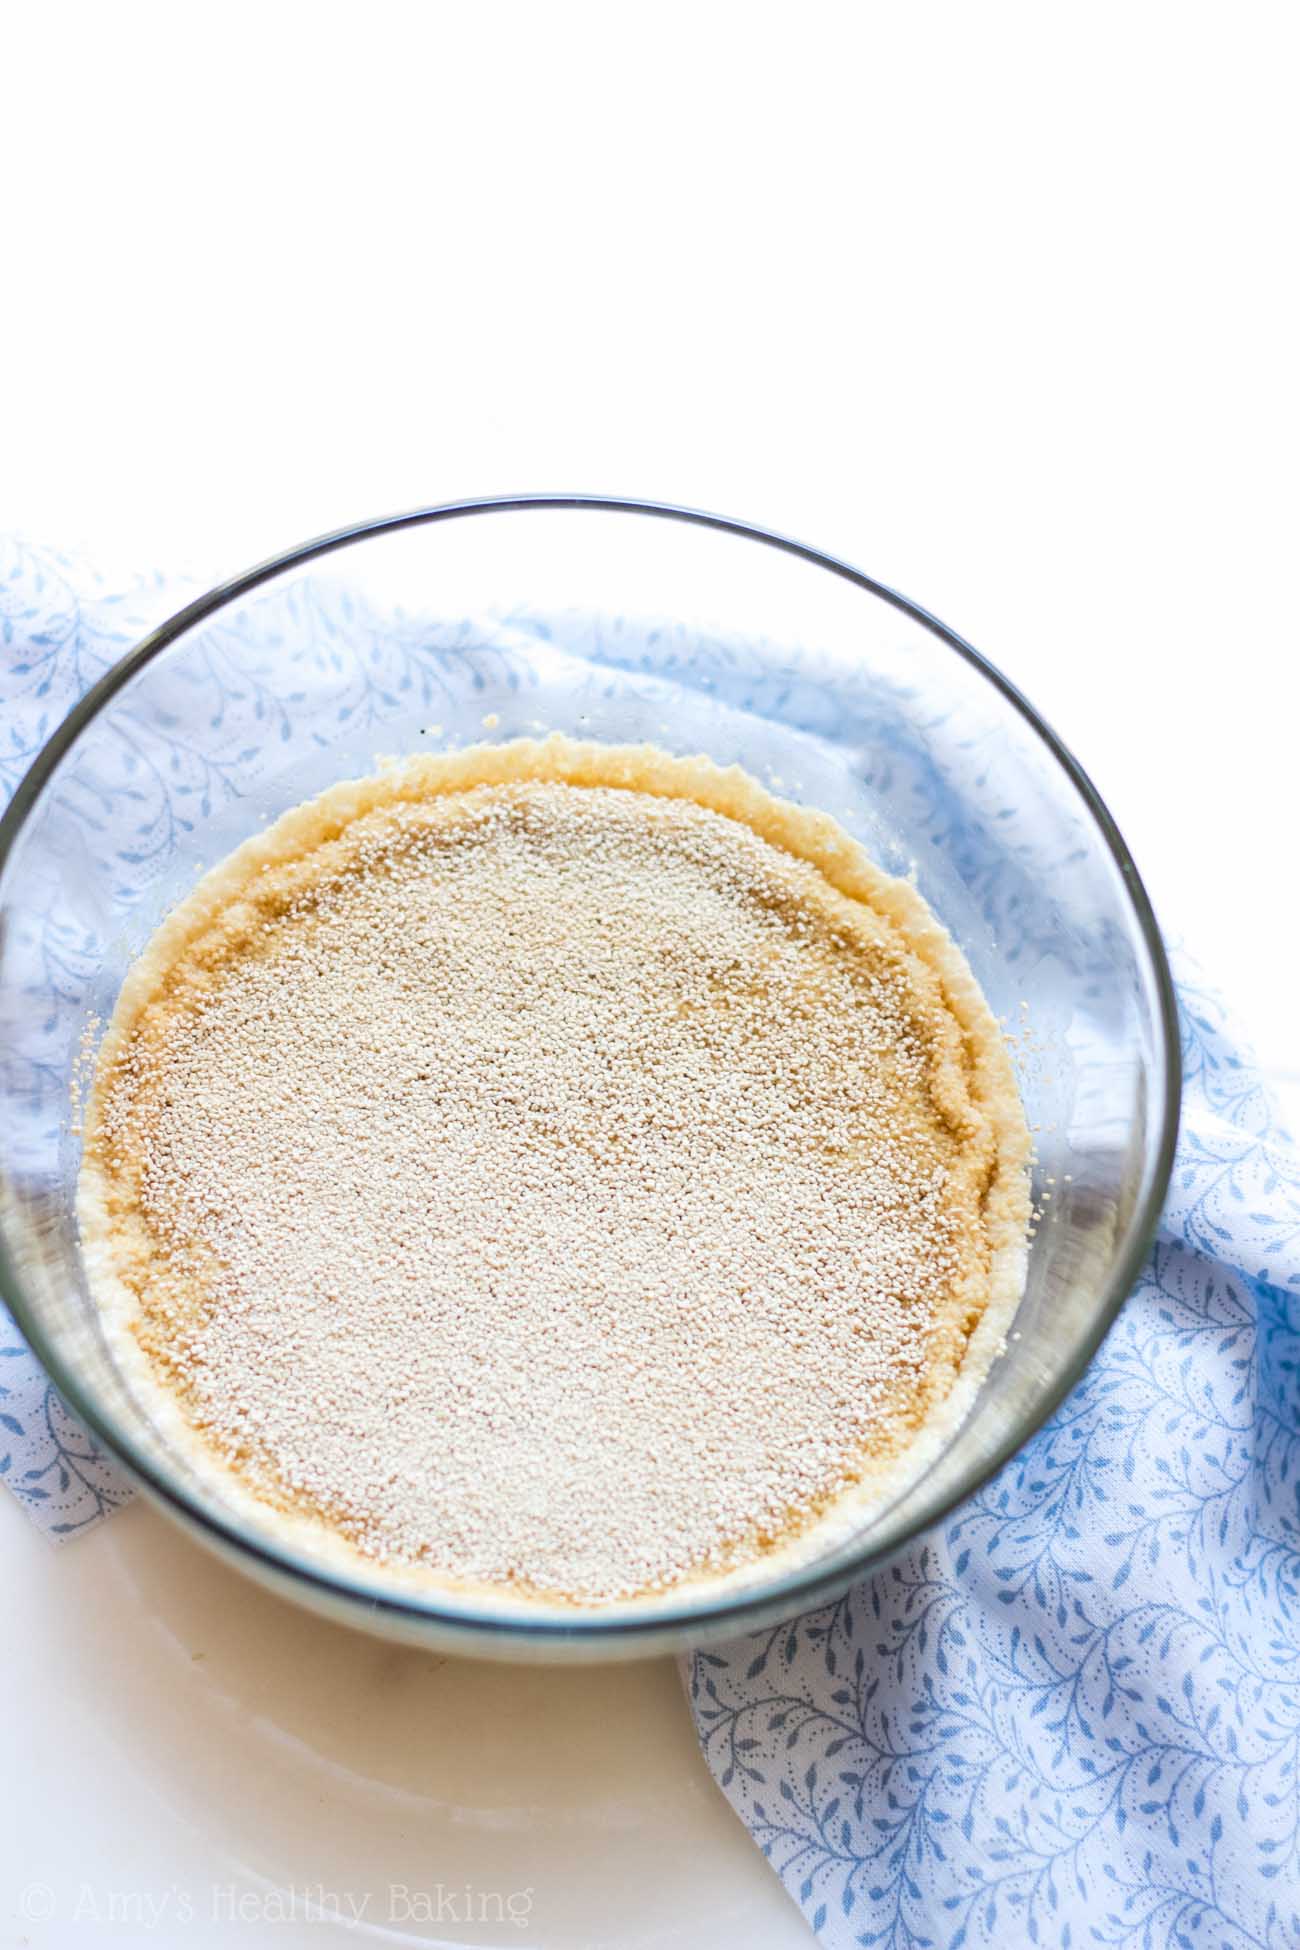
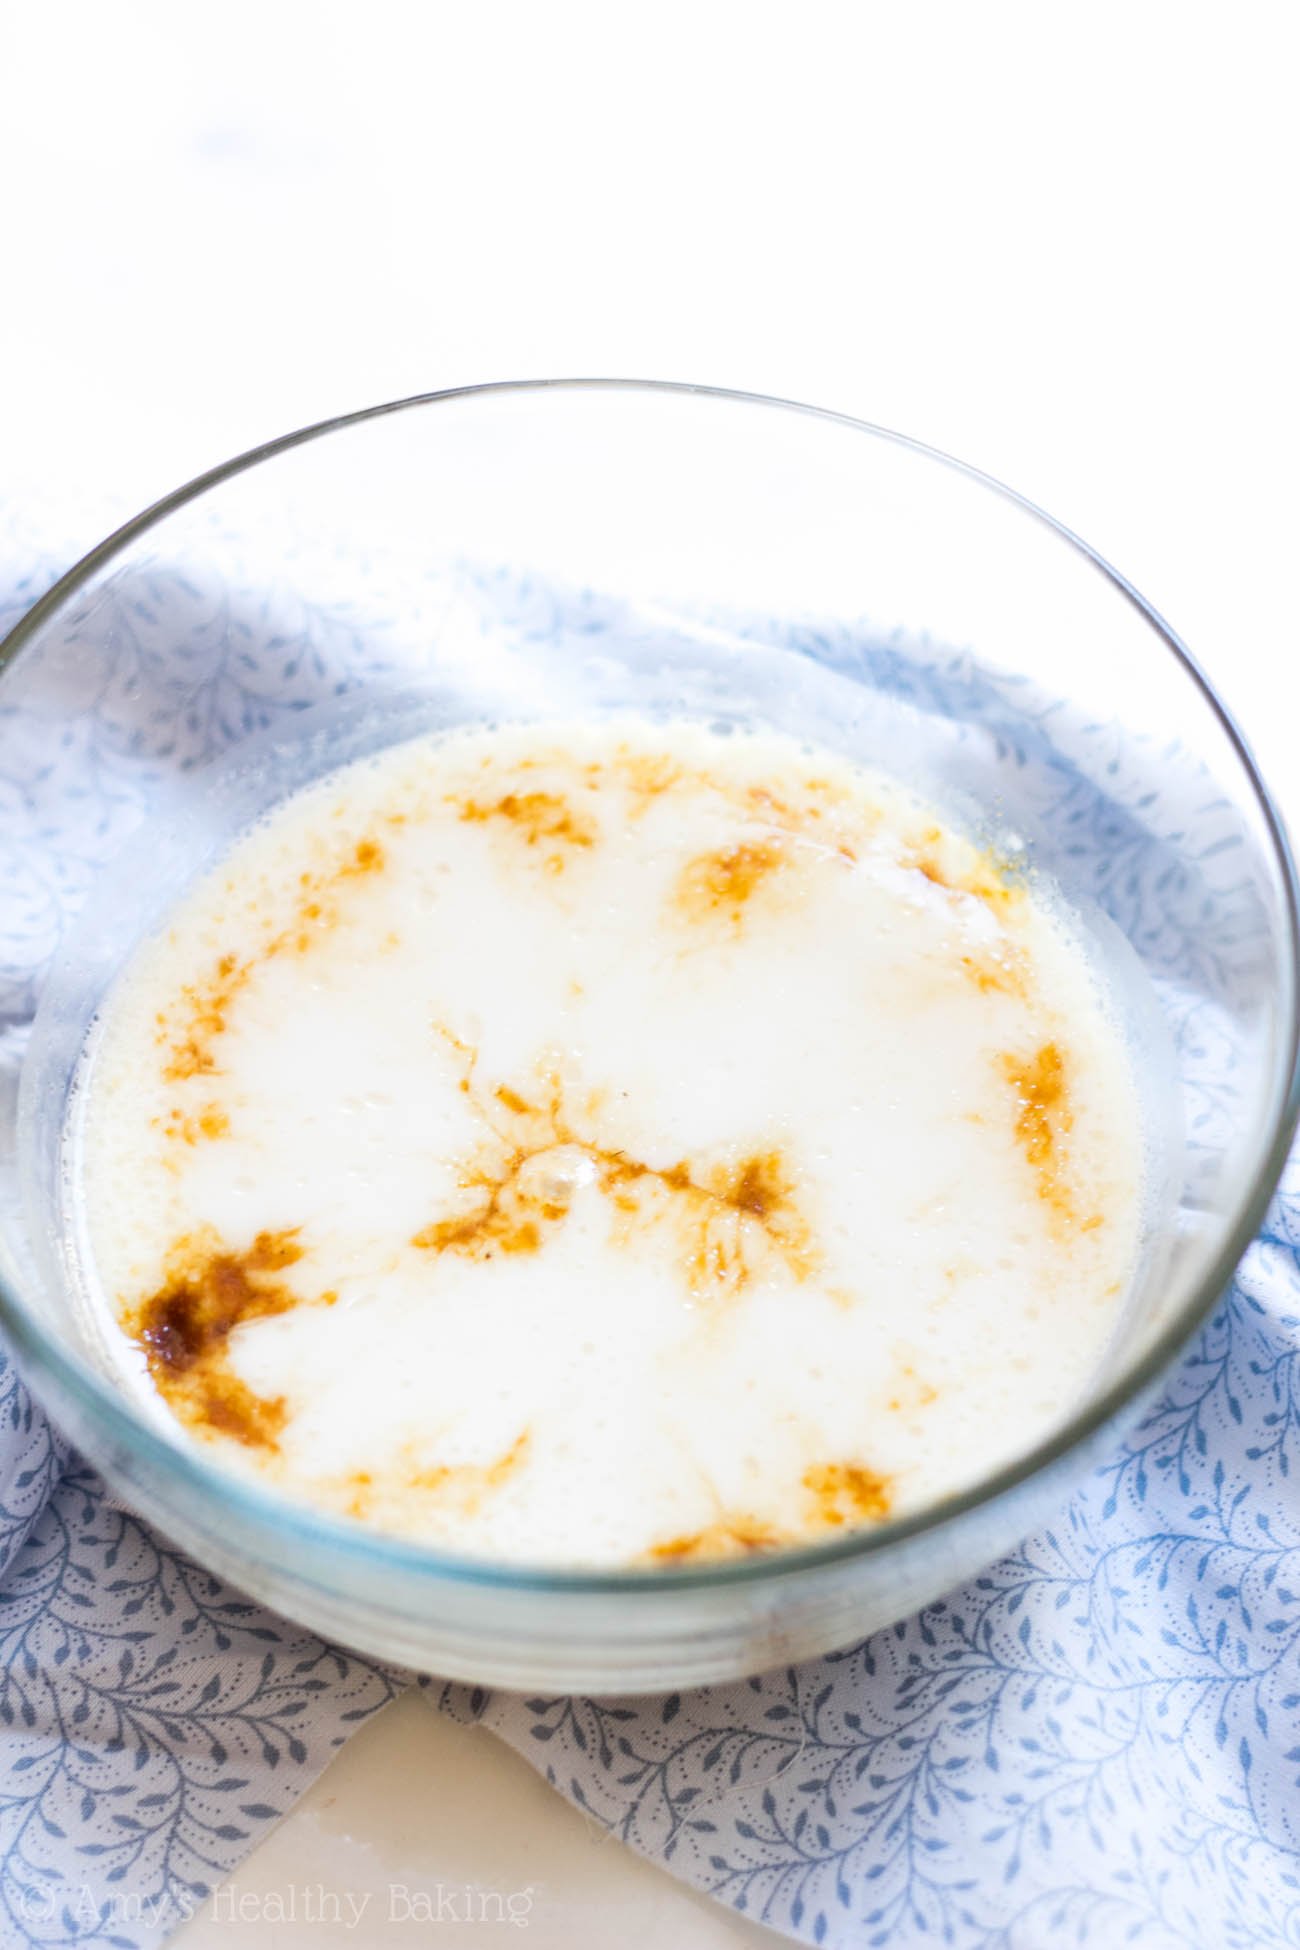
Proof the yeast. To start, you’ll mix the yeast with the warm milk, melted butter, salt, and coconut sugar. This is called “proofing” the yeast. It’s sort of like putting the yeast into a warm bubble bath — except the yeast itself is what provides the bubbles!
Make the dough. After a few minutes of letting the yeast get acclimated, you’ll stir in the pumpkin purée and cinnamon. Next, you’ll gradually add the flour. Keep stirring it in until the dough starts to stiffen and pull away from the sides of the bowl. You shouldn’t need to add all of the flour now; the dough should still be moist and sticky!
Knead. Generously shower your work surface (and hands!) with flour before transferring the dough and beginning to knead. Here is my video on how to properly knead dough for cinnamon rolls. (Scroll down to above the recipe!) I always knead by hand because it feels really soothing and therapeutic, and it only takes a few minutes. The dough is done when you can press your index finger into it, and it springs back most of the way.
Tip: I love using a silicone baking mat for this! Its nonstick surface means that it doesn’t move around much (if at all!) on the countertop, and it’s also really easy to clean.
Make the filling. That’s right — you get to skip the first rise! I’ve found that it wasn’t necessary for these pumpkin cinnamon rolls. That also means you’ll get to eat them that much sooner! Instead, you just need to let the dough rest for a few minutes while making the filling.
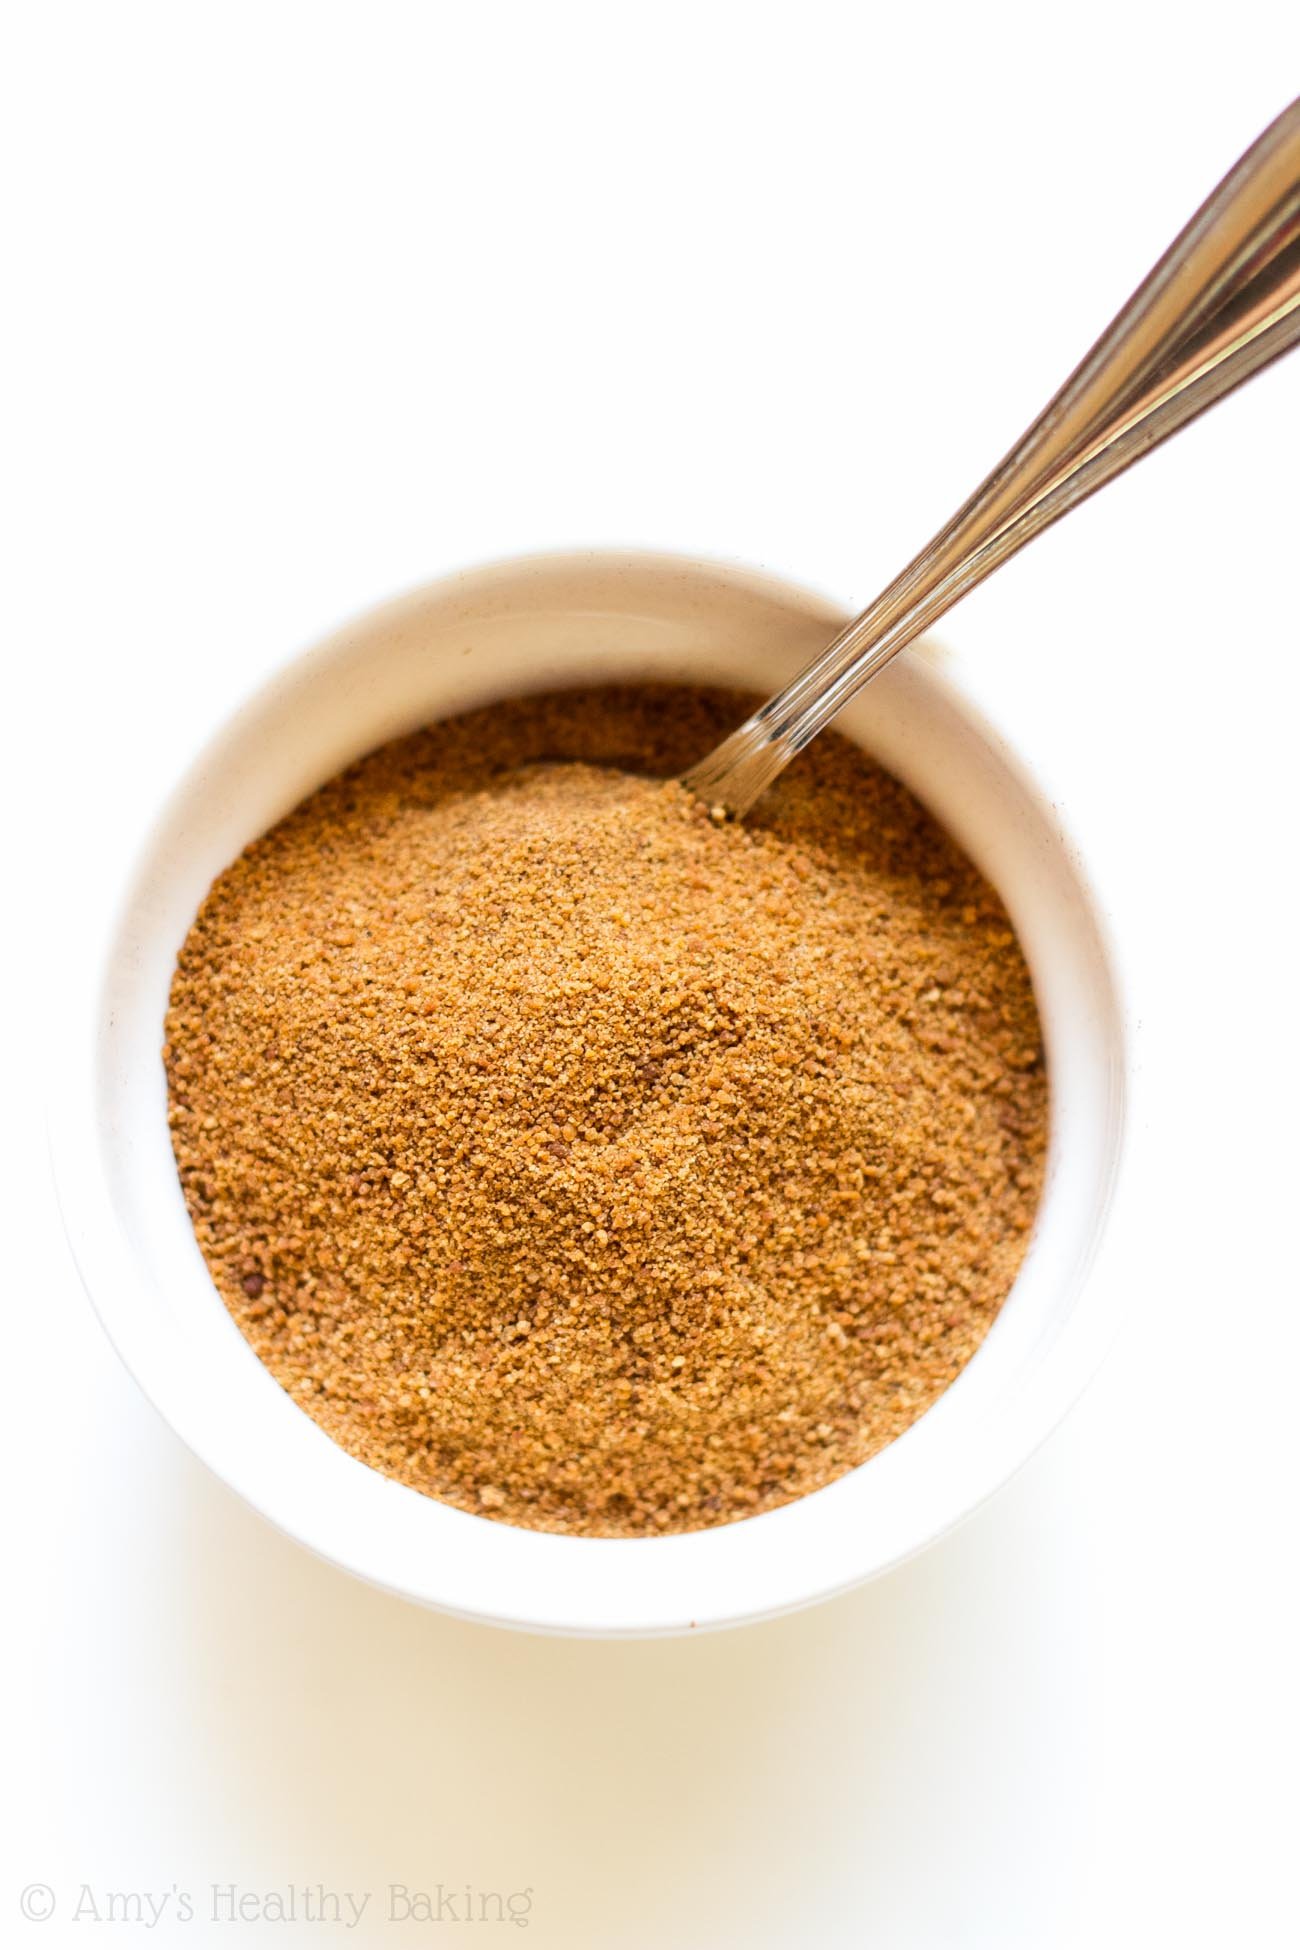
That’s super easy to do… Just stir together the coconut sugar and cinnamon, and you’re done!
Roll + fill. Time to roll out the dough! Sprinkle your work surface with flour again, as well as your rolling pin. I love using a silicone rolling pin, rather than a wooden one, because its nonstick surface helps prevent the dough from sticking while you roll it out.
Once it’s a big and thin rectangle, brush the dough with the melted butter, and sprinkle it with the cinnamon sugar mixture. I like to gently pat down the cinnamon sugar with my palms so it stays in place better while rolling up the dough and pinching the seam to seal.
Shape + slice. Start with one long edge, and roll it towards the other long end to make a log. I often brush the second long edge with a bit of water to help the dough stick together when I pinch it to seal.
I have a secret trick to slicing these pumpkin cinnamon rolls… Dental floss! When you use a knife, it often distorts the shape of the cinnamon rolls, and they turn out oblong or lopsided and more like ovals. However, using dental floss maintains their beautiful circular shape!
Tip: If you’re a visual person, then watch my video here located directly above the recipe!

Let them rise. I know it sounds strange, but my favorite part of the process is seeing the cinnamon rolls after they’ve risen, just before popping them in the oven. It’s magical how they’ve doubled in size and barely fit in the pan after just 30 minutes of sitting!
For this step, I just briefly turn on the oven for a couple of minutes and switch it off before the temperature rises above about 100°F. After covering the top of the pan with a clean and dry towel, I pop that into the oven and shut the door. Everyone seems to have their own preference for the best way to let cinnamon rolls rise, but that’s mine!
Bake. Once they’ve risen to double their original size, pull the pan from the oven — but leave the towel on top! This prevents any wayward drafts from disrupting the cinnamon rolls or causing them to deflate. Let the oven preheat, then gently slide the pan inside… And wait impatiently as your timer counts down the minutes until your healthy pumpkin cinnamon rolls are done!
Then all that’s left to do is…
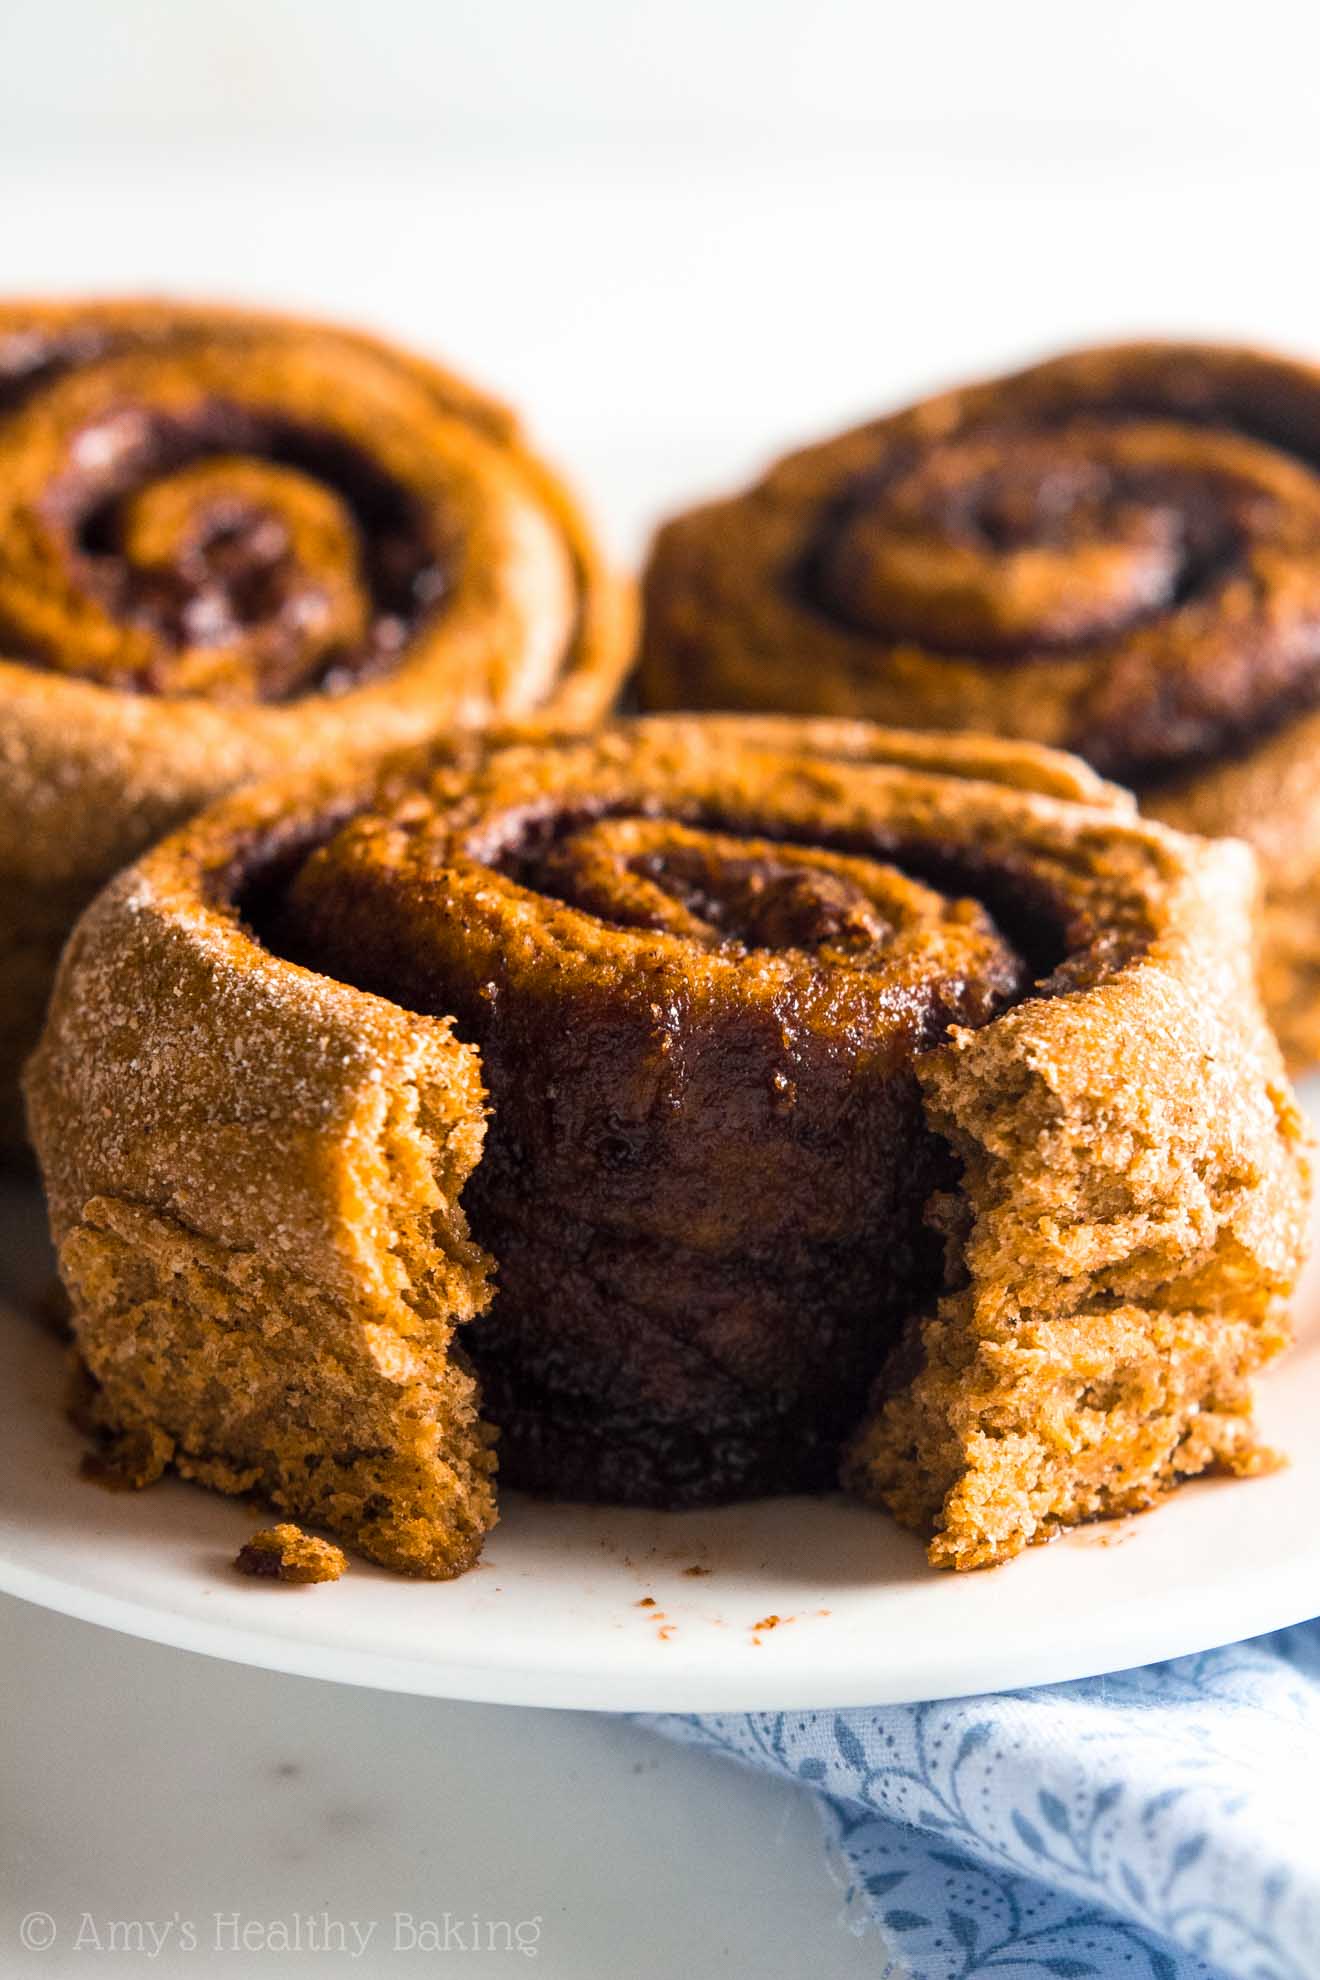
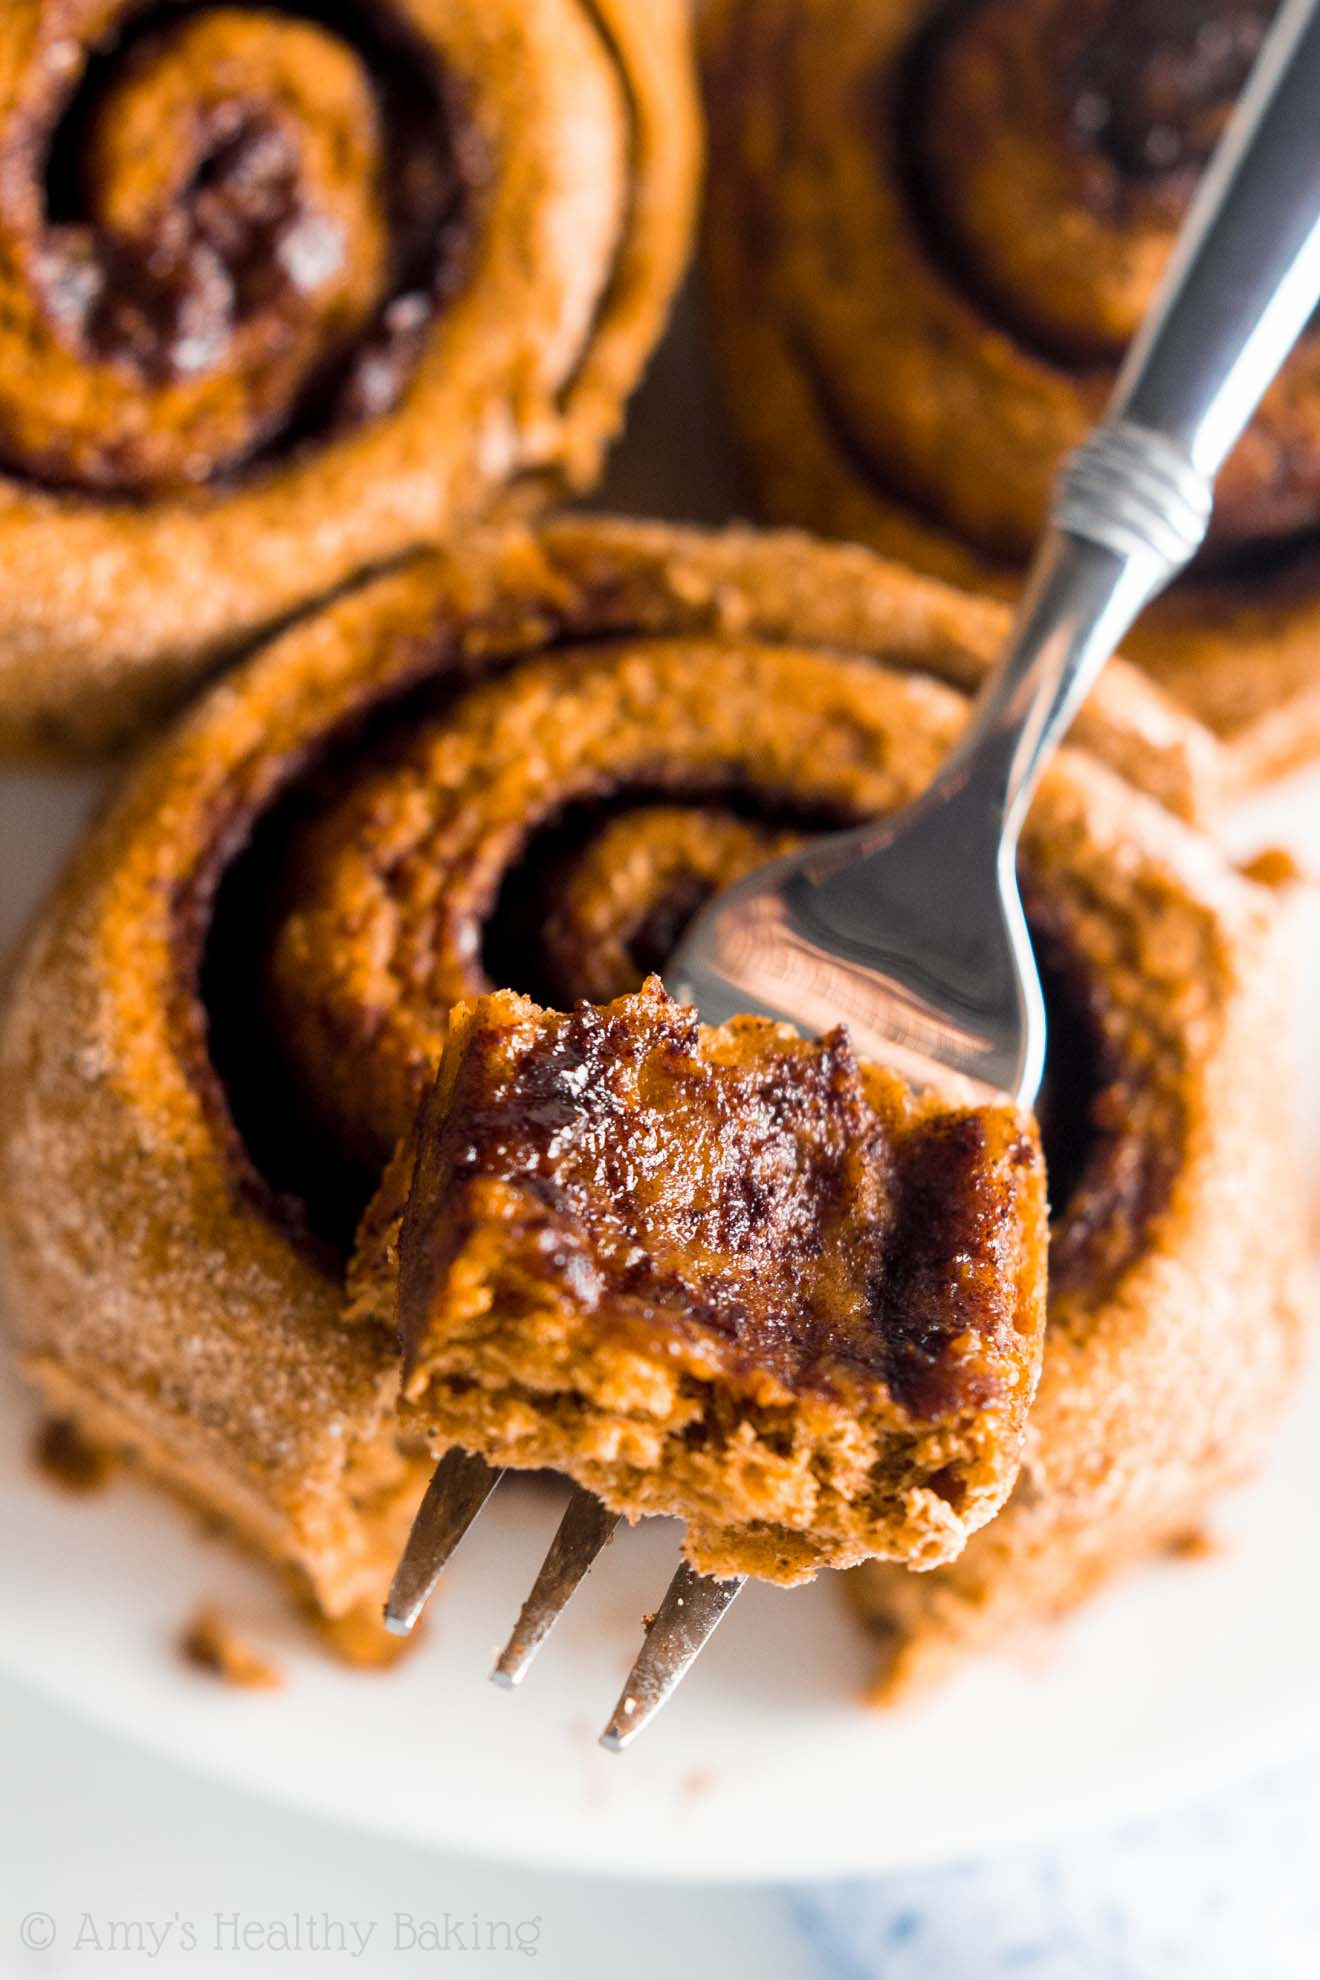
Enjoy them warm and fresh from the oven — and decide whether to stop after one… Or reach for a second! 😉
And when you make your own, remember to snap a picture and share it on Instagram using #amyshealthybaking and tagging @amyshealthybaking IN the photo itself! (That guarantees I’ll see your picture! 🙂 ) I’d love to see your healthy pumpkin cinnamon rolls!

Healthy Pumpkin Cinnamon Rolls
Ingredients
FOR THE DOUGH
- 3 tbsp (45mL) warm nonfat milk (about 100-110°F)
- ½ tbsp (7g) unsalted butter, melted
- 3 tbsp (36g) coconut sugar
- ½ tsp salt
- 2 ¼ tsp (one ¼-oz package) active dry yeast (see Notes!)
- ¾ cup (180g) pumpkin purée
- 1 tbsp (8g) ground cinnamon
- 2 – 2 ½ cups (240-300g) white whole wheat flour (measured like this)
FOR THE FILLING
- 6 tbsp (72g) coconut sugar
- 2 tsp ground cinnamon
- ½ tbsp (7g) unsalted butter, melted
Instructions
- Coat a 9”-round springform pan (highly recommended!) or cake pan with nonstick cooking spray. Set aside.
- To prepare the dough, stir together the milk, butter, coconut sugar, and salt in a large bowl. Sprinkle the yeast on top, and wait 10-15 minutes or until the mixture turns frothy. Stir in the pumpkin purée and cinnamon. Mix in 1 ½ cups of flour. If the dough is still wet, continue stirring in flour 2 tablespoons at a time until the dough begins to pull away from the sides of the bowl.
- Turn the dough out onto a well-floured surface, and knead for 3-5 minutes or until the dough springs back most of the way when you gently press your index finger into it. Let the dough rest while preparing the filling.
- To prepare the filling, stir together the coconut sugar and cinnamon in a small bowl.
- On a clean, well-floured surface, roll the dough out into a 16x10” rectangle. Brush with the melted butter, leaving a 1” border on the two longer sides. Sprinkle with the cinnamon sugar, leaving a 1” border on the two longer sides again. Carefully roll up the dough into a log, starting at one long edge and rolling towards the other one. Pinch the ends to seal. If the dough won’t stick together, gently brush the second longer edge with water before pinching to seal.
- Slice the log into 12 pieces using dental floss (highly recommended – see Notes!) or a sharp serrated knife. Place the rolls into the prepared pan, and cover the pan with a clean towel. Set the pan in a warm, draft-free spot, and let the rolls rise for 30-45 minutes or until doubled in size.
- Preheat the oven to 350°F. Bake the cinnamon rolls for 18-22 minutes or until the filling is bubbling and the sides of the cinnamon rolls in the center of the pan feel firm. Cool in the pan for at least 10 minutes before serving.
Notes
View Nutrition Information + Weight Watchers Points
You may also like Amy’s other recipes…
♡ Pumpkin Bread
♡ Pumpkin Pancakes
♡ Pumpkin Waffles
♡ Pumpkin Scones
♡ Pumpkin Oatmeal Muffins
♡ Pumpkin Spice Granola
♡ Baked Pumpkin Donuts
♡ The Ultimate Healthy Pumpkin Spice Latte
♡ …and the rest of Amy’s healthy pumpkin recipes!


Can these rise overnight in the fridge like a traditional cinnamon roll recipe//is there a way to pay prep for breakfast the night before?
I really appreciate your interest in my recipe, Katy! I haven’t had the best luck with that overnight method; the cinnamon rolls don’t seem to rise quite as much or turn out quite as fluffy. If you’d like to serve them warm (without spending all that time preparing them first thing in the morning!), then my recommendation would actually be to fully bake them the night before but leave them in the pan. The next morning, if you’d like to serve them warm, then tightly cover the top of the pan with foil, and put them in the oven on your oven’s lowest temperature setting until they’re fully warmed through. (The foil should prevent the tops from drying out while you reheat them!) Does that make sense? 🙂
I’d love to hear what you think of these cinnamon rolls if you try making them!
So much easier than I thought abs delicious. We will be making these again!
I’m so glad you enjoyed these cinnamon rolls, Kristin! That’s the best kind of compliment, if you already think that you’ll bake them again. Thank you for taking the time to let me know! 🙂
Excellent recipe! These pumpkin cinnamon rolls were my introduction to Amy’s Healthy Baking years ago. It is my go to recipe for Christmas each year since. As with all yeast baking, it’s all in the rise! So tasty and plenty sweet, keeps well in the fridge too. Gonna have to make a batch soon!
Oh my goodness!! I didn’t realize you’ve made these cinnamon rolls every year for Christmas after discovering my recipe and blog. I’m truly honored, Camille! Christmas is such a special occasion, so to become a part of the tradition in your home… Wow! I’m blown away. My heart feels so full right now! ♡ Thank you for taking the time to share — you just made my entire week!!
Just made these for breakfast and they are fabulous. I’d like to make them for friends visiting soon. Can I make the dough the night before, refrigerate, bring to room temp then roll? Or is there a better make ahead strategy? thanks.
I’m so glad you enjoyed these cinnamon rolls, Dom! It’s such a huge compliment that you’d like to make them for your friends too. I’m honored! 🙂
I haven’t had the best luck with that overnight method; the cinnamon rolls don’t seem to rise quite as much or turn out quite as fluffy. If you’d like to serve them warm (without spending all that time preparing them first thing in the morning!), then my recommendation would actually be to fully bake them the night before but leave them in the pan. The next morning, if you’d like to serve them warm, then tightly cover the top of the pan with foil, and put them in the oven on your oven’s lowest temperature setting until they’re fully warmed through. (The foil should prevent the tops from drying out while you reheat them!)
Can these be made with gluten-free flour? Any recommendations???
I really appreciate your interest in my recipe, Adriana! I haven’t had good luck substituting gluten-free flours in this recipe. The cinnamon rolls don’t rise the way they do with wheat-based flour due to the lack of gluten, but as soon as I figure out the magic formula for a gluten-free flour option, I’ll update this recipe to share that! 🙂
If you decide to try making them, I’d love to hear what you think of these pumpkin cinnamon rolls!
can allulose be used instead of sugar? Thank you !
I really appreciate your interest in my recipe, Rocío! I haven’t tried using allulose yet (although it’s on my to do list!), so I’m not personally sure and don’t want to lead you astray. If you do end up making these cinnamon rolls, whether as written or with allulose, I’d love to hear what you think of them!
If I can’t find white whole wheat flour
what can i use? I have whole wheat flour, will it work (I’m from Chile, is it select brand flour)?
I really appreciate your interest in my recipe, Rocío! Regular whole wheat flour should work. You may notice a tiny bit more of a “wheat-y” flavor than you would with white whole wheat flour, but it shouldn’t be too prominent at all. You should mainly taste the pumpkin and spices! 🙂
I’d love to hear what you think of these cinnamon rolls if you try making them!
how do you recommend reheating them? in the oven or microwave? and for how long? thank you!
Either should work, but I generally use the microwave (partially because it’s much faster! 😉 ). To do so, I microwave the cinnamon rolls on 30% power until they’re warmed all the way through. The amount of time will depend on the wattage of your microwave, how many cinnamon rolls you’re reheating at once, and whether the cinnamon rolls are at room temperature or cold (ie from the fridge). I’m usually reheating a single cinnamon roll from the fridge, and that generally takes 20-30 seconds.
If you’d like to reheat the entire pan of cinnamon rolls all at once, then the oven might be a better option. To reheat them that way, tightly cover the top of the pan with foil, and put them in the oven on your oven’s lowest temperature setting until they’re fully warmed through. (The foil should prevent the tops from drying out while you reheat them!)
I really hope you enjoyed these cinnamon rolls, Rocío!
Hi, would it be OK to sub whole wheat pastry flour for the flour listed?
I really appreciate your interest in my recipe, Amanda! Whole wheat pastry flour should be fine. Some brands don’t always rise quite as high as others in Step 6, but the flavors of your cinnamon rolls will remain the same! 🙂 I’d love to hear what you think of them if you end up making this recipe!