In the spring of my freshman year of high school, one of my girlfriends I had met at a backpacking camp a few summers earlier invited me to her birthday party. Since she lived four towns over and we depended on our parents for rides to each other’s houses, we rarely saw each other, so I offered to come over early to help her finish preparing for the party and squeeze in a little extra time to hang out before her friends from school arrived.
Unlike most stereotypical teenage birthday parties where kids chased each other in laser tag or careened about in bumper cars, my friend hosted a dinner party at her house—entirely catered by her! She loved to cook, and despite her lactose intolerance, she created a five-course gourmet meal for all of us to enjoy.
Although she had already prepared most of the savory courses by the time I arrived, ranging from bruschetta topped with plump Farmer’s Market tomatoes to a salad of mixed greens with homemade crunchy herbed croutons to angel hair pasta intertwined with sautéed squash and fancy olive oil, she still needed to assemble the dessert. I quickly offered to help, especially since it involved lots of chocolate!
Using cupcake liners, she had crafted small “bowls” made of melted dark chocolate by painting it into the centers and allowing it to harden. Inside, she planned on piping swirls of rich chocolate mousse made with tofu as the base, then topping it with slivers of freshly sliced strawberries and a chocolate-covered espresso bean.
Wow!
While filling the little dark chocolate cups, I snuck a tiny taste of the mousse. I had never heard of dessert made from tofu before then, and I knew I’d go crazy waiting three hours for the final course to eat it along with the rest of the guests! After my sample, I started to wish that she had made enough for extras… I definitely wanted seconds—and even thirds—of that chocolaty treat!
That was also the first time I had tried coffee and chocolate together, in the form of that chocolate-covered espresso bean garnish. Although I wasn’t a huge fan of the taste then, I’ve slowly warmed up to it over the years, and now it’s one of my favorite flavor combinations… Which is why I was sorely tempted to hide these Fudgy Peppermint Mocha Brownies from my family and save them all for myself!
Let’s start with the dry ingredients. These healthier brownies begin with whole wheat flour and cocoa powder. To produce their really rich and decadent taste, you’ll use equal amounts of both. Yes, that’s right! A full ¾ cup of flour and cocoa powder. Unlike many traditional recipes, this one only uses cocoa powder for the chocolate flavor, not melted chocolate, which makes these brownies about as easy as a boxed mix to make.
Remember, it’s extremely important to measure both the flour and cocoa powder correctly! Too much of either will dry out the brownies, and extra cocoa powder will make the brownies taste bitter. Use the spoon-and-level method or a kitchen scale. I highly recommend the latter. This is the inexpensive kitchen scale that I own, and I use it for every recipe that I publish on this blog because it guarantees that all of my baked goodies turn out with the proper taste and texture every time.
To create the peppermint mocha flavor, you’ll need two important ingredients: peppermint extract and instant coffee. Peppermint extract can be found on the baking aisle near the vanilla extract, and it’s very potent! A little goes a long way, so you’ll only use ½ teaspoon in these brownies.
Instant coffee is different than regular coffee grounds. It looks like coarse crystals, as you can see in the photo above, and will dissolve in most liquids and yogurts. You’ll mix it into the Greek yogurt for these brownies! Because it can dissolve in the yogurt, it adds a big coffee flavor without extra liquid. Regular coffee grounds won’t do this, so please don’t try to substitute them!
Tip: If instant coffee isn’t something you typically stash in your pantry, try buying a small box of single-serving packets, like these.
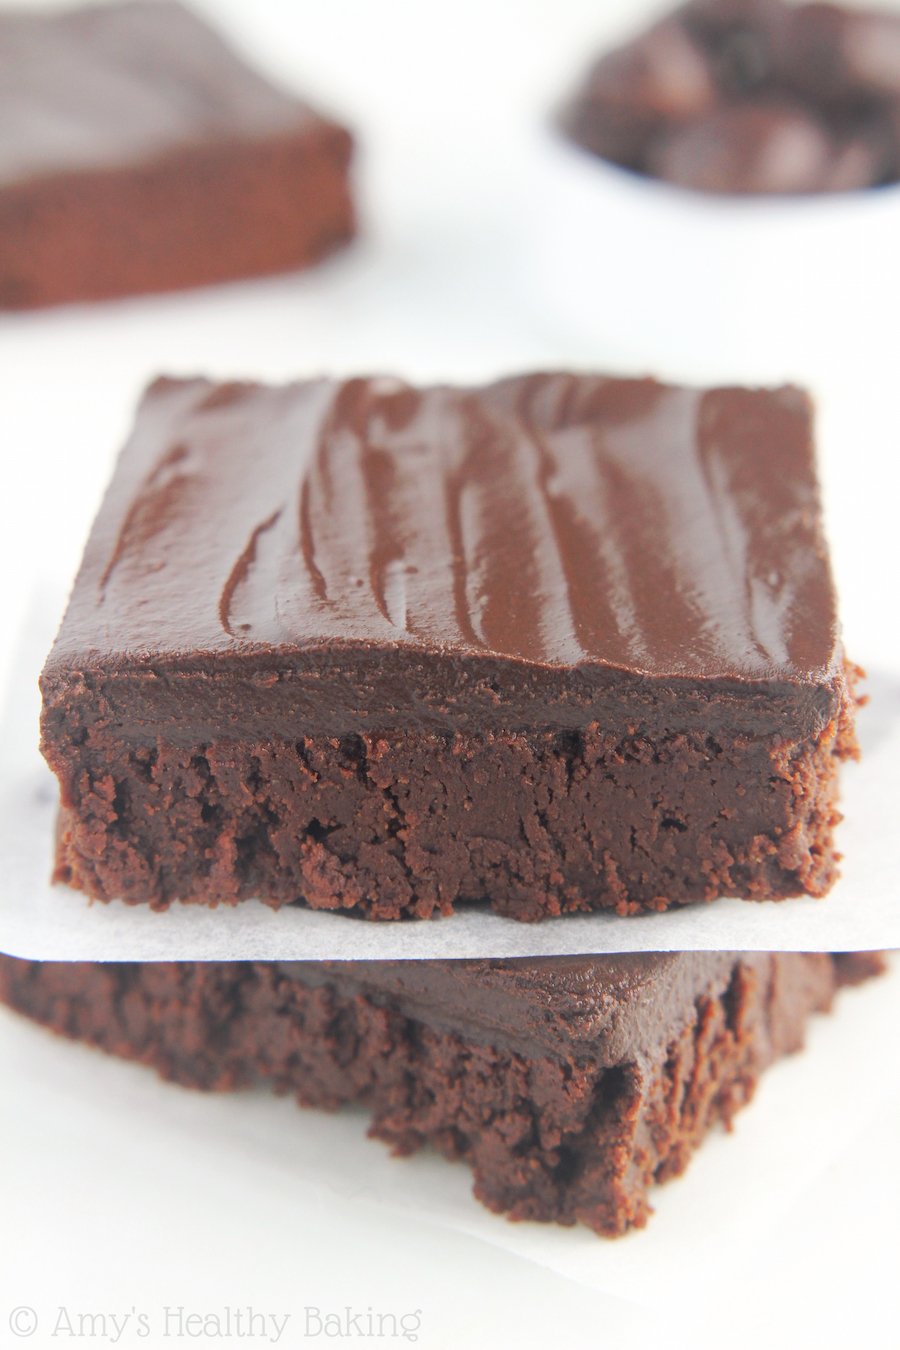
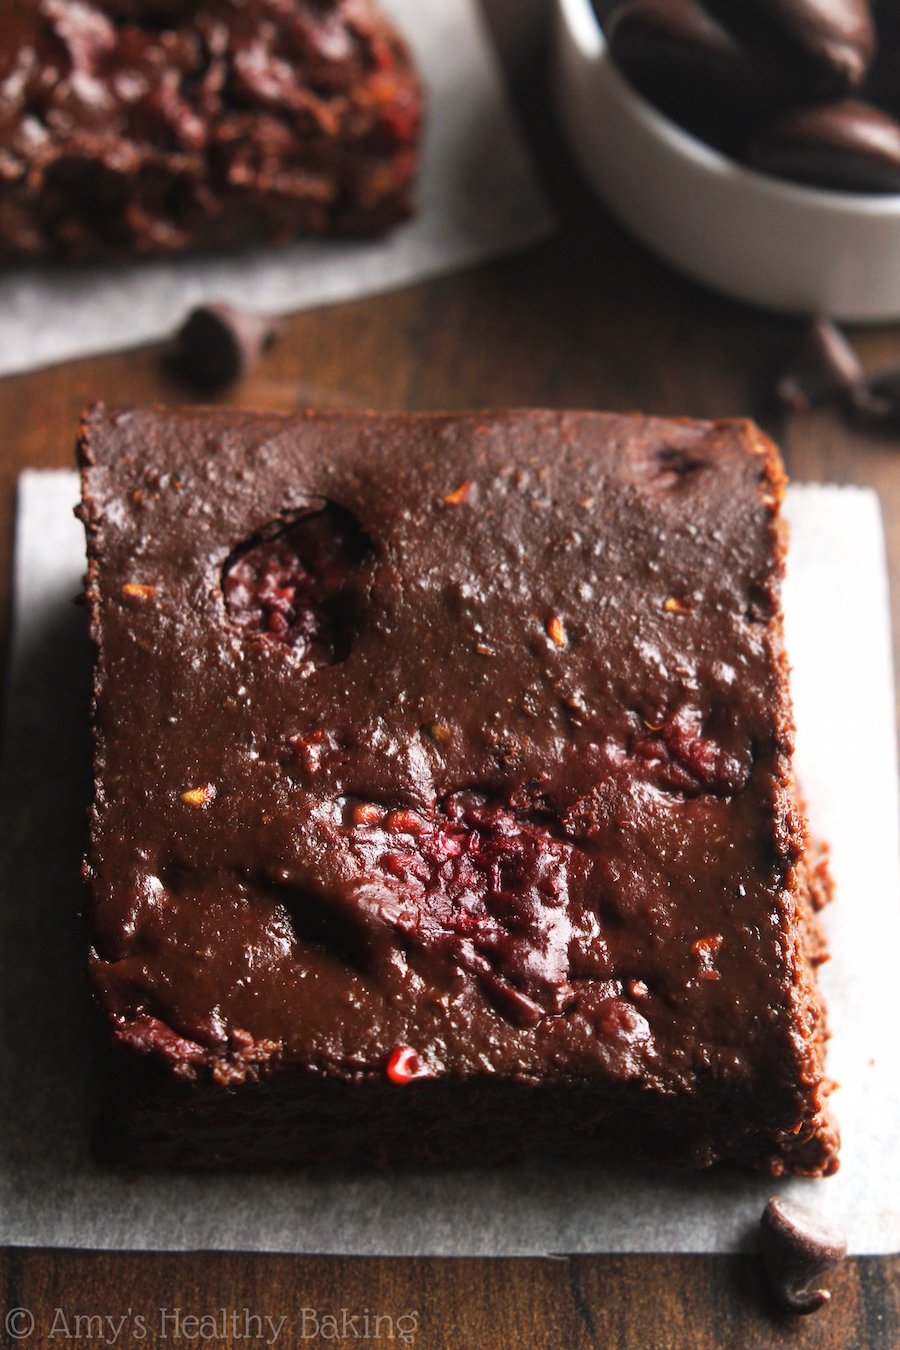
For the fudgiest texture, you’ll bake these brownies low and slow at 300°F for just 15 minutes. The center will still look glossy and slightly underdone when you pull out the pan—and that’s good! The heat from the surrounding pan and brownie batter will continue to cook the center brownies as the pan cools, resulting in extra fudgy brownies instead of dry, cakey, or overdone ones.
Tip: You can tell that the brownies are done by looking at the edges of the pan 10-15 minutes after removing them from the oven. The brownie edges should begin to pull away from the pan if they’re done.
I know it’s really hard—or practically next to impossible!—to wait for the brownies to fully cool and set before slicing, but I promise that the extra fudgy texture is entirely worth the wait.
Then grab a glass of milk or coffee and sink your teeth into one of these irresistible brownies!
| Fudgy Peppermint Mocha Brownies | | Print |
- for the brownies
- ¼ cup (60g) plain nonfat Greek yogurt
- 2 tsp instant coffee crystals
- ¾ cup (90g) whole wheat or gluten-free* flour (measured correctly)
- ¾ cup (60g) unsweetened cocoa powder (measured correctly)
- ¼ tsp baking powder
- ¼ tsp salt
- 2 tbsp (28g) unsalted butter or coconut oil, melted and cooled slightly
- 2 large eggs, room temperature
- ½ tsp vanilla extract
- ½ tsp peppermint extract
- ½ cup (120mL) pure maple syrup
- for the drizzle
- 5 tsp confectioner’s style stevia
- 1 tsp nonfat milk
- Preheat the oven to 300°F, and lightly coat an 8”-square baking pan with nonstick cooking spray.
- To prepare the brownies, stir together the Greek yogurt and instant coffee in a small bowl until smooth. In a medium bowl, whisk together the flour, cocoa powder, baking powder, and salt. In a separate bowl, whisk together the butter, eggs, vanilla, and peppermint extract. Mix the Greek yogurt mixture into the egg mixture until no large lumps remain. Stir in the maple syrup. Mix in the flour mixture, stirring just until incorporated and smearing out any clumps of cocoa powder along the side of the bowl.
- Spread the batter into the prepared pan. Bake at 300°F for 15-19 minutes (15 minutes yields the fudgiest brownies; 19 minutes yields slightly cakier brownies). Cool completely to room temperature in the pan, and let the brownies sit for at least 3 hours at room temperature for the fudgiest texture before serving.
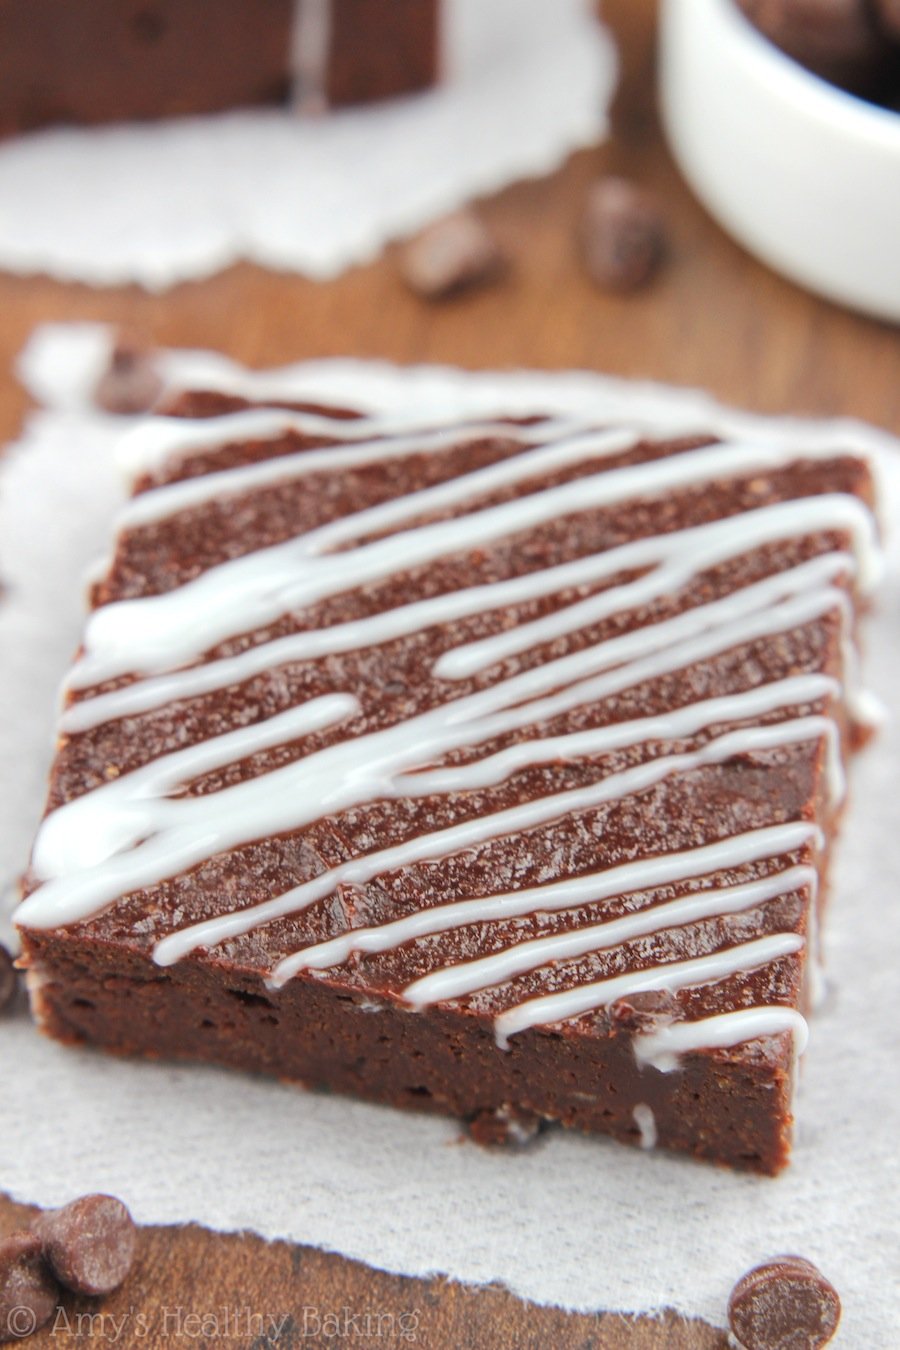
- To prepare, prepare the drizzle. Stir together the stevia and milk in a small bowl, and drizzle on top of individual brownies just before serving.
White whole wheat flour, whole wheat pastry flour, or all-purpose flour may be substituted in place of the regular whole wheat flour.
Agave or honey may be substituted for the maple syrup. Alternatively, ½ cup (106g) of lightly packed light brown sugar plus ¼ cup (60mL) of milk may be substituted instead, but the brownies would no longer be clean eating friendly.
Regular powdered sugar may be substituted for the confectioner’s style stevia in the drizzle, along the brownies would no longer be clean eating friendly.
Any milk may be substituted for the nonfat milk in the drizzle.
{gluten-free, clean eating, low fat, low calorie}


Sounds like a yummy Christmas dessert. Would graham flour work in this recipe?
Yes, I think graham flour should work! 🙂 I can’t wait to hear what you think of these brownies Missy!
I was surprised I enjoyed these so much. I’m pretty picky. Quite Fudgy, a bit heavy, but the mint is lovely and texture is suitable for a good indulgent brownie! It requires tons of cocoa, but I’d make these again. I made them with oat flour, and all the flavours and sweetness seemed well
Balanced – they’re quite delicious 🙂 Thanks for the recipe! (By the way, the rating stars wouldn’t fill in easily – took me 20 taps to get it past 3 stars! quite finicky!)
Thank you so much for your sweet comment and persistence with the rating Jenny!! That means the world to me!! I’m so glad you enjoyed these brownies! 🙂
Hi Amy!
Can I substitute granulated sugar or light brown sugar in place of the maple syrup?
Hi Amy, I’m wondering if I could subsitute mint extract for the peppermint extract? It’s all I have.
Yes! Mint extract should work. I can’t wait to hear what you think of these brownies, Leyla!
Hi Amy,
Can the Greek yogurt be replaced with anything?
Thx
Jenn
Regular (non-Greek!) yogurt would be the best substitute! Non-dairy yogurts (ie soy-based, almond-based, coconut-based, etc) will also work. 🙂 I’d love to hear what you think of these brownies if you try making them, Jennifer!