During my senior year of college, a friend and I decided to bake a homemade apple pie for fun one Friday afternoon. Since he rarely baked anything (and definitely had never baked apple pie from scratch!), I loaded the back seat of my car with apples, spices, my flour bin, plastic wrap, and a disposable pie plate before driving to his apartment.
When I arrived, my friend ran out to the street to help me carry everything upstairs, and at the sight of the ingredients on their kitchen table, his roommate decided he also wanted to learn how to bake apple pie. As I pulled out the recipe, they both looked at me expectantly…

And I realized they thought I was going to bake the entire pie for them! I laughed and shook my head, declaring that the best way to learn was by doing. I stood alongside them, showing them what to do and supervising as they worked.
They started by mixing together the dough for the pie crust, carefully cutting cold butter into the flour and stirring in teaspoons of ice water until the mixture came together. After shaping it into a circle and sealing it inside plastic wrap to chill in the refrigerator, they turned to the filling, slowing slicing the apples into uniform pieces and tossing those with lots of sugar and spices.
As they pulled the chilled dough out of the refrigerator, I realized I had completely forgotten to pack my rolling pin. “You wouldn’t happen to have one, would you?” I asked, already knowing the answer.

“Wait! Will this work??” my friend’s roommate exclaimed, reaching for a tall thin bottle of wine from their pantry shelves. With nothing to lose, we decided to give it a try (but firmly pressed the cork in a little farther first!)… And ended up with a perfectly flat and even disc of dough.
They gently nestled it into the pie plate, adding the apple filling on top, and popped the pie plate in the oven. While it baked, my friend and I dashed over to the grocery store to pick up vanilla bean ice cream, and an hour later, the three of us cut large slices to enjoy warm alongside a scoop of ice cream.
They both declared it was the best apple pie they had ever eaten… And not just because of the work they put into making it!

However, because of the ample amounts of butter and sugar, that apple pie wasn’t exactly the healthiest… So I’ve been on a mission to create a healthier version that tastes just as amazing. After months of testing and tweaking, I’ve finally perfected it with this Ultimate Healthy Apple Pie recipe!
Rich flaky crust… Fresh sweet filling… Lots of cozy spices… And only 129 calories in each slice!
I shared four slices with one of my neighbors, and about 15 minutes after I dropped it off, my neighbor texted me a picture of the empty plate. Her spouse had eaten all four pieces—she said it was that good!
That’s the best kind of compliment in my book! 😉

Let’s go over how to make this ultimate healthy apple pie! I learned a lot about the science of apple pie while developing this recipe, so I’m sharing that information and lots of tips with you to ensure your pie turns out perfectly, too!
Nerd Alert #1: Flour
To make the crust, you’ll start with white whole wheat flour (like this!). White whole wheat flour is made by finely grinding a special type of soft white wheat (hence the name!), whereas regular whole wheat flour comes from a heartier variety of red wheat. This gives white whole wheat flour the same health benefits as regular whole wheat flour along with a lighter taste and texture, closer to that of all-purpose flour, which lets the flaky texture of the pie crust truly shine!
Tip: Whole wheat pastry flour (like this!) is a great substitute! And if you live outside of the US (like in the UK or Australia), your regular “wholemeal” flour should be the equivalent of our white whole wheat flour. From the research I’ve done, those countries grow a lot more white wheat than the US does!

Nerd Alert #2: Butter
Although I grew up making pie crusts with many different ingredients—shortening, olive oil, butter, and sometimes a combination of those!—I’ve found my family and I truly love the flavor of an all-butter crust. It tastes deliciously rich!
So for this ultimate healthy apple pie, that’s what you’re going to do! You’ll work the butter into the flour, and I highly recommend using a pastry cutter (like this!) to do that. It makes the process a lot easier than two knives or the back of a fork!
It’s important to use very cold butter, straight from the fridge. When the butter melts in the oven, it creates flaky and tender pockets in the pie crust, so you don’t want it to soften or melt ahead of time.
Nerd Alert #3: Vanilla Extract
Vanilla isn’t usually an ingredient in pie crusts, but it’s a key ingredient in our healthier pie crust! There are two reasons for this. The first is that the alcohol helps create a more flaky texture in the pie crust by preventing the gluten from forming really long (aka tough!) strands. The second is that vanilla extract enhances butter’s rich flavor, so it makes our healthier pie crust taste just as rich and decadent as traditional extremely butter-laden ones!


Nerd Alert #4: Preparing the Crust
There are two key steps to preparing the crust in your ultimate healthy apple pie. The first part is chilling the dough. Since the butter warms up a bit while you work it into the flour mixture, chilling the dough re-solidifies the butter, which ensures you get that lovely flaky texture when you bake your pie.
Before chilling, shape the dough into a 1”-tall circle, and place that in between two very large sheets of plastic wrap. That’s because…


You’ll leave the dough between the plastic wrap when you roll it out! With this secret trick of mine, you won’t have to flour your work surface or your rolling pin, which makes clean-up so much easier.
Tip: This is the rolling pin I use! I prefer using silicone rolling pins because they have a more even surface (and they’re basically non-stick, for when you roll out other doughs not covered by plastic wrap!).

Nerd Alert #5: Apples
Time to start making the filling for your ultimate healthy apple pie! And of course, that begins with… The apples! There are a lot of debates circling around apple pie regarding which apples are the best ones to use, and here’s what my taste testers and I discovered.
We preferred a combination of Fuji, Gala, and Granny Smith apples.
Using pure Granny Smith apples resulted in a pie that tasted way too tart, and using all Fuji apples (my favorite variety for baking and eating!) produce a pie that tasted good—yet a little too “one dimensional.”
While we really enjoyed the Fuji + Granny Smith combination, my taste testers and I thought that adding Gala apples to the mix made the filling even better! They still provided a sweet flavor, similar to the Fuji apples, but they softened a tiny bit more. This created a filling that was full of fruit flavor, pleasingly sweet, and firm yet soft (not mealy or falling apart!).
You’ll cut your apples into thin ⅛”-thick slices, then cut each of those slices in half. Thin slices bake faster (and soften more!), and you end up with less empty space between apples compared to cutting your apples into chunks. Yes, it takes more time to cut your apple slices that thin—but I promise it’s worth the effort!
I also added a touch of water to the filling. I know—not exactly a traditional ingredient in apple pie! However, the water helped the apples soften a bit more. Then you’ll also mix in some cornstarch (like this!) to thicken the juice that the apples release while baking.

Nerd Alert #6: Spices and Sweetener
Of course, we can’t make the ultimate healthy apple pie without spices! Cinnamon (this kind is my favorite!) is the most important one, but I also added nutmeg (like this!) and allspice (like this!). Those other two spices create a richer, fuller, deeper flavor that really adds to the coziness. I highly recommend them!
As for the sweetener, you’ll skip the refined granulated sugar and use a bit of pure maple syrup (like this!) instead. You want the kind that comes directly from maple trees and only includes one ingredient: maple syrup. It’s generally sold in thin glass bottles or squat plastic jugs (like this!).
Because we’re using mostly really sweet red apples, I only add a teensy tiny bit… I find the filling is sweet enough without too much maple syrup! But if you prefer your pie on the sweeter side, you can definitely add more.

Nerd Alert #7: Assembling
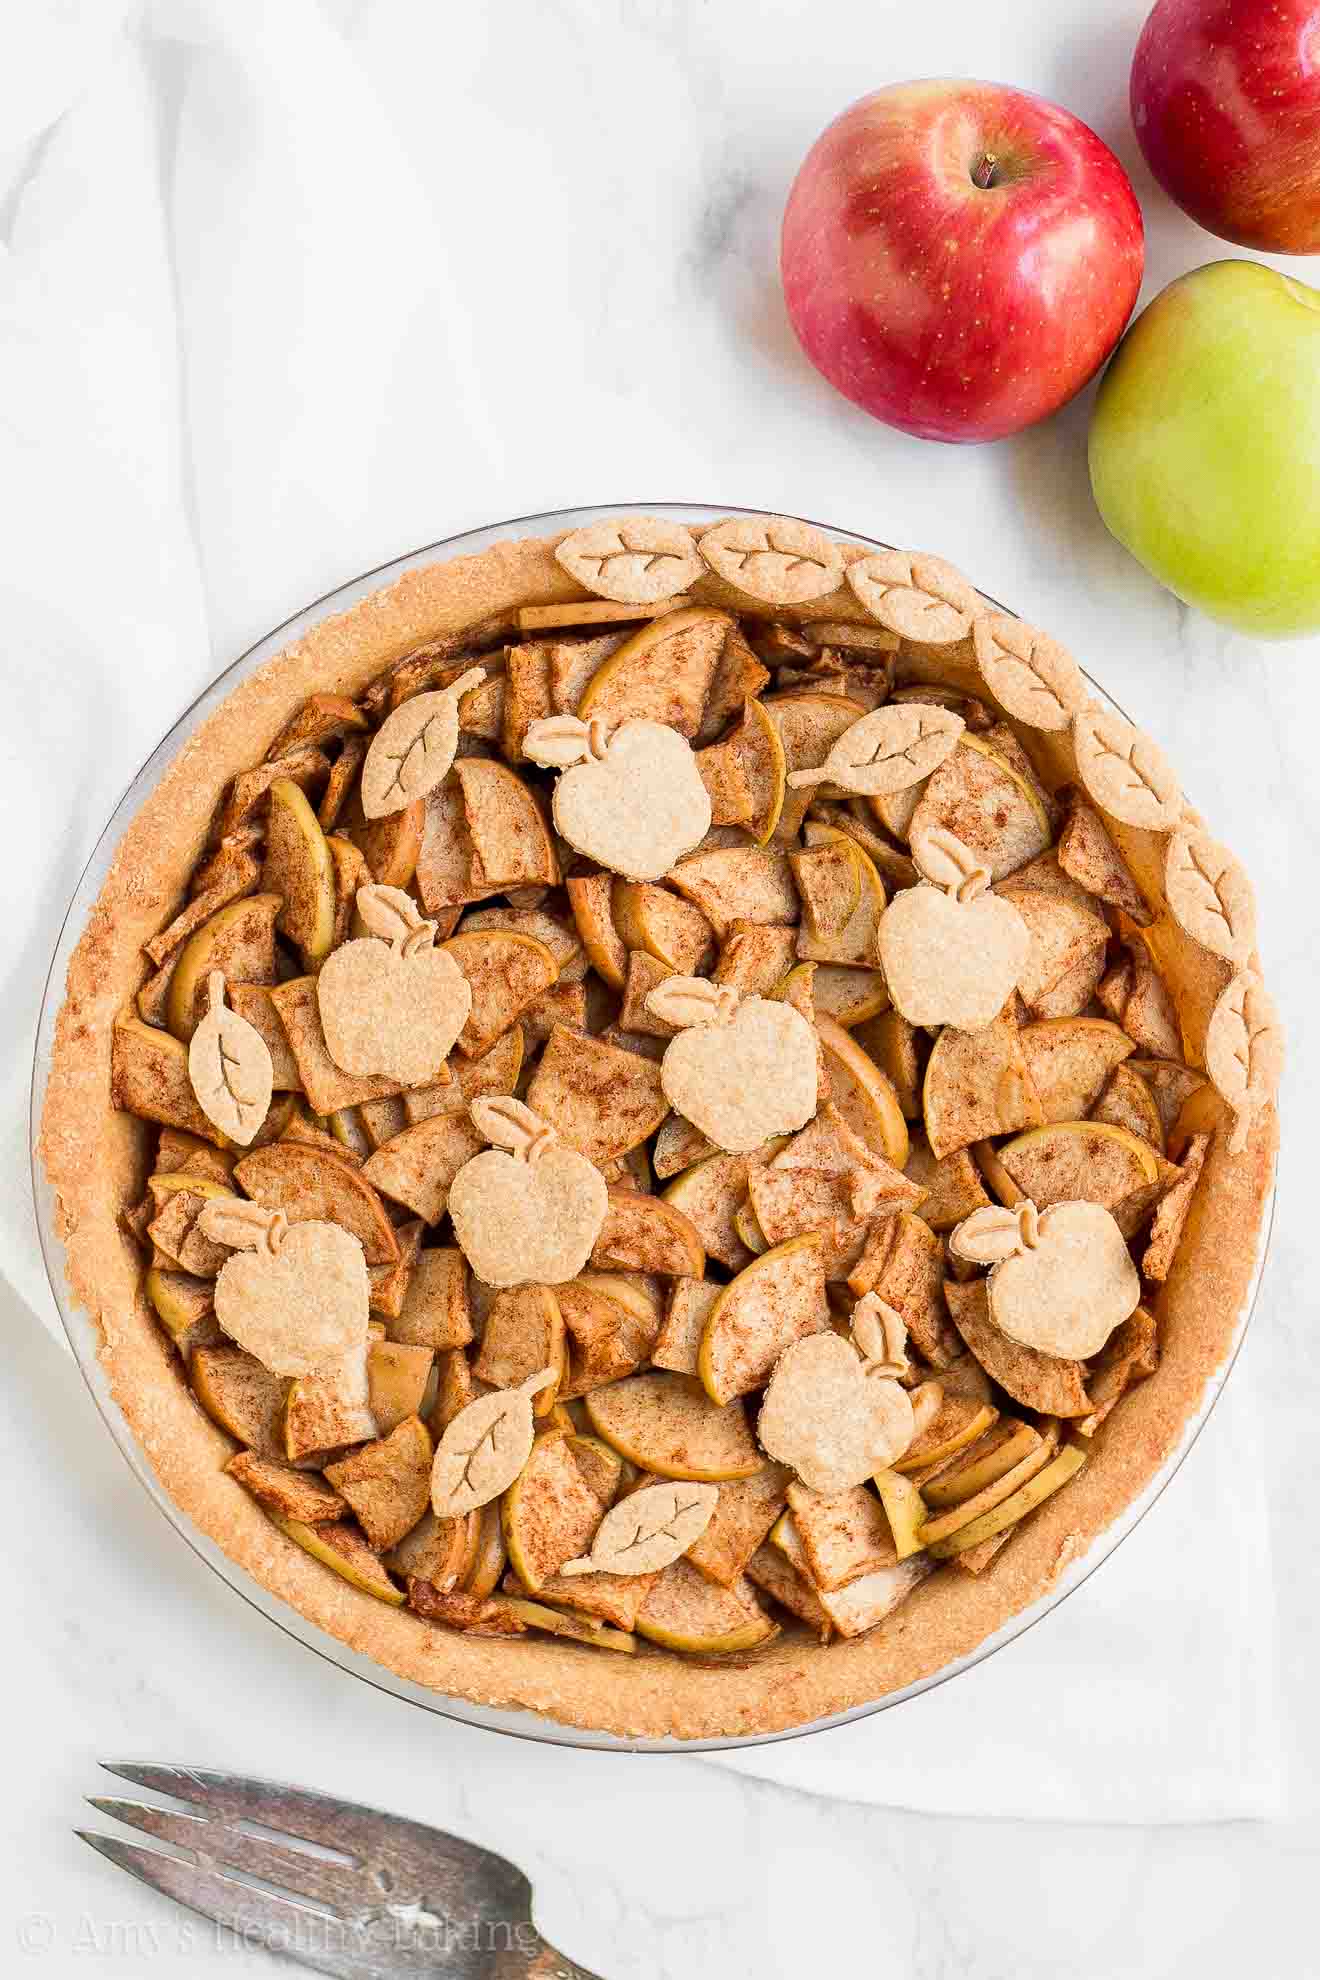
You’ve now rolled out your dough to be at least 1” bigger than the pie plate’s top, so it’s time to carefully transfer it into the pie plate. I usually mist the pie plate with a little cooking spray first to help the bottom turn a bit more golden and flaky. There should be some overhang around the rim, so gently trim that off. (You can bake it as is or re-roll it and cut it into cute shapes with miniature cookie cutters! Although the exact ones I used are no longer sold in stores, these are really similar!)
Tip: This recipe was designed for a standard 9” pie plate—not a deep dish pie plate! The pie plate should only be 1 ⅜” tall. Although most stores seem to only carry deep dish pie plates these days, I found my standard 9” pie plates at Walmart (these ones!)
Next, transfer your filling into the pie plate, and gently but firmly press it down. I use my hands to do this. Much more efficient than a spoon or spatula! The apples shrink a bit as they bake, so it’s okay if it looks like there’s a small mound that extends above the pie plate’s rim!
Nerd Alert #8: Foil
Because we aren’t using a top crust, you must cover your entire ultimate healthy apple pie with foil. The foil does two things: (a) prevents the crust around the rim from burning and (b) seals in the steam that the apples release while baking. This softens the apples and also keeps the top layer of apples from drying out and turning crispy.

Nerd Alert #9: Baking
We’re getting close to the end! To bake your ultimate healthy apple pie, you’ll preheat the oven to 425°F and place a dark metal baking sheet on the middle rack of your oven while it preheats. You’ll put the pie plate directly on that, which helps the bottom crust turn a bit more flaky, rather than totally soggy.
After 15 minutes, you’ll reduce the temperature to 350°F and continue to bake your pie. (Don’t open the oven door!) For the final 10-15 minutes, you’ll remove the foil from the top to allow the crust to turn a beautiful golden brown.
I know it’s SO hard, but you must wait until your ultimate healthy apple pie cools completely to room temperature before slicing and serving. The apple filling is still setting while it cools, and the cornstarch continues to thicken the juice that the apples released while baking. It feels nearly impossible, but I promise it’s worth it!

Whew! Did you make it through all of those tips and tricks? Are you ready to start baking?? And when you make your own, remember to snap a picture and share it on Instagram using #amyshealthybaking and tagging @amyshealthybaking IN the photo itself! (That guarantees I’ll see your picture! 🙂 ) I’d love to see your ultimate healthy apple pie!

The Ultimate Healthy Apple Pie
Ingredients
FOR THE CRUST
- 1 cup (120g) white whole wheat flour (measured like this)
- ½ tsp salt
- 4 tbsp (56g) unsalted butter (very cold and cubed)
- 2 tsp nonfat milk (cold)
- 1 tsp pure maple syrup (cold)
- ¾ tsp vanilla extract
- 1-2 tbsp (15-30mL) ice cold water
FOR THE FILLING
- generous 2 ½ cups (305g) ⅛”-thick slices Fuji apple, cut in half (about 2 medium)
- generous 2 ½ cups (305g) ⅛”-thick slices Gala apple, cut in half (about 2 medium)
- heaping 1 ½ cups (175g) ⅛”-thick slices Granny Smith apple, cut in half (about 1 medium)
- 3 tbsp (24g) cornstarch
- 2 tsp ground cinnamon
- ¼ tsp ground allspice
- ¼ tsp ground nutmeg
- 3 tbsp (45mL) water
- 1 tbsp (15mL) pure maple syrup
Instructions
- To prepare the crust, whisk together the flour and salt in a medium bowl. Cut in the butter using a pastry cutter, the back of a fork, or two knives until the mixture resembles coarse crumbs. In a separate bowl, stir together the milk, maple syrup, vanilla extract, and 1 teaspoon of ice water. Sprinkle the liquid mixture over the flour mixture, and stir until fully incorporated. Continue to add ice water, ¼ teaspoon at a time, until the mixture comes together to form a dough.
- Place a large sheet of plastic wrap on the counter. Using your hands, form the dough into a 1”-thick circle. Place the dough in the center of the plastic wrap, and lay another large sheet of plastic wrap on top. Fold up the excess plastic wrap, and refrigerate the dough for at least 30 minutes. (If chilled longer than 1 hour, let the dough “thaw” on the counter for 5-15 minutes or more, depending on how much longer it was chilled, before rolling it out.)
- While the dough chills, prepare the filling. (NOTE: I typically wait to slice the apples until now to save time!) Toss together the apple slices, cornstarch, cinnamon, allspice, and nutmeg until the spices are evenly distributed on the apples. Drizzle in the maple syrup and water, and toss the apples again until they’re evenly coated.
- Preheat the oven to 425°F, and place a dark metal baking sheet into the oven on the middle rack. Lightly coat a regular 9” pie plate (not deep dish!) with cooking spray.
- Leaving the dough between the sheets of plastic wrap, roll it out until it’s 1” to 2” wider than the top of the pie plate. Peel off the top layer of plastic wrap, and gently invert the pie dough into the prepared pie plate. Peel off the second layer of plastic wrap, and gently press the pie dough into place. Trim the overhang.
- Transfer the filling on top of the pie dough, and gently but firmly press down to eliminate as much space between the apples as possible. (I use my hands to do this!) Cover the top of the entire pie plate with foil, trying to “bump up” the center so it’s not touching the apple slices.
- Place the foil-covered pie plate on the dark metal baking sheet in the oven. Bake the pie at 425°F for 15 minutes. Without opening the oven door, reduce the temperature to 350°F, and continue to bake for an additional 40 minutes. Carefully remove the foil from the top of the pie plate, and continue to bake at 350° for another 15 minutes (for a total of 70 minutes) or until the outer crust is golden in color. Let the pie cool completely to room temperature before slicing and serving.
Notes
View Nutrition Information + Weight Watchers Points
You may also like Amy’s other recipes…
♡ Healthy Classic Apple Pie
♡ The Ultimate Healthy Apple Crumble
♡ Healthy Apple Pie Thumbprint Cookies
♡ Healthy Apple Pie Oatmeal Cookies
♡ Healthy Cinnamon Apple Cupcakes
♡ Healthy Small Batch Apple Crumble Bars


This looks lovely! Could I use parchment paper rather then foil? I don’t like to cook with foil. Thank you!
I’m honored that you’d like to try making this recipe Jasmine! You’re welcome to try, but I don’t think parchment paper will protect the crust from browning too quickly and the tops of the apples from drying out as well as foil does. I’m also not sure how easy it will be to keep the parchment paper in place over the top of the pie plate for those first 55 minutes of the baking time. (Whereas with foil, it’s so easy to crimp the sides down around the rime of the pie plate!) I just don’t want you to waste your time on something that might not work!
I’d love to hear what you think of this apple pie if you try making it! 🙂
Do you know the calorie ibreakdown of the filing vs the crust? Would like to know how many calories are just in the filling.
I really appreciate your interest in my recipe Julie! This is the free nutrition calculator that I use, if you’d like to know! While I wish I could go back and provide the full breakdown of nutrition information for all of my recipes, it’d take months to do… And I’d much rather focus on creating new recipes for you to try! 😉 I’d love to hear what you think if you try this apple pie — whether just the filling or the crust too!
PS If it’s helpful, I also have a slow cooker apple pie filling recipe here and a slow cooker crustless apple pie recipe here! Just thought I’d mention those in case you were craving only apple pie filling! 🙂
I search for 3 low sugar apple pies recipes and found this one the more suitable for me. I was really pleased how the apple pie turned out. The ingredients were just righ, t just enough agave, not sugary. The consistency held together. And my husband like it a lot.
I’m so glad you and your husband enjoyed this pie, Jan! Thank you so much for taking the time to let me know — it really means a lot! 🙂
This looks so good, I am making this for sure. Would arrowroot be a suitable substitute for the cornstarch?
I’m honored that you’d like to try my recipe, Sandra! I haven’t tried substituting arrowroot starch for cornstarch in my pie recipes or fruit crisp recipes, so I’m honestly not sure and don’t want to lead you astray. However, if you’ve been able to substitute arrowroot starch for cornstarch in other fruit pie recipes, then it might work here as well. 🙂 I’d love to hear what you think of this apple pie whenever you get the chance to make it!
Oh. My. God. I cannot believe this is healthy for how amazing it tastes. So happy with how this came out. I subbed arrowroot powder for cornstarch, and it worked like a charm! I wish I could give this more than five stars!!
You’re just the sweetest, Gabby!! I’m SO honored that you’d like to give this recipe more than 5 stars — that’s the best kind of compliment there is! You just made my entire day. Thank you so much for taking the time to let me know!! ♡ I really appreciate you sharing that arrowroot powder worked in place of the cornstarch too. I always love hearing what tweaks work!
got a little too excited and forgot to give this amazing pie 5 stars😌
Just did it with my daughter and so looking forward to have it later on as it smells and looks amazing 🤗
I’m so honored that you tried my recipe, Nathalie! I can’t wait to hear what you and your daughter think of this apple pie once you get a chance to taste it! 🙂