My 7th grade honors math class was rather small, considering that the middle school consisted of over 1,000 students. Whereas other classes contained at least 30 kids, our group was only about half of that size, and since many of us shared other honors classes, we had all become fairly good friends by the end of the first month.
The teacher recognized that we were all hardworking overachievers, so while we spent the first half hour reviewing the homework answers from the night before, he allowed us to talk amongst ourselves. He occasionally joined in the conversations because they usually revolved around interesting random facts.
One day when a girl pulled out a banana to snack on (he was also lenient and let us eat in class—always a plus in my book!), the teacher looked over as she peeled back the skin and told her that she was doing it wrong. We stared at him. She had pulled the stem down one side and separated the skin into two or three other pieces to reveal the fruit inside.
Wasn’t that normal?
He went on to explain that the proper way to eat the banana was from what we considered the bottom! That’s how the monkeys did it out in the wild because that method allowed them to grasp the stem in their feet while peeling back the skin. He also pointed out that it ensured that the top part of the banana wouldn’t get mushy if you couldn’t get the stem to rip open, as sometimes happens with not-quite-ripe ones.
To this day, I still think about that nearly every time I eat a banana!
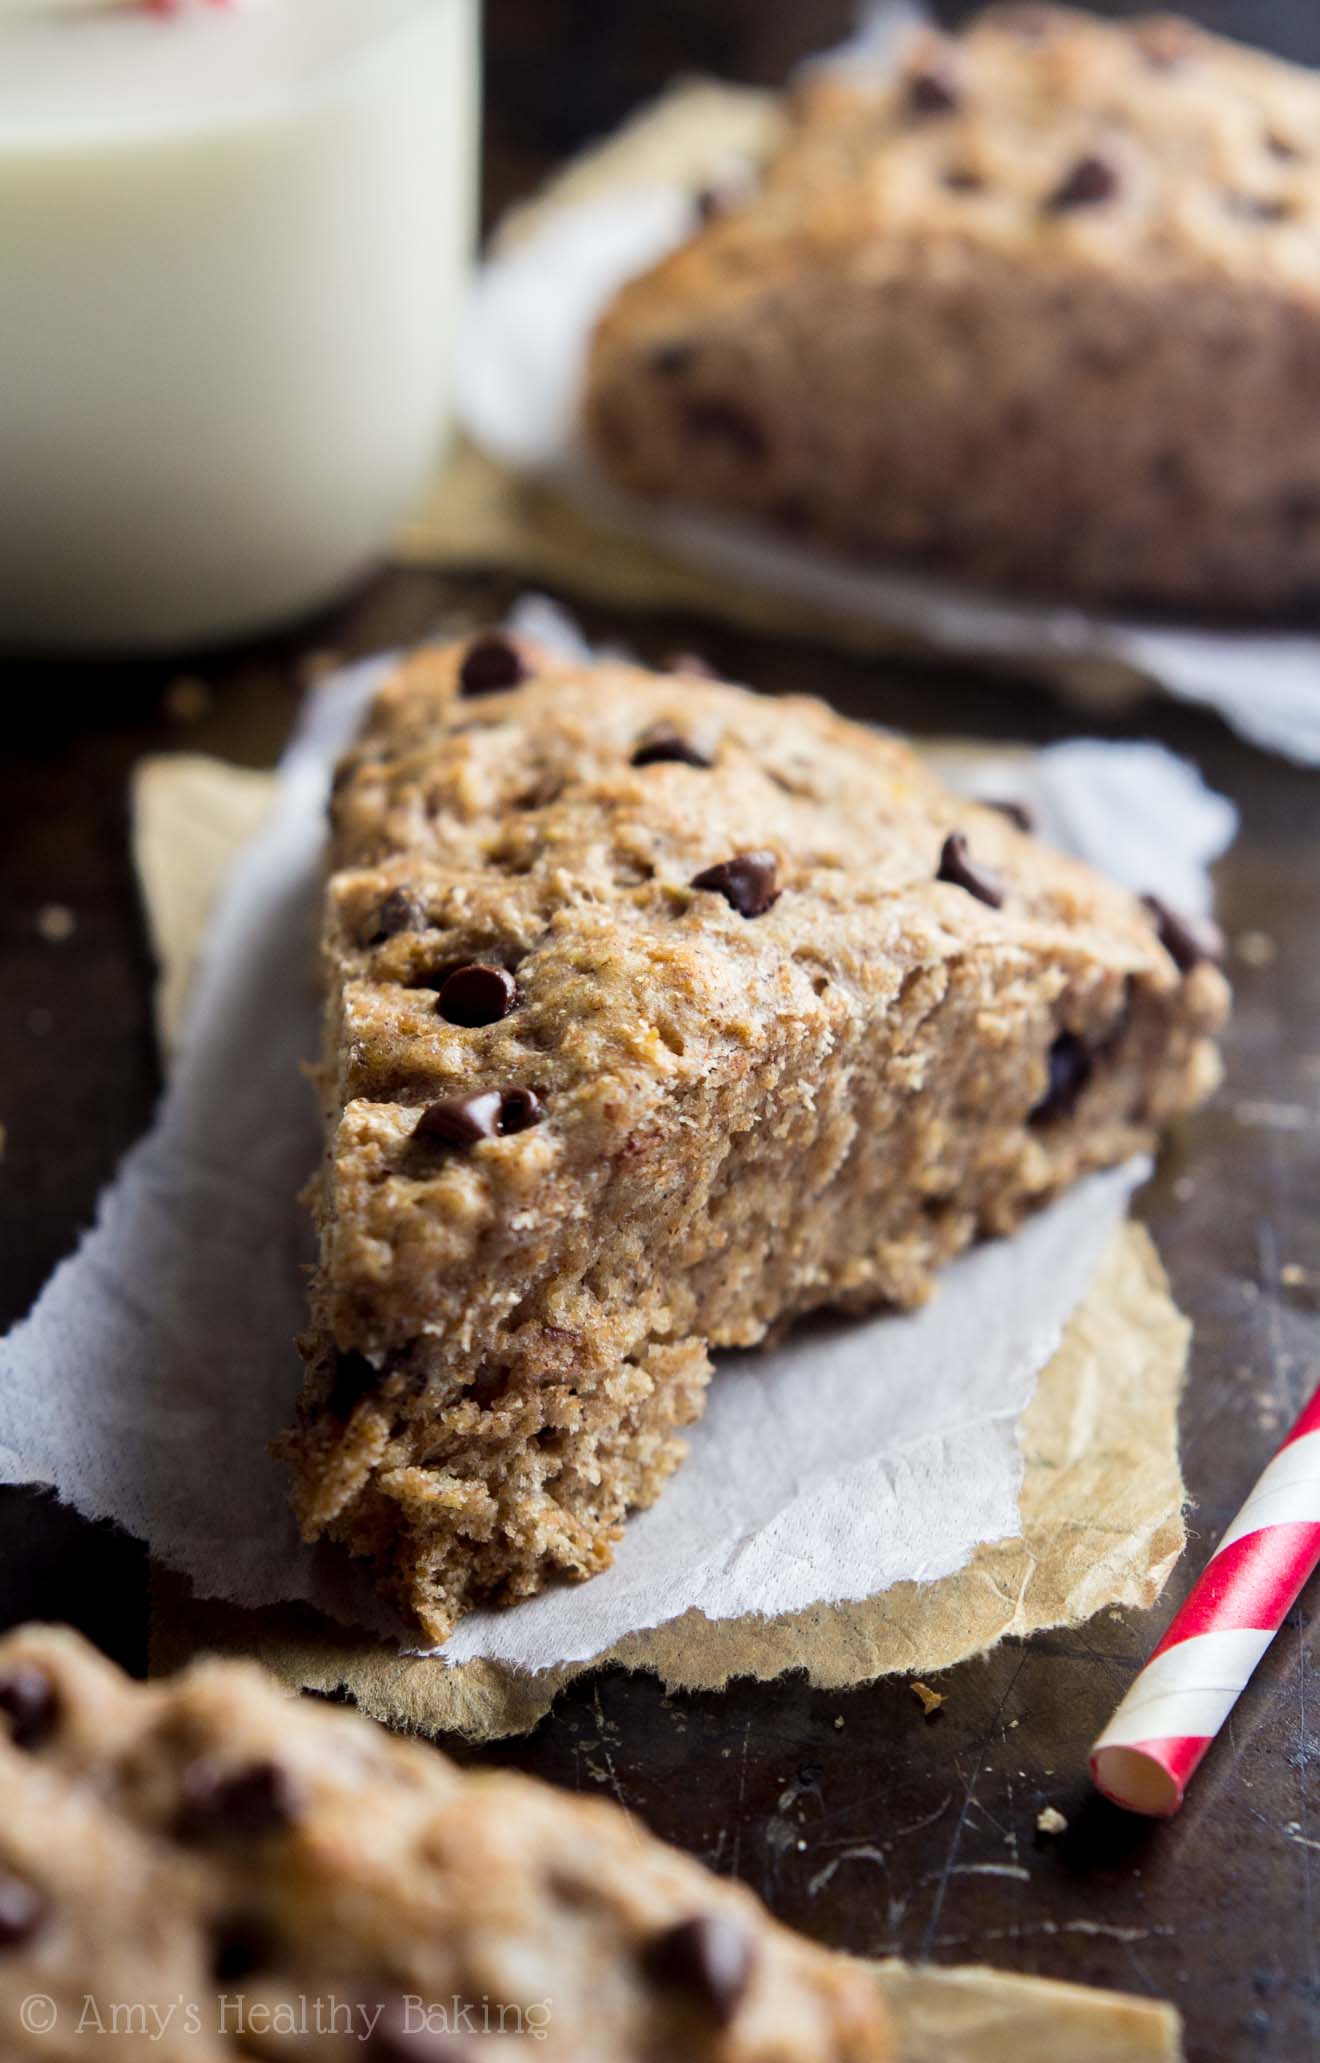
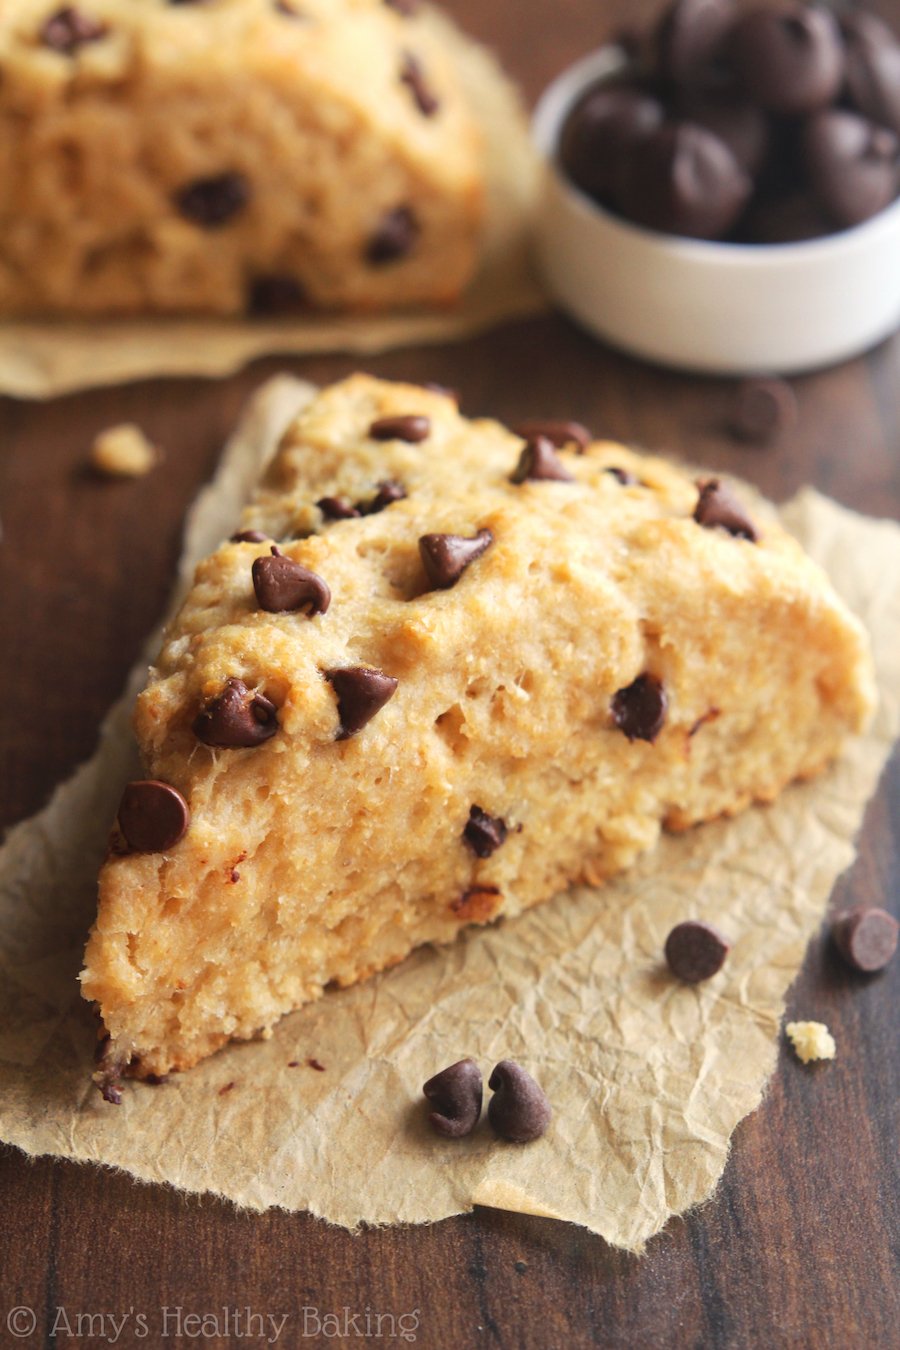
However, sometimes I forget to peel back the skin at all, which means that the bananas turn extra brown and speckly while sitting on the counter. That happened last week, which meant that they were the perfect ripeness to bake into these Chocolate Chip Banana Bread Scones!
Although I must admit, I peeled them the normal way for humans but the wrong way for monkeys…
To keep these scones healthier and clean eating friendly, you’ll start with whole wheat flour. I used regular whole wheat because it’s usually the cheapest and easiest to find, but white whole wheat and whole wheat pastry flours would both work too. (For a gluten-free version, see the Notes section beneath the recipe!) You’ll also add a sprinkle of cinnamon to the dry ingredients to give the scones a warmer, cozier taste.
Although most scone recipes contain loads of butter and heavy cream, these are the exact opposite! This recipe uses just 2 tablespoons of butter, and the rest of the scones’ tender texture comes from mashed banana and Greek yogurt. The latter is one of my favorite ingredients in healthier baking because it provides the same moisture as extra butter or oil for a fraction of the calories—and it adds a little protein boost too!
And of course, don’t forget those chocolate chips! Remember to set some aside to save for pressing into the tops of the scones right before popping the tray in the oven for a prettier look. I think that makes them look even more inviting!
Which is probably a dangerous thing… Because then we finish off the entire batch much too quickly!
Guess it’s time to buy more bananas! ? And when you make your own, remember to snap a picture and share it on Instagram using #amyshealthybaking and tagging @amyshealthybaking IN the photo itself! (That guarantees I’ll see your picture! ?) I’d love to see your healthy chocolate chip banana scones!
| Healthy Chocolate Chip Banana Bread Scones | | Print |
- 1 ½ cups (180g) whole wheat or gluten-free* flour (measured correctly)
- 1 ½ tsp baking powder
- 1 tsp ground cinnamon
- ½ tsp salt
- 2 tbsp (28g) unsalted butter, cold and cubed
- ¼ cup (60g) plain nonfat Greek yogurt
- ¼ cup (65g) mashed banana (about 1 small)
- 3 tbsp (45mL) pure maple syrup
- 3 tbsp + 2 tsp (55mL) nonfat milk, divided
- 1 tsp vanilla extract
- 2 tbsp (28g) miniature chocolate chips, divided
- Preheat the oven to 425°F, and line a baking sheet with a silicone baking mat or parchment paper.
- In a large bowl, whisk together the flour, baking powder, cinnamon, and salt. Cut in the butter using a pastry cutter or the back of a fork until the mixture resembles fine crumbs. Make a well in the center. Add the Greek yogurt, mashed banana, maple syrup, 3 tablespoons of milk, and vanilla extract. Stir until all of the flour is just incorporated. Fold in 1 ½ tablespoons of chocolate chips.
- Transfer the dough to the prepared baking sheet, and shape into a ¾”-tall circle using a spatula. Using a sharp knife, slice the dough circle into 8 wedges. Press the remaining chocolate chips into the tops, and brush the tops and sides with the remaining milk. Bake at 425°F for 17-20 minutes or until light golden around the edges and the center feels firm. Cool on the pan for 5 minutes before transferring to a wire rack.
White whole wheat flour, whole wheat pastry flour, or all-purpose flour may be substituted for the whole wheat flour.
Honey or agave may be substituted for the maple syrup.
Any milk may be substituted for the nonfat milk.
For a vegan version, substitute Earth Balance buttery sticks for the butter and additional mashed banana for the Greek yogurt.
{gluten-free, clean eating, vegan option, low fat}
View Nutrition Information + Weight Watchers Points


Hi! Do you think oat flour could be used?
I really appreciate your interest in my recipe Erica! You can substitute oat flour, but the scones may turn out just a teensy bit denser. 🙂 I can’t wait to hear what you think of them!
These were really tasty. I opened the bag I bought of Cauli-flour, finally and used it for this. Not sure I will buy that flour again as it has sort of an of putting smell but the scones are delish. I will definitely try again with normal flour sometime.
I’m glad you enjoyed these scones, Greg! I’ve actually never seen that type of flour before… It sounds interesting — and like it’d be great for pizza crust! 🙂 I’d love to hear how these scones turn out when you try them with regular flour, too!
I had seen an advertisement a few months back. It’s a fairly new product and can be purchased on Amazon. I believe they sell pre-made cauliflower pizza crusts too. The company name is Caulipower (so many puns). I see you have some other scone types too. This looked like the most basic one so I figured I would try it first before moving on to the others :).
Thanks for sharing, Greg! I’ll have to look into that cauli-flour sometime. 🙂 I can’t wait to hear what other scone recipes you decide to try, too!
How long can I keep this scone ??
I really appreciate your interest in my recipe, Chompoo! I’ve actually covered this already in the little paragraph directly beneath the recipe title in the recipe box. It can be easy to miss! 😉 I can’t wait to hear what you think of these scones!
Oh thanks… i’ve found already but may I ask about how long can I keep in the freezer ?
You’re welcome! They should keep for at least 3 months in the freezer, if not longer! 🙂
Hi Amy,
Thanks for the amazing recipe! These are so delicious :0
I made them with 80% cacao chocolate chips, and even my boyfriend (who doesn’t usually like my healthier versions of otherwise unhealthy dishes) absolutely loved them!
Just one question: do you think it’s possible to make the dough a day ahead and bake them the next day?
That would save me some time in the morning when I bring them to work as a treat for my coworkers 😀
Thanks in advance!
I’m so glad you and your boyfriend enjoyed these scones Jane! That means a lot to me, especially knowing he isn’t the biggest fan of “healthy” versions. Thank you for sharing that with me! 🙂 I haven’t tried making the dough in advance, refrigerating, and then baking. I’m not sure how it would turn out, but it might be worth a try! I do know that these scones reheat pretty well though, if you’d like to bake them the night before and reheat them the next morning to serve them warm. Just another option for you!
Thanks for the advice! I’ve baked them a day ahead this time, but I’m sure I’ll make another batch soon so might still try and see if the dough can be kept overnight.
Thanks again for the recipe! I’ll be sure to check out your other recipes as well!
It’s my pleasure, Jane! I’m always happy to help! 🙂 I’m really excited to hear how the overnight test turns out. I’ve got my fingers crossed it works! (And I can’t wait to hear what other recipes of mine you decide to try, too!)
I was very impressed with this recipe. I expected them to be okay but not great. I thought they would be a bit drier and more dense but that is not the case. They are absolutely wonderful. I will be making more and experimenting a bit. I used regular yogurt and 2% milk. I also used 1/2 whole wheat flour and 1/2 all purpose flour but will try using all whole wheat flour next time. Thank you for sharing it.
I’m so glad you enjoyed these scones Wanita! That means a lot to me — thank you for taking the time to let me know! 🙂 I’d love to hear what you think of the 100% whole wheat flour version if you do end up trying that too!
Thanks Amy – i added some oats/raisins and some chopped almonds.. they came out delicious.
thanks
I’m so glad you enjoyed these scones Nate! I truly appreciate you taking the time to let me know too — that really means a lot! 🙂
why all the different flour’s– for taste? so many different flours can get pricy.
does it make the scone that much better
I really appreciate your interest in my recipe, Lois! I’m not quite sure I fully understand your question. Are you referring to my recommended gluten-free flour blend in the Notes section of the recipe? I just want to make sure I give you the best possible advice! 🙂
The dough is really wet almost banana bread consistency any tips?
We’re honored that you decided to try making our scones, Korey! The dough should be wet, but it not banana bread consistency. If you still have the original batter mixed up and aren’t sure what to do next, you could try baking it in a similar way that we do with our banana bread brownies or our banana pancake bites.
Otherwise, I’d love to help figure out what happened so your scones turn out correctly in the future, if you ever want to try making them again!
I did double the recipe, but added 2 eggs which in turn needed a full extra cup of whole wheat. They turned out amazing and moist. Did use butterscotch chips and 1/2 c chopped walnuts. Still slightly loose from the added eggs to cut into triangles so I used ice cream scoop and placed in 12″ round baking pan almost touching each other. Making 16 scrumptious treats!!!
I’m so happy you enjoyed this recipe, Joyce! Sounds like you have great baker’s intuition to make it work for you! The butterscotch chips and walnuts sound like delicious additions, I’ll have to try those next time I make these! Thanks so much for taking the time to share and your notes on changes. We love to hear about recipe modifications and how they turn out! 🙂