


Throughout my childhood, my parents planned multiple family vacations to Disneyland. Since we usually drove eight hours down I-5 to visit my grandparents in San Diego instead of flying (if you’ve ever driven on that freeway in California, you know how monotonous the trip through miles and miles of plain yellow fields can be!) and Anaheim was on the way, it was easy to hop off of the highway and stop at The Happiest Place on Earth for a few days first.
We always stayed at the same hotel, situated just two stoplights away from the freeway and one block from the Disneyland entrance. That made life really easy for my parents… The short little legs of young kids can only walk so fast (and so far before they start complaining!).

As really early risers—my brother and I regularly woke up by 6 am every day—we walked over to the park before most of the crowds arrived and usually were the first in line when the gates opened at 8 am. We spent all morning dashing between the most popular “kiddie” rides, like Dumbo and Peter Pan and the Teacups, before the lines grew too long for our patience.
Then our very smart parents walked us back to the hotel shortly after lunch for a bit of quiet time before we could get tired or cranky (they preferred us taking naps, but my brother and I often refused and silently read books instead!) and swimming in the pool. Sometimes we went back to Disneyland for a couple of hours to squeeze in a few more rides or some souvenir shopping, but other times we just collapsed into bed from exhaustion!

Because theme park food costs an arm and a leg, our parents always packed our own. They filled a backpack with water bottles, apples, fruit snacks, crackers, and a jar of peanut butter for whenever a “rumbly in our tumblies” hit (we loved Pooh Bear!), and we ate PB&J or ham and cheese sandwiches in the hotel room for dinner.
Yet out of all of those meals, I loved breakfast the most. At home, we always poured a bowl of cereal with milk, but since the hotel room lacked a fridge, Mom bought a package of jumbo-sized muffins from the local grocery store bakery as a special treat instead.

As picky eaters, my brother and I only ate one flavor: lemon poppy seed. (We would’ve gladly gone with double chocolate, but Mom drew the “special treat” line there!) And the lemon poppy seed muffins had to be plain… So we always picked off all of the slivered almonds if those were the only ones Mom could find!
Since we were so small, Mom gave us each half of a jumbo muffin morning for breakfast, and I loved every single bite. The sweet lemon flavor… The tiny little barely crunchy seeds… Those moist, tender crumbs… I easily would’ve polished off the second half if she let me. I definitely didn’t care about calories or healthy food back then!

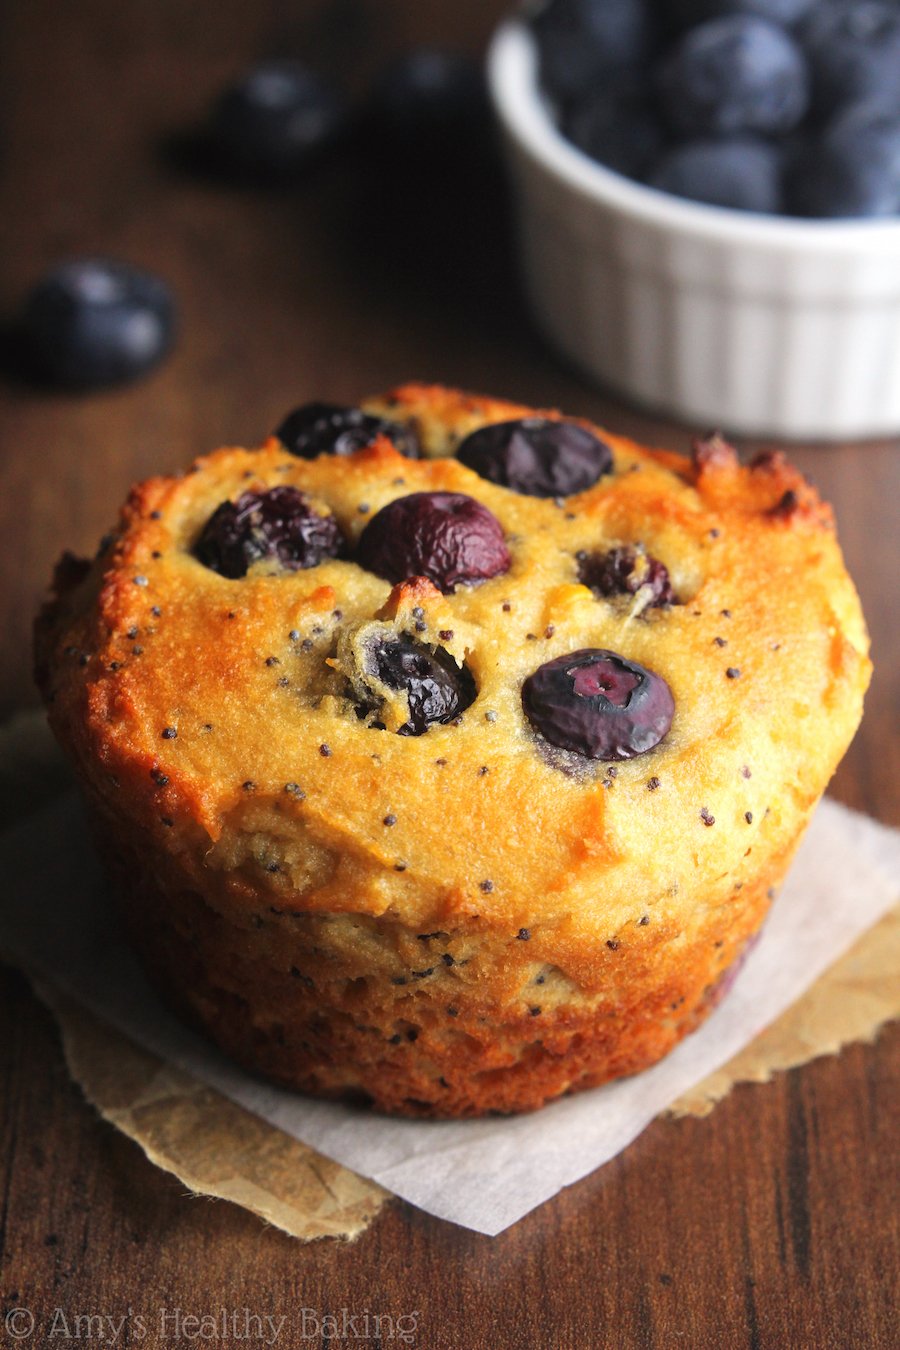
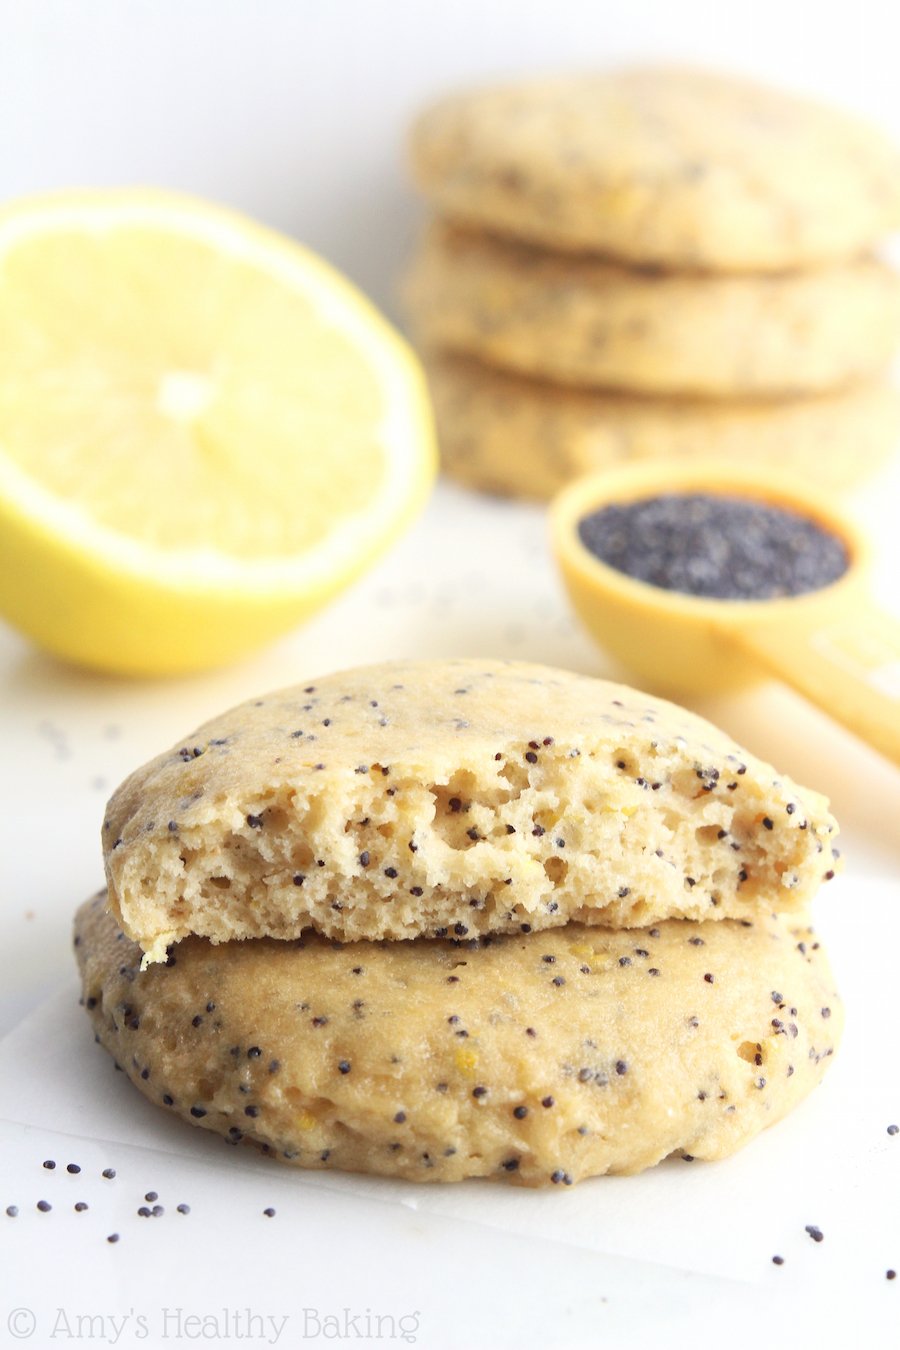
But times have changed, and even though I still love Disneyland just as much, now I want my muffins to be a little healthier than the ones sold from grocery store bakeries. That’s exactly why I created this recipe for the Ultimate Healthy Lemon Poppy Seed Muffins! They’re supremely tender and full of that same sunshiny flavor, but they’re made from entirely wholesome ingredients and contain none of the guilt!


This easy recipe begins with white whole wheat flour. White whole wheat flour comes from finely grinding a special type of white wheat, whereas regular whole wheat flour is made from a heartier variety of red wheat. This gives white whole wheat flour a lighter taste and texture, almost like that of all-purpose flour, but it still has the same health benefits of regular whole wheat flour.
Note: Whole wheat pastry flour would be the perfect substitute! I’ve also included my favorite gluten-free flour blend in the Notes section beneath the Instructions, if you prefer.

Many traditional recipes include anywhere from ½ cup to 1 full cup of oil or butter—yikes!! Instead, this lighter version uses just 1 tablespoon of butter, and the rest of the tender texture comes from my favorite ingredient in healthier baking… Greek yogurt! Greek yogurt provides the same moisture as extra butter or oil for a fraction of the calories, and it gives your baked goods a protein boost, too!
To keep these muffins clean eating friendly, you’ll skip the granulated sugar and sweeten them with a combination of honey and vanilla crème stevia. Vanilla crème stevia is one of my new favorite finds! It’s a plant-based, no-calorie sweetener that’s clean eating friendly, and it’s very concentrated. A little goes a long way! I usually buy SweetLeaf, which is sold in a small bottle with an eyedropper, and you can find it at many health-oriented grocery stores, as well as online. (And you’ll use it in all of these recipes of mine, too!)


The bright citrus flavor comes from two sources: freshly squeezed lemon juice and lemon zest. The latter actually provides the majority of the sunshiny taste, so don’t skip it! I tested this recipe with varying amounts of zest, and all of my taste testers agreed that a full 2 ½ tablespoons had the best flavor.
The baking instructions are slightly different than your stereotypical muffin recipe. To make the muffins as tall and tender as possible, you’ll bake them starting at 425°F for 7 minutes. Then, without opening the oven door, reduce the temperature to 350°F for the rest of their baking time.
This brief stint at that really high temperature quickly activates the baking powder and baking soda. Along with an internal burst of steam, this makes the muffin tops rise really fast and stay nice and tall. Yes, it has to be 425°F—just turn your oven into a sauna, and your muffins will be happy!

And once they’ve cooled, so will your belly! ? And when you make your own, remember to snap a picture and share it on Instagram using #amyshealthybaking and tagging @amyshealthybaking IN the photo itself! (That guarantees I’ll see your picture! ?) I’d love to see your muffins and feature them in my Sunday Spotlight series!
| The Ultimate Healthy Lemon Poppy Seed Muffins | | Print |
- 2 ½ cups (300g) white whole wheat flour or gluten-free* flour (measured like this)
- 1 tsp baking powder
- ½ tsp baking soda
- ¼ tsp salt
- 1 ½ tbsp (13g) poppy seeds
- 2 ½ tbsp (16g) lemon zest, freshly grated (about 3 large lemons)
- 1 tbsp (15g) unsalted butter or coconut oil, melted and cooled slightly
- 2 large egg whites, room temperature
- 2 tsp vanilla extract
- ½ cup (120g) plain nonfat Greek yogurt
- 2 tbsp (30mL) honey
- 1 ¼ tsp vanilla crème stevia
- 6 tbsp (90mL) freshly squeezed lemon juice (about 2 large lemons)
- ¾ cup (180mL) nonfat milk
- Preheat the oven to 425°F, and lightly coat 12 muffin cups with nonstick cooking spray.
- In a medium bowl, whisk together the flour, baking powder, baking soda, salt, poppy seeds, and lemon zest. In a separate bowl, whisk together the butter, egg whites, and vanilla. Stir in the Greek yogurt, mixing until no large lumps remain. Mix in the honey and stevia until fully incorporated. Mix in the lemon juice. Alternate between adding the flour mixture and milk, beginning and ending with the flour mixture, and stirring just until incorporated. (For best results, add the flour mixture in 4 equal parts.)
- Divide the batter between the prepared muffin cups. Bake at 425°F for 7 minutes. Without opening the oven door, reduce the oven temperature to 350°F, and continue baking for an additional 12-15 minutes, or until the tops feel firm to the touch and a toothpick inserted into the center comes out clean. Cool in the muffin cups for 10 minutes before carefully transferring to a wire rack.
Whole wheat pastry flour, regular whole wheat flour, or all-purpose flour may be substituted for the white whole wheat flour.
Agave or pure maple syrup may be substituted for the honey.
Any milk may be substituted in place of the nonfat milk.
{gluten-free, clean eating, low fat, low calorie, low sugar}
View Nutrition Information + Weight Watchers Points


Thank you for this lovely recipe! Lemon poppyseed anything is my favourite, and these were perfect for my cravings! Admittedly I used regular whole wheat flour and found it a bit too heavy… So I think I’ll stick to traditional flour to see if that helps. I also couldn’t find vanilla creme stevia so I just used regular stevia which I’m sure affects the sweetness, but I don’t mind. Maybe I’ll try a bit of extra honey or maple syrup next time.
Thanks again!
I’m glad you enjoyed the muffins Jenna, and thank you for letting me know about your modifications to the recipe! What brand of stevia did you use, and was it a liquid or a powder? Using something other than regular whole wheat flour should really help your next batch too. 🙂 I’d love to hear how the second round goes!
Hi, any idea how long to cook these if making mini muffins?
I’m not entirely sure, but I’d start checking on them after about 11-12 minutes. They’ll be done when the tops feel firm to the touch and a toothpick inserted into the center comes out clean. I can’t wait to hear what you think of them Betsy! 🙂
I’m excited to try this! I have a question about using powdered egg whites and egg white protein powder… How do you mix it properly? I picked some up at trader joes (different brand but identical nutritional info and instructions to to this https://www.amazon.com/NOW-Foods-Eggwhite-Protein-Pound/dp/B0013OXDBU) and when I tried to mix some into a smoothie it made absolutely vile tasting chunky goo, making me hesitant to bake with it. I know fried egg whites are *supposed* to be a good baking ingredient, so your insights are much appreciated:).
I’ve never worked with egg white protein powder before, so I’m not entirely sure. My best suggestion for using them in baking recipes would be to mix the powder with the dry ingredients and add whatever additional water/milk/liquid ingredients required by the instructions to the wet ingredients. That should help prevent any chunks! 🙂
is it possible to use sugar instead of the stevia?
because these muffins sound really tasty but I don’t have the stevia
Yes, you can use granulated sugar! You’ll need about 8-10 tablespoons, or adjust to suite your tastes. If using granulated sugar, you’ll probably need closer to ½ cup of milk, maybe slightly less (the batter should be thick and scoop-able). I’d love to hear what you think of the muffins if you try them!
Hey, not sure if you’ll respond on a post so old lol. But I’m having an issue where I follow the recipe but my batter is suspiciously thick (kind of like a dough), then the muffins don’t rise at all and are thick, doughy, and flour-y tasting. Do you have any idea what I could be doing wrong?? I made these for the second time (same problem) AND I made the raspberry almond mini muffins, which turned out the same way ): I don’t know what to do!
I really appreciate your interest in my recipes Taylor! If the same thing is happening with both recipes, then there’s too much flour in both batters. My guess is that’s due to how you’re measuring it. Are you using a kitchen scale or measuring cups? If the latter, can you describe in detail how you’re measuring flour from your container? We’ll solve these issues — I promise! 🙂
I use measuring cups. I fill it with the flour then level it with the flat back of a knife. Thank you for helping! Lol
Thanks for the info Taylor! When measured like that, you can end up with 1.5 times as much flour as when you lightly spoon and level, and that extra flour is definitely causing the issues that you’ve experienced! If you don’t own a kitchen scale, here’s what I recommend doing for measuring flour (and cocoa powder, oats, etc!): use a fork to “scoop” up flour from the container, and lightly shake the fork back and forth over the top of your measuring cup to transfer the flour into it. Once there’s a small mound of flour extending past the rim of the measuring cup, then place the flat back of a knife against the top of the measuring cup, and gently scrape it across the top to get rid of the excess flour. Never “pat” the flour down with the knife or fork. This fork method acts like a sifter (without dirtying another dish!) and guarantees you’ll add less flour to the batter, so you’ll end up with moist and tender muffins. Does that make sense? 🙂
I tried this recipe but it was awful. I will not use it again. The texture was doughy inside, not muffin like at all. It also didn’t have a great flavor. I followed the recipe and instructions but I was very disappointed with the final result. Glad it worked out for others though.
I appreciate your interest in my recipe, Mary. That does sound disappointing — and not how the muffins are supposed to turn out at all! If the muffins were doughy inside, then they were underdone. Did you use the toothpick test to see if the centers were finished baking? Also, did you use the same vanilla creme stevia or an alternative? We’ll sort out these issues you saw so they don’t happen again! 🙂
Hi, I tried your lemon poppyseed muffin recipe and they were great! I had to make some modifications based on what my cupboards held. I used full fat Greek yogurt, 1/2 evaporated milk and 1/2 water for the milk, and Lemon Stevia drops. I did half whole wheat and half white flour. I only had one lemon, so used some lemon juice from a jar also. I made six large muffins and followed the directions to preheat to 425, bake at this for 7 minutes then without opening oven, lower heat to 350. The muffins had a beautiful crown and rose nicely. They were yummy!
Way less sweet than most muffins, a little chewy, but my husband and I both felt better eating way less sugar and enjoyed the texture. They were very pretty. Thanks so much! I am going to try the higher heat/lower heat with other muffins.
I’m so glad you enjoyed these muffins Marybeth! That means a lot to me 🙂 If you prefer sweeter muffins, you can easily increase the amount of stevia. I can’t wait to hear how that baking trick works for other muffin recipes for you!
So I’ve made a few of your muffin recipes now, and they usually turn out pretty good. They do, however, seem to get a little “hard” on the edges. Like when you bite them, the outside of the muffin is more firm then the center. Any suggestions as to why this may be happening? In your video it doesn’t look like that happens to yours!
I use parchment liners when I bake the muffins. I increased the coconut oil to 4 tbsp and decreased the yogurt to 1/4 cup (I also always use whole eggs) and that seems to help some but it’s still kind of noticeable. I hope this makes sense to you haha, thanks for your help!
I really appreciate your interest in my recipes Jules! Because of the baking method (high temperature for a brief amount of time, then reduce), the edges of these muffins are slightly firmer than with my other recipes. You can try baking these muffins at 350°F for the entire time to reduce that outer firmness, but the tops won’t be quite as tall and round. 🙂
I tried these for the 1st time today. It smelled really good, but when I took them out of the oven, the muffins had turned really brown on the outside {12 mins after I had reduced down the heat) and the inside is still on the sticky side even after leaving it in the oven for more than 15 mins after reducing the heat. What can I do to help it look less brown and still having a soft crumby inside?
I really appreciate your interest in my recipe Maryanne! Let’s get this sorted out. 🙂 Did you make any modifications to the recipe? Did you use the vanilla creme stevia or the alternative I mentioned in the Notes section? If you’re okay with purchasing a new muffin pan, I highly recommend a silicone one! This is the kind I own (I have four of them!), and they don’t turn the sides of muffins/cupcakes nearly as brown as regular metal muffin tins. I never bake with metal muffin tins for that reason, and I can’t recommend them enough!! 🙂
Yes, I made some modifications – I made 6 muffins, so halved all ingredients in the recipe.
I used “Farmer’s Union Greek Yogurt with a tint of vanilla bean” instead of plain Greek yogurt, and because I don’t like artificial sweeteners, I replaced the vanilla creme stevia with 1.5 tsp coconut sugar, and replaced honey with maple syrup.
The rest of ingredients stayed the same.
I’ll look at getting a silicon muffin tray in the meantime. Would that resolve the problems I encountered (including getting it soft & crumby inside?)
Oh my goodness! The vanilla creme stevia is the equivalent of ½ cup of coconut sugar. I’m assuming the muffins weren’t sweet enough, if you just used 1 ½ teaspoons of coconut sugar? Or was your Greek yogurt overly sweet and able to compensate for 3 ½ tablespoons of sugar (since you halved the recipe and only would have needed 4 tablespoons of coconut sugar to compensate for the vanilla creme stevia)?
The new muffin tin would really help with the outsides not turning overly brown! Do you have a traditional oven or convection-style oven? Also, is the Greek yogurt you used very thick, or is it thinner and more runny (like traditional non-Greek yogurt)?
Oops, I meant 1.5 tbsp not tsp. We usually don’t take too sweet, so the sweetness level was still OK. Possibly the Greek yogurt is slightly sweeter than the non flavored ones, but it’s not overtly sweet on its own either.
The Greek yogurt I use is thick, not runny,
My oven is a convection type oven.
Anything else I should adjust to resolve it from being sticky inside?
I’m glad to hear it was tablespoons, not teaspoons! 🙂 How was the batter’s consistency compared to mine in the recipe video? Was it the same before baking? Mine is very thick, more like “overly wet” cookie dough rather than traditional thin cake batter. Thanks for your patience with all of these questions — I want to make sure we’re considering every possibility before you retry these muffins!