
On a spur-of-the-moment whim last Sunday, my mom and I decided to attend an Oakland A’s baseball game. We purchased season tickets for the past two years, but because we skipped this season, we’ve start to go through withdrawals… We let three weeks go by since our last baseball game, and that was far too long!
We picked seats in our favorite section (just beyond the A’s dugout and even with the bag at third base), directly on the aisle to avoid climbing over other fans for bathroom and concession stand breaks. After greeting our favorite usher with big smiles and hugs, we settled in to cheer on our boys with the rest of the crowd.
As a pitchers’ duel (aka a low-scoring game, for those of you not quite as obsessed with baseball as I am!), we saw plenty of spectacular defensive plays from both teams. Diving catches, leaping grabs, speeding fastballs, line-drove comebackers… It felt like we applauded for something amazing at every other at-bat (oops… every other player’s turn, if you aren’t familiar with baseball terms!), which really worked up our appetites!
With the temperature above 80°F and not a cloud in the sky, vendors walked up and down the aisles offering plenty of cold, refreshing treats to the fans sweltering in the heat. Snow cones, iced tea, frozen lemonade, bottles of soda… But as huge chocoholics (I inherited that from my mom!), the chocolate malts, Häagen-Dazs dark chocolate ice cream bars, and Nestlé ice cream drumsticks really caught our eye!
Although the fans around us readily caved and purchased those sweets, Mom and I tried to summon the willpower to avoid the temptation. Although it felt virtually impossible…

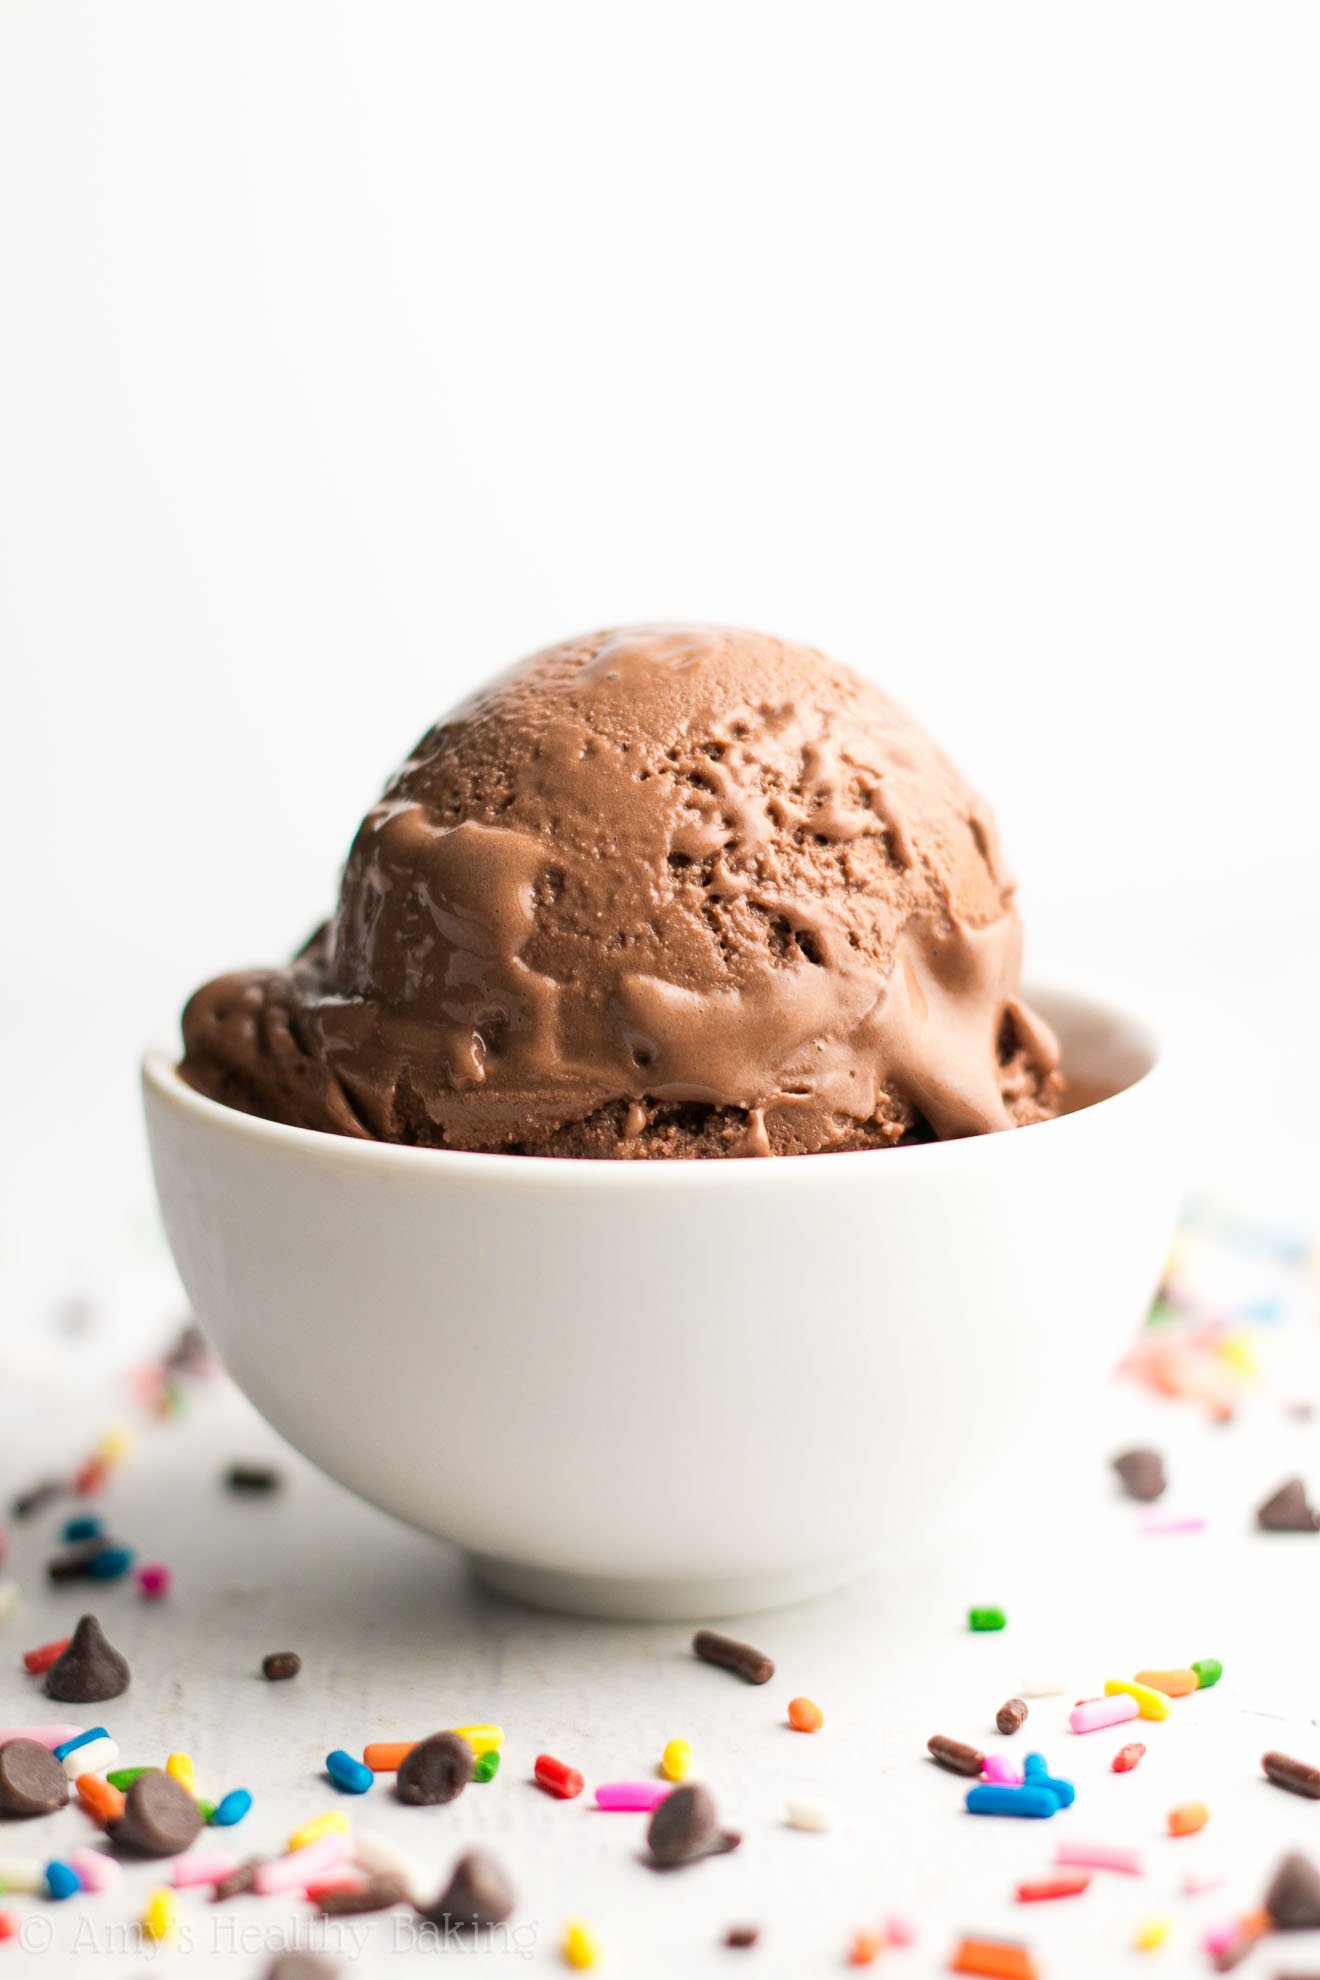
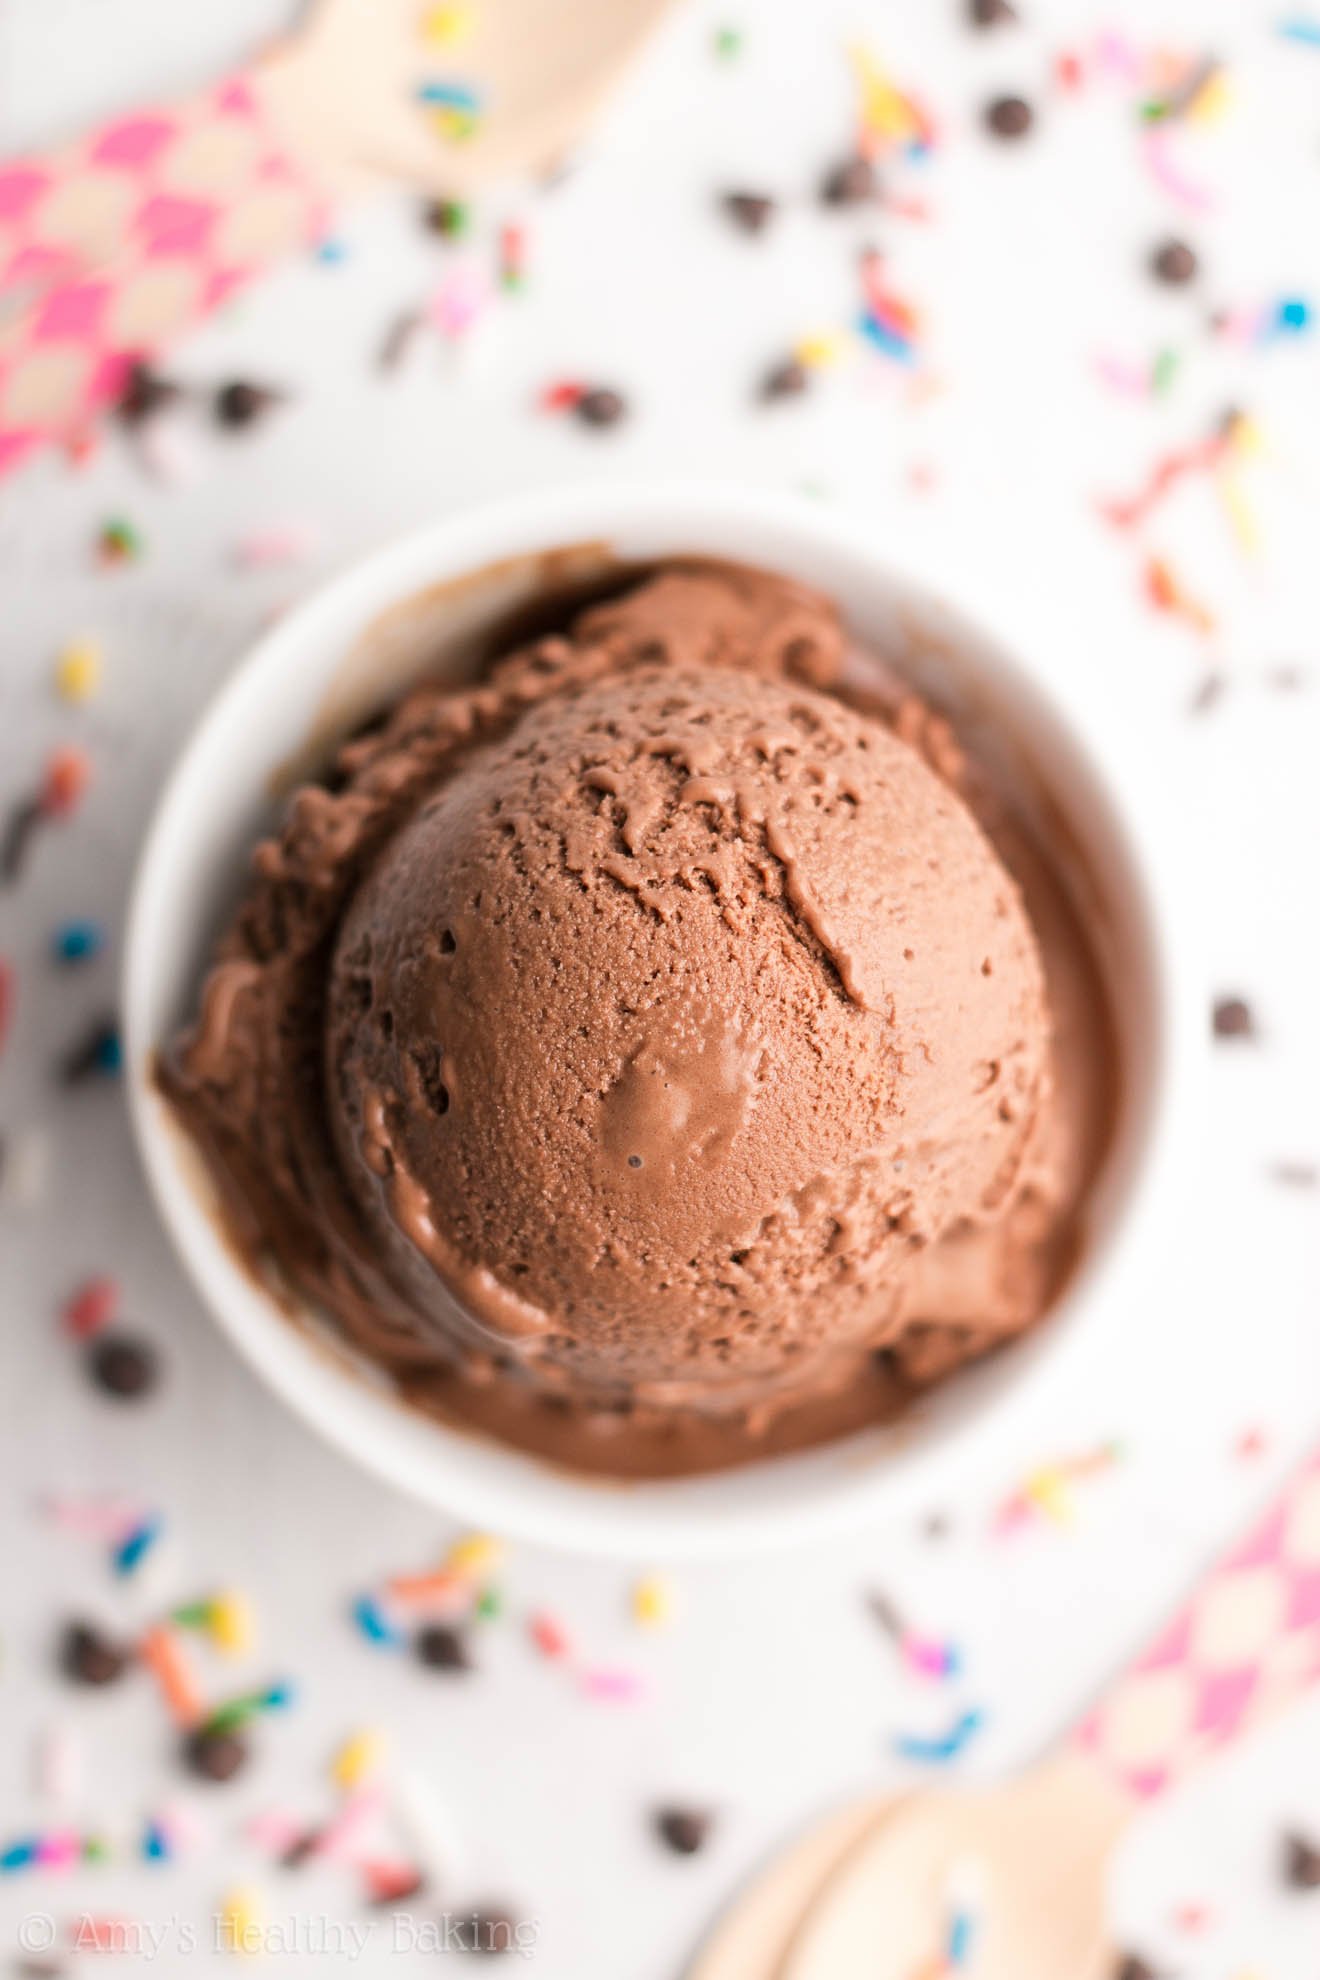
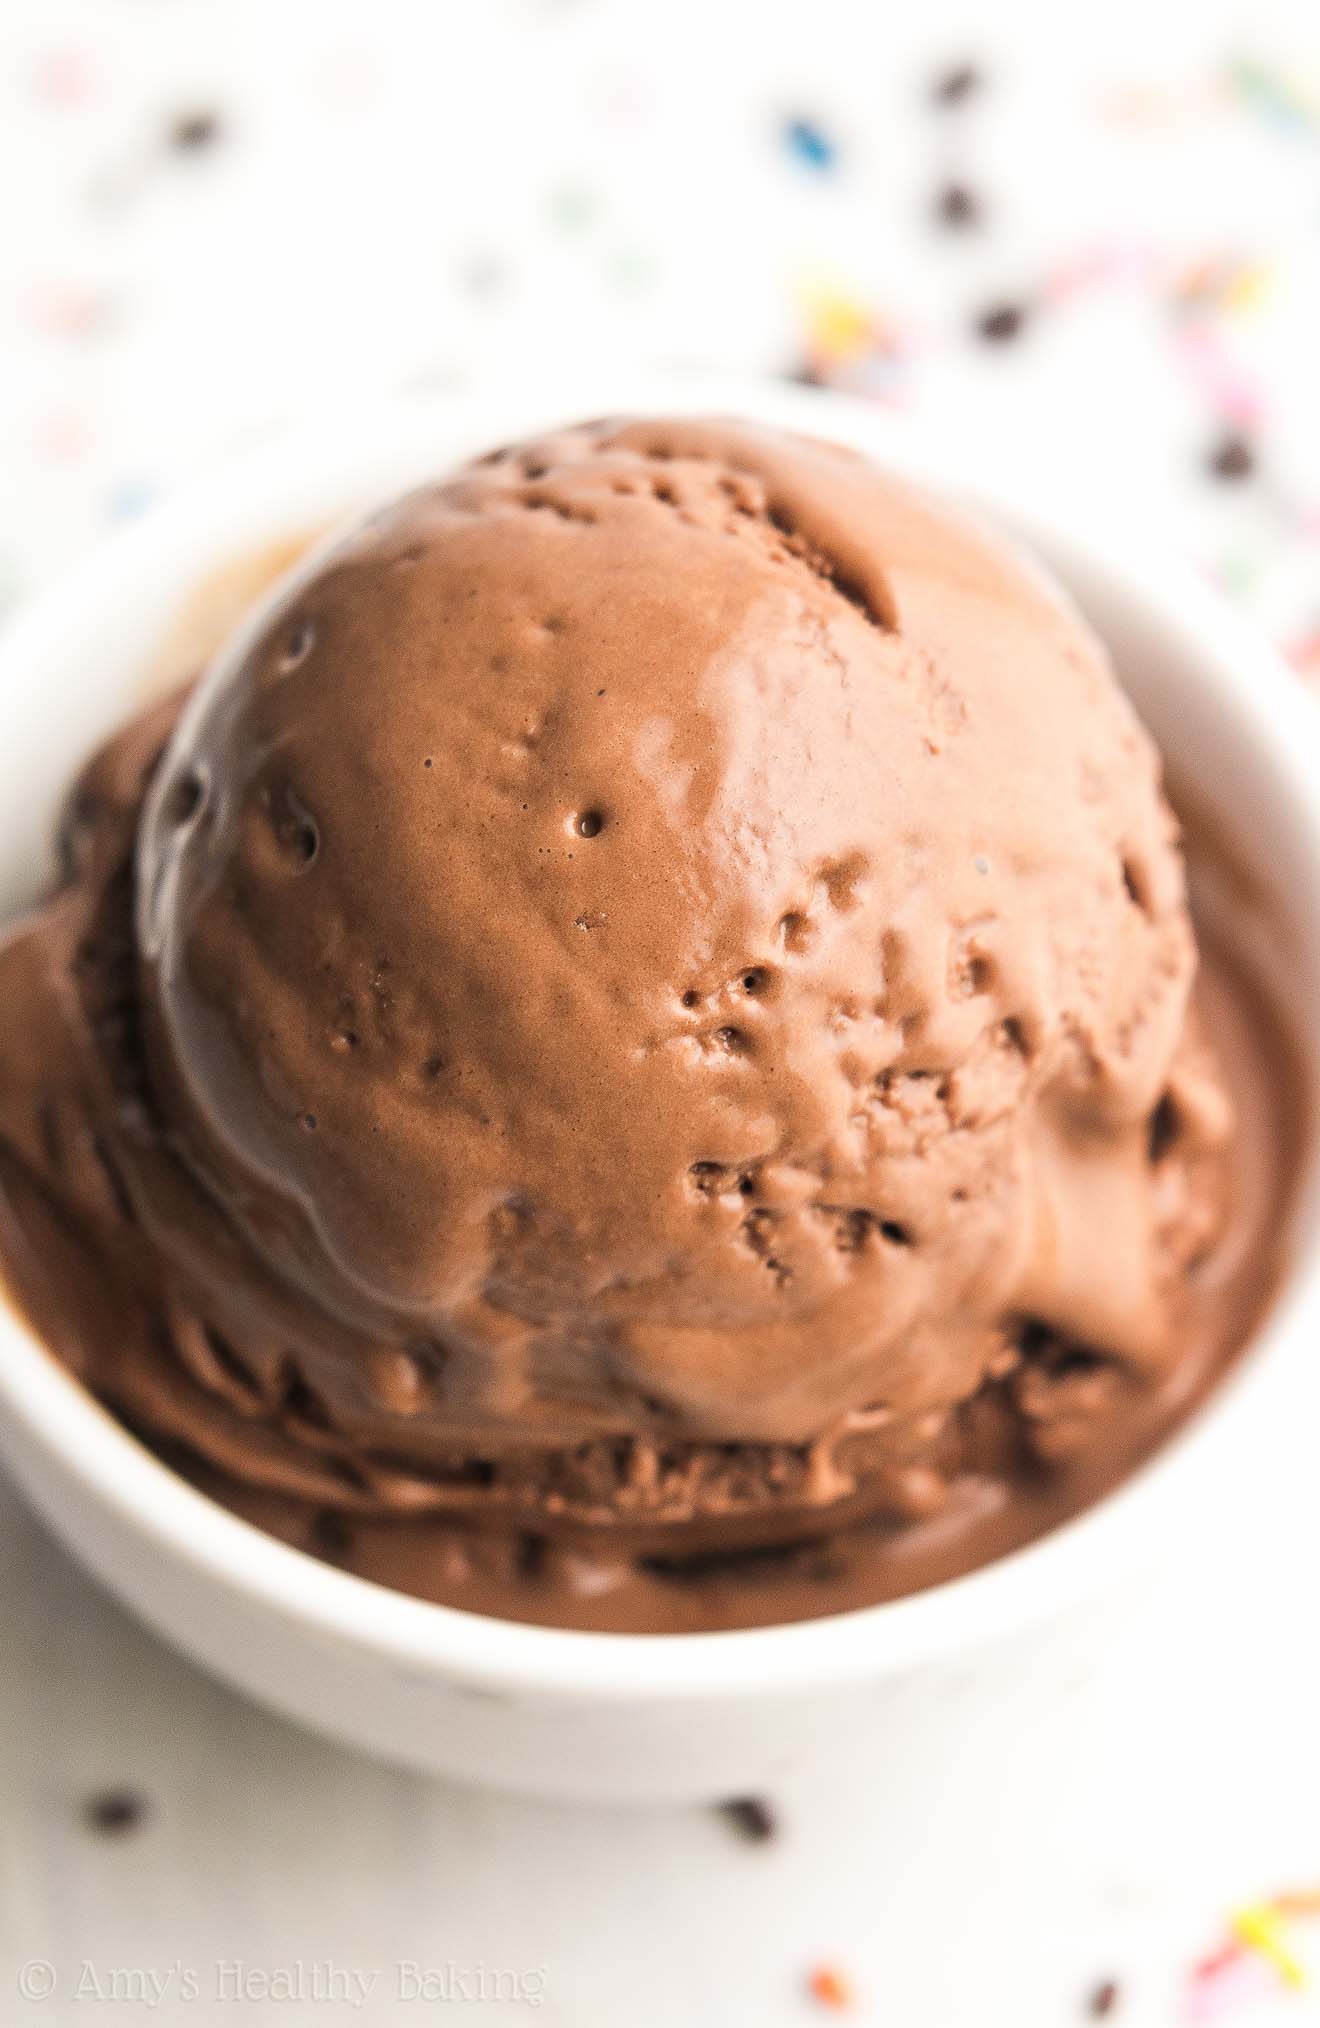
It was a lot easier when I remembered I could make a batch of this Ultimate Healthy Chocolate Ice Cream when we returned home! It’s rich, smooth, and creamy, just like anything you’d find at an ice cream parlor. It’s also super easy and quick to make — and secretly full of protein!
I think I’ll celebrate that with another scoop! 😉

HOW TO MAKE THE BEST HEALTHY CHOCOLATE ICE CREAM
For the base of your healthier ice cream, you’ll use Greek yogurt and 2% milk. If you’ve been around AHB for a while, you know how much I love Greek yogurt! It’s thick and creamy, making it perfect for this ice cream, and it also adds a big protein boost. One cup of Greek yogurt contains about 21g of protein!
I highly recommend that you use 2% milk, as the recipe calls for. This is because ice cream needs a certain amount of fat in order to be smooth and creamy. Without it, your ice cream would be grainy and icy. I explain more about that (and why it’s so important!) over here.
Note: I do not recommend substituting almond milk or cashew milk. These have a high water content, so they would have the same effect on your ice cream’s texture as nonfat or 1% milk.
For the chocolate flavor, you’ll mix in cocoa powder. Yes, just regular unsweetened cocoa powder — no melted chocolate! I wanted to make this ice cream recipe as easy as possible for you to whip up. You’ll add in a full ½ cup of cocoa powder, so your ice cream will still taste very rich and decadent.
Tip: I don’t recommend substituting Dutched or special dark cocoa powder. These have a different acidity level, which can affect the flavor and consistency of your ice cream. They also tend to make this ice cream taste more muted and bland, compared to the really decadent and rich flavor of regular unsweetened cocoa powder.
To sweeten the ice cream, you’ll use another one of my favorite ingredients: liquid stevia. Stevia is a plant-based, no-calorie sweetener that’s clean eating friendly, and it’s highly concentrated. You’ll only need 1 ½ teaspoons for this entire batch of ice cream — that’s the equivalent of ¾ cup of sugar! This is the kind that I buy because I love its sweet flavor, and I don’t notice any strange aftertastes like with some other stevia products. You can find it at many health-oriented grocery stores, but I usually buy it online here because that’s the best price I’ve found. (And you’ll use it in all of these recipes of mine, too!)

There’s one last important ingredient in this ice cream base. Eggs act as a natural “glue” that helps hold together traditional ice cream bases and therefore create that perfect smooth, creamy texture. Because we’re skipping the eggs (I’m impatient and don’t want to heat my ice cream base — I just want to eat my frozen dessert as soon as possible!), you’ll use a different “glue” called xanthan gum. You can find it at many health-oriented grocery stores, as well as online. Do not skip the xanthan gum. Your ice cream will taste icy and hard without it. (You can read more of my nerdy explanation of that here!)
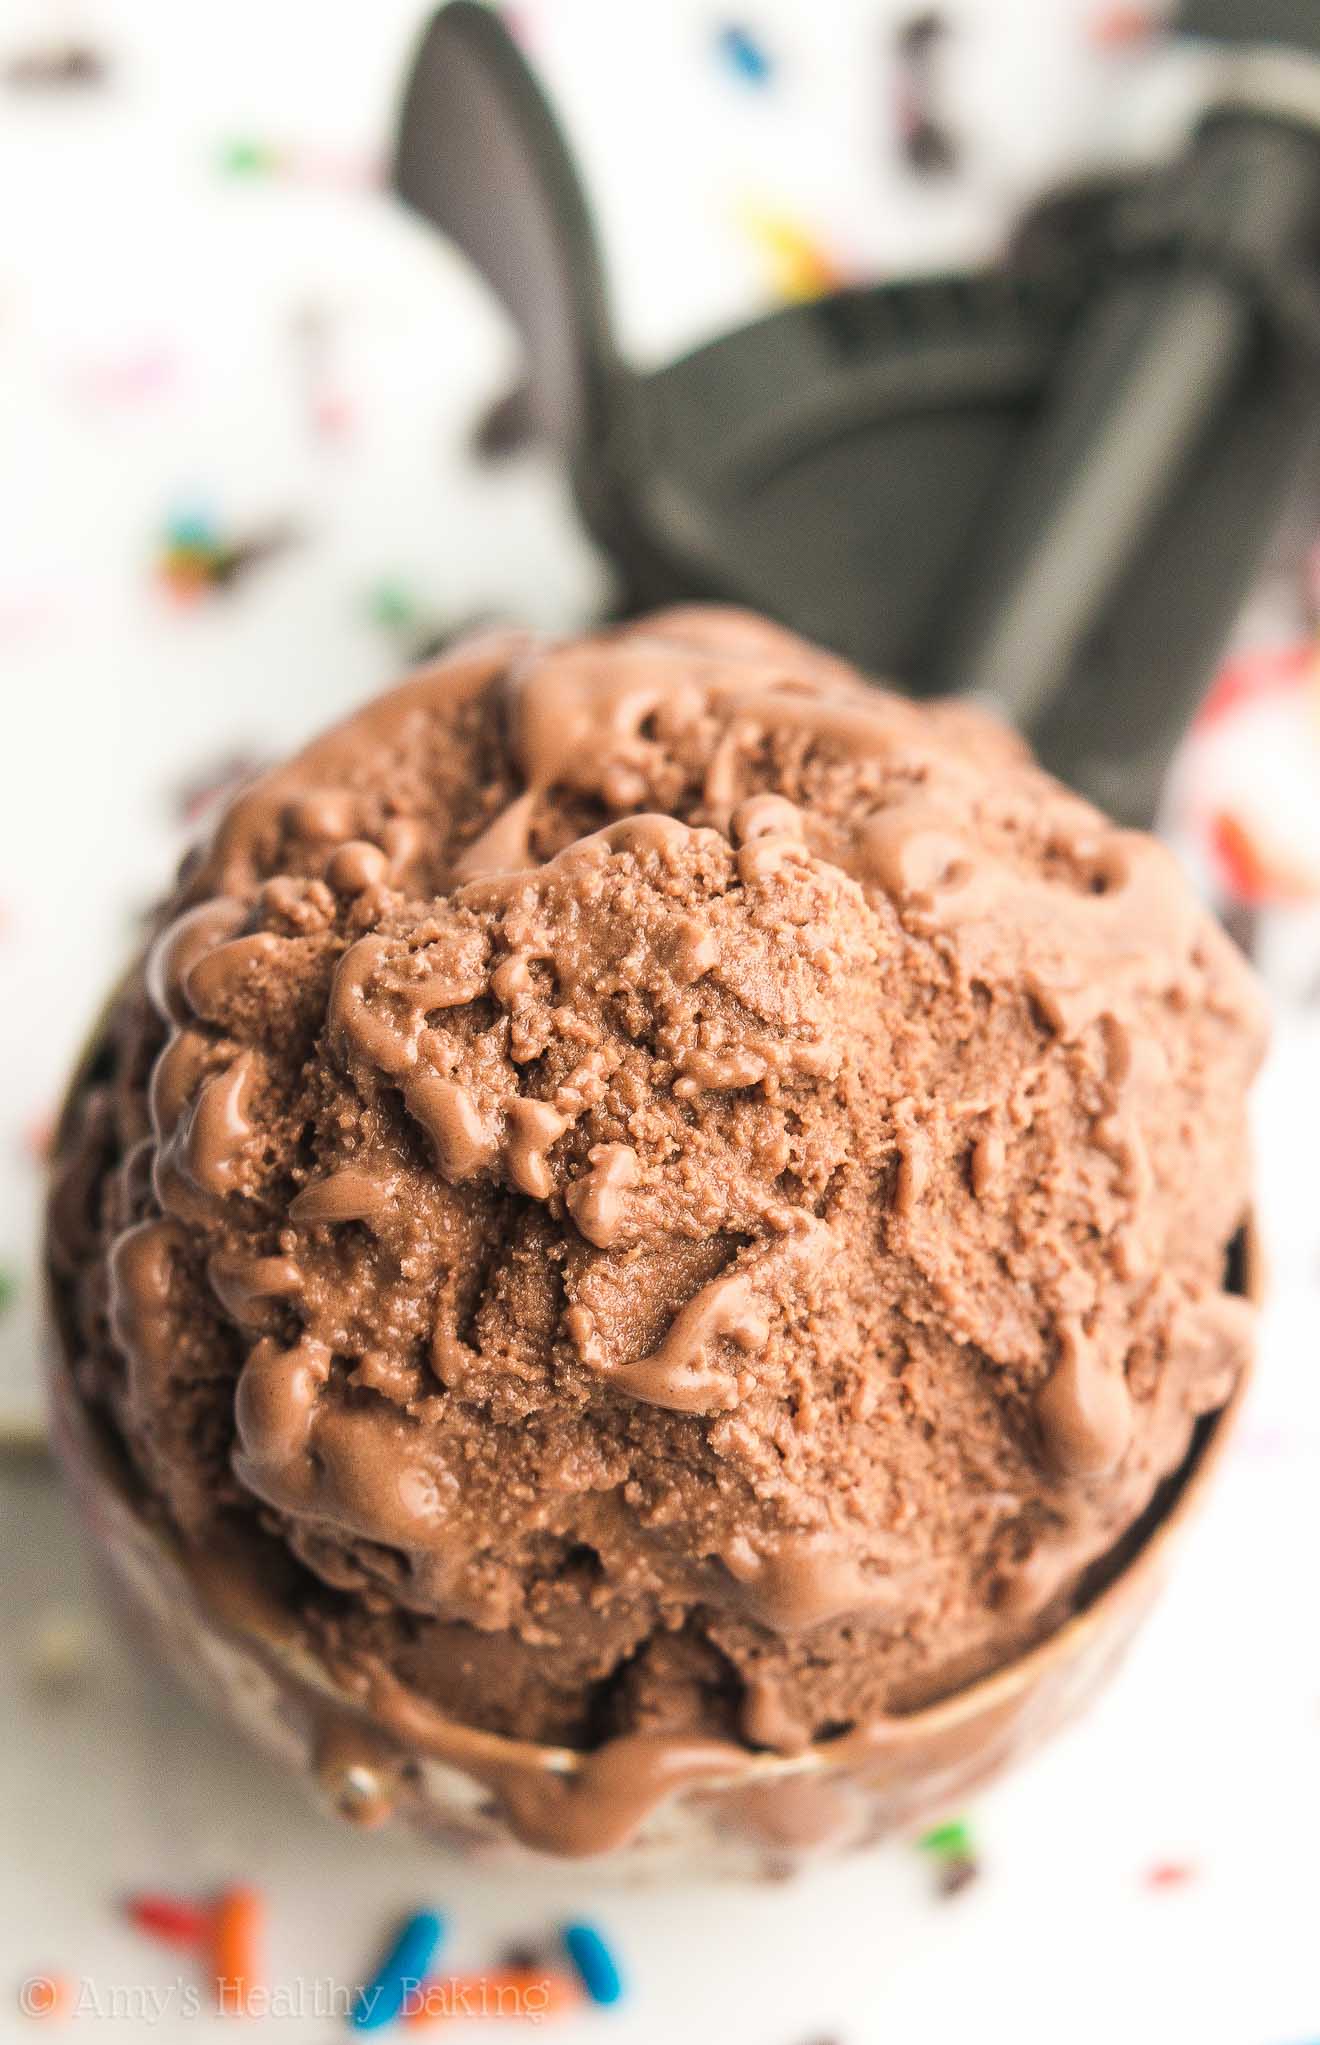
Now all that’s left is to turn on your ice cream maker (I own this one — it’s really inexpensive and I love it!), pour in that chocolaty milk mixture, wait for 20 minutes or less, and…


Serve yourself a big scoop! And when you make your own, remember to snap a picture and share it on Instagram using #amyshealthybaking and tagging @amyshealthybaking IN the photo itself! (That guarantees that I’ll see the notification from you! 🙂 ) I’d love to see your ultimate healthy chocolate ice cream!

The Ultimate Healthy Chocolate Ice Cream
Ingredients
- 1 ¼ cups (300mL) 2% milk (see Notes!)
- 1 cup (240g) plain nonfat Greek yogurt
- ½ cup (40g) unsweetened cocoa powder (measured like this – and see Notes!)
- 1 ½ tsp liquid stevia
- 1 tsp vanilla extract
- ½ tsp xanthan gum
- ¼ tsp salt
Instructions
- The night before you plan on making your ice cream, place the bowl of an electric ice cream maker in the freezer. Freeze for at least 12-16 hours.
- Add all of the ingredients to a large bowl. Beat with an electric mixer for 1 minute or until very frothy.
- Working quickly, remove the ice cream maker bowl from the freezer. Place it on the ice cream maker, attach the paddle and the lid, and turn it on. With the ice cream maker turning, pour in the milk mixture. Let the ice cream maker churn for 15-20 minutes or until the ice cream is frozen and has reached your desired consistency. For the best texture and taste, serve immediately.
Notes
View Nutrition Information + Weight Watchers Points
You may also like Amy’s other recipes…
♡ The Ultimate Healthy Vanilla Ice Cream
♡ Healthier Cookies ‘n Cream Ice Cream
♡ Healthy Chai Spice Ice Cream
♡ Healthy Pumpkin Spice Latte Ice Cream
♡ Healthier Brownie Bark Mini Ice Cream Sandwiches
♡ Skinny Strawberry Cheesecake Frozen Greek Yogurt Sandwiches
♡ Healthy Cookie Dough Frozen Yogurt
♡ Lightened Up Mini Hula Pie Ice Cream Desserts
♡ Lightened Up Blueberry & Cherry Ice Cream Sandwiches
♡ Healthy Fudgy Triple Chocolate Cookies
♡ The Ultimate Healthy Dark Chocolate Cupcakes


This recipe tastes great! I used powdered sweetener instead of liquid and I used whole milk. It did have a tartness from the yogurt, which I really enjoy. I will be making this again.
I’m so happy you enjoyed this ice cream, Brenda! That’s the best kind of compliment, if you already think you’ll make it again. Thank you for taking the time to share and rate the recipe as well — it truly means a lot! ♡ I really appreciate you including your recipe modifications too. I always love hearing what tweaks work out! 🙂
Would it be possible to substitute the xantham gum for eggs? If so, how would I go about doing that? Wasn’t able to find any at my local grocer.
We really appreciate your interest in our recipe, Mattie! We haven’t tried using eggs to make our ice cream recipes before. However, one reader found a way to make a modified version of our vanilla ice cream recipe without xanthan gum! You can find her version here.
I’d love to hear what think if you decide to try making this ice cream!
This looks wonderful! Can I mix the ingredients by hand with a whisk until very frothy? I see you say to work quickly, but I’m not sure if that means something about how fast the mixing needs to happen.
It means a lot that you’d consider trying my recipe, June! Yes, whisking by hand until very frothy should be fine. Take as much time as you need with the mixing!
The “working quickly” part just refers to once you’ve taken the ice cream maker bowl out of the freezer — not the mixing in Step 2! I encourage working quickly to assemble the ice cream maker because the frozen bowl starts to thaw as soon as you remove it from the freezer. That’s all! Does this make more sense? 🙂
Ohh excellent, thank you!
My pleasure, June! I really hope you enjoy this ice cream if you do end up making it!
Great recipe. If I wanted vanilla ice cream- would I just leave thr cocoa powder out?
We’re so happy to hear that you enjoyed this ice cream, Joe! Thanks for taking the time to let us know and rate this recipe, it really means a lot! We do also have a recipe for vanilla ice cream! I’d love to hear what you think if you decide to try that variation as well! 🙂
Would this recipe work in my Creami ninja machine?
We really appreciate your interest in this recipe, Pam! We don’t have any experience with the Ninja Creami machine, so I’m not sure how it would work with certainty. If you decide to experiment on your own, we’d love to hear how it goes! 🙂
Hello, I tried your ice cream recipe. However, I’m having an issue. I have an ice cream machine like yours and I followed all the instructions. Despite that, when I pour the mixture into the bowl, it sticks to the sides and starts to freeze immediately. Almost half of the mixture ends up stuck to the bowl in a frozen layer. How can I fix this? I don’t understand why it’s happening, but I would like to solve this problem.
We’re honored that you tried our chocolate ice cream, Meltem! We haven’t had that happen before and don’t have personal experience with it. It definitely sounds frustrating! One potential cause could be if the bowl of your ice cream maker is larger than ours and can hold more volume. (We use a 1.5-quart ice cream maker!) That would mean the bowl has more surface area, which would chill the mixture faster. If your bowl is larger than 1.5 quarts, doubling the recipe could potentially help by reducing the ratio of surface area to chocolate mixture. However, if your ice cream maker is also a 1.5-quart model, there’s a good chance it’s something related to the exact make and model that you have, so it might be worth checking the manual to see if there’s a FAQ section that addresses the issue!
If using a cuisinart ice cream maker, then don’t use greek yogurt. Greek yogurt doesn’t “fail” because of the machine — it fails because it freezes too fast and becomes too thick, overwhelming the Cuisinart’s small motor. I used Stonyfield
organic non-fat plain yogurt for a vanilla ice cream that was much, much better and tasted like the real deal.
It’s wonderful you’re able to modify ice cream recipes to better fit your preferences, Gail! Thank you for sharing what you did. I always enjoy hearing about recipe tweaks and the results!
I really enjoyed this recipe! I can no longer have real ice cream and this has been a huge lifesaver. Thank you so much.
I’m so happy you enjoyed this ice cream, Kate! It can be really tough to give up foods we like. (Especially sweet treats!) I’m thrilled to hear that this satisfies your cravings, and calling it a lifesaver is the best kind of compliment there is. I’m touched that you’d take the time to share and also rate the recipe — that truly means a lot!