

While writing my Healthier Chocolate Treats Cookbook last year, I practically lived at the grocery store. Although I wrote down a big shopping list each weekend that included all of the ingredients I needed for the upcoming week, I typically had to dash back a few times if recipes failed and I needed to buy another round of cocoa powder or chocolate chips to retest them. I always want to make sure that every recipe turns out perfectly before I share it with you!
On one of my trips, I stopped by the dairy section to buy cream cheese to test the S’mores Cheesecake Bars recipe in my cookbook. (You can see them here!) When I stopped the shopping cart in front of the refrigerated shelves, my jaw dropped. The store had completely run out of cream cheese—not a single block was in sight!
I found the nearest employee and politely asked if they had any extras in the back of the store, but once he returned from checking, he reported no… Yet he informed me that they expected their shipment to arrive in the wee hours of the following morning, so I should find cream cheese back on the shelves if I came back the next afternoon.

I rearranged my baking plans, testing the Dark Chocolate Lava Cakes and Strawberry Banana Chocolate Chip Muffins recipes that evening instead, and returned to the grocery store the following day, as the employee suggested. As I approached the same dairy shelves, I nearly groaned… The cream cheese section was still empty!
I found a different worker and inquired about the situation. He immediately offered to check the back of the store, and he practically looked like a knight in shining armor when he returned with the two packages I needed!
{And yes, those S’mores Cheesecake Bars were totally worth the wait! They’re one of my favorite recipes in the entire Healthier Chocolate Treats Cookbook!}
That memory resurfaced last week when I planned on baking another extra chocolaty dessert yet realized I was completely out of flour. With a rainstorm raging outside, I really didn’t feel like driving to the store, so I quickly decided to improvise with this instead…

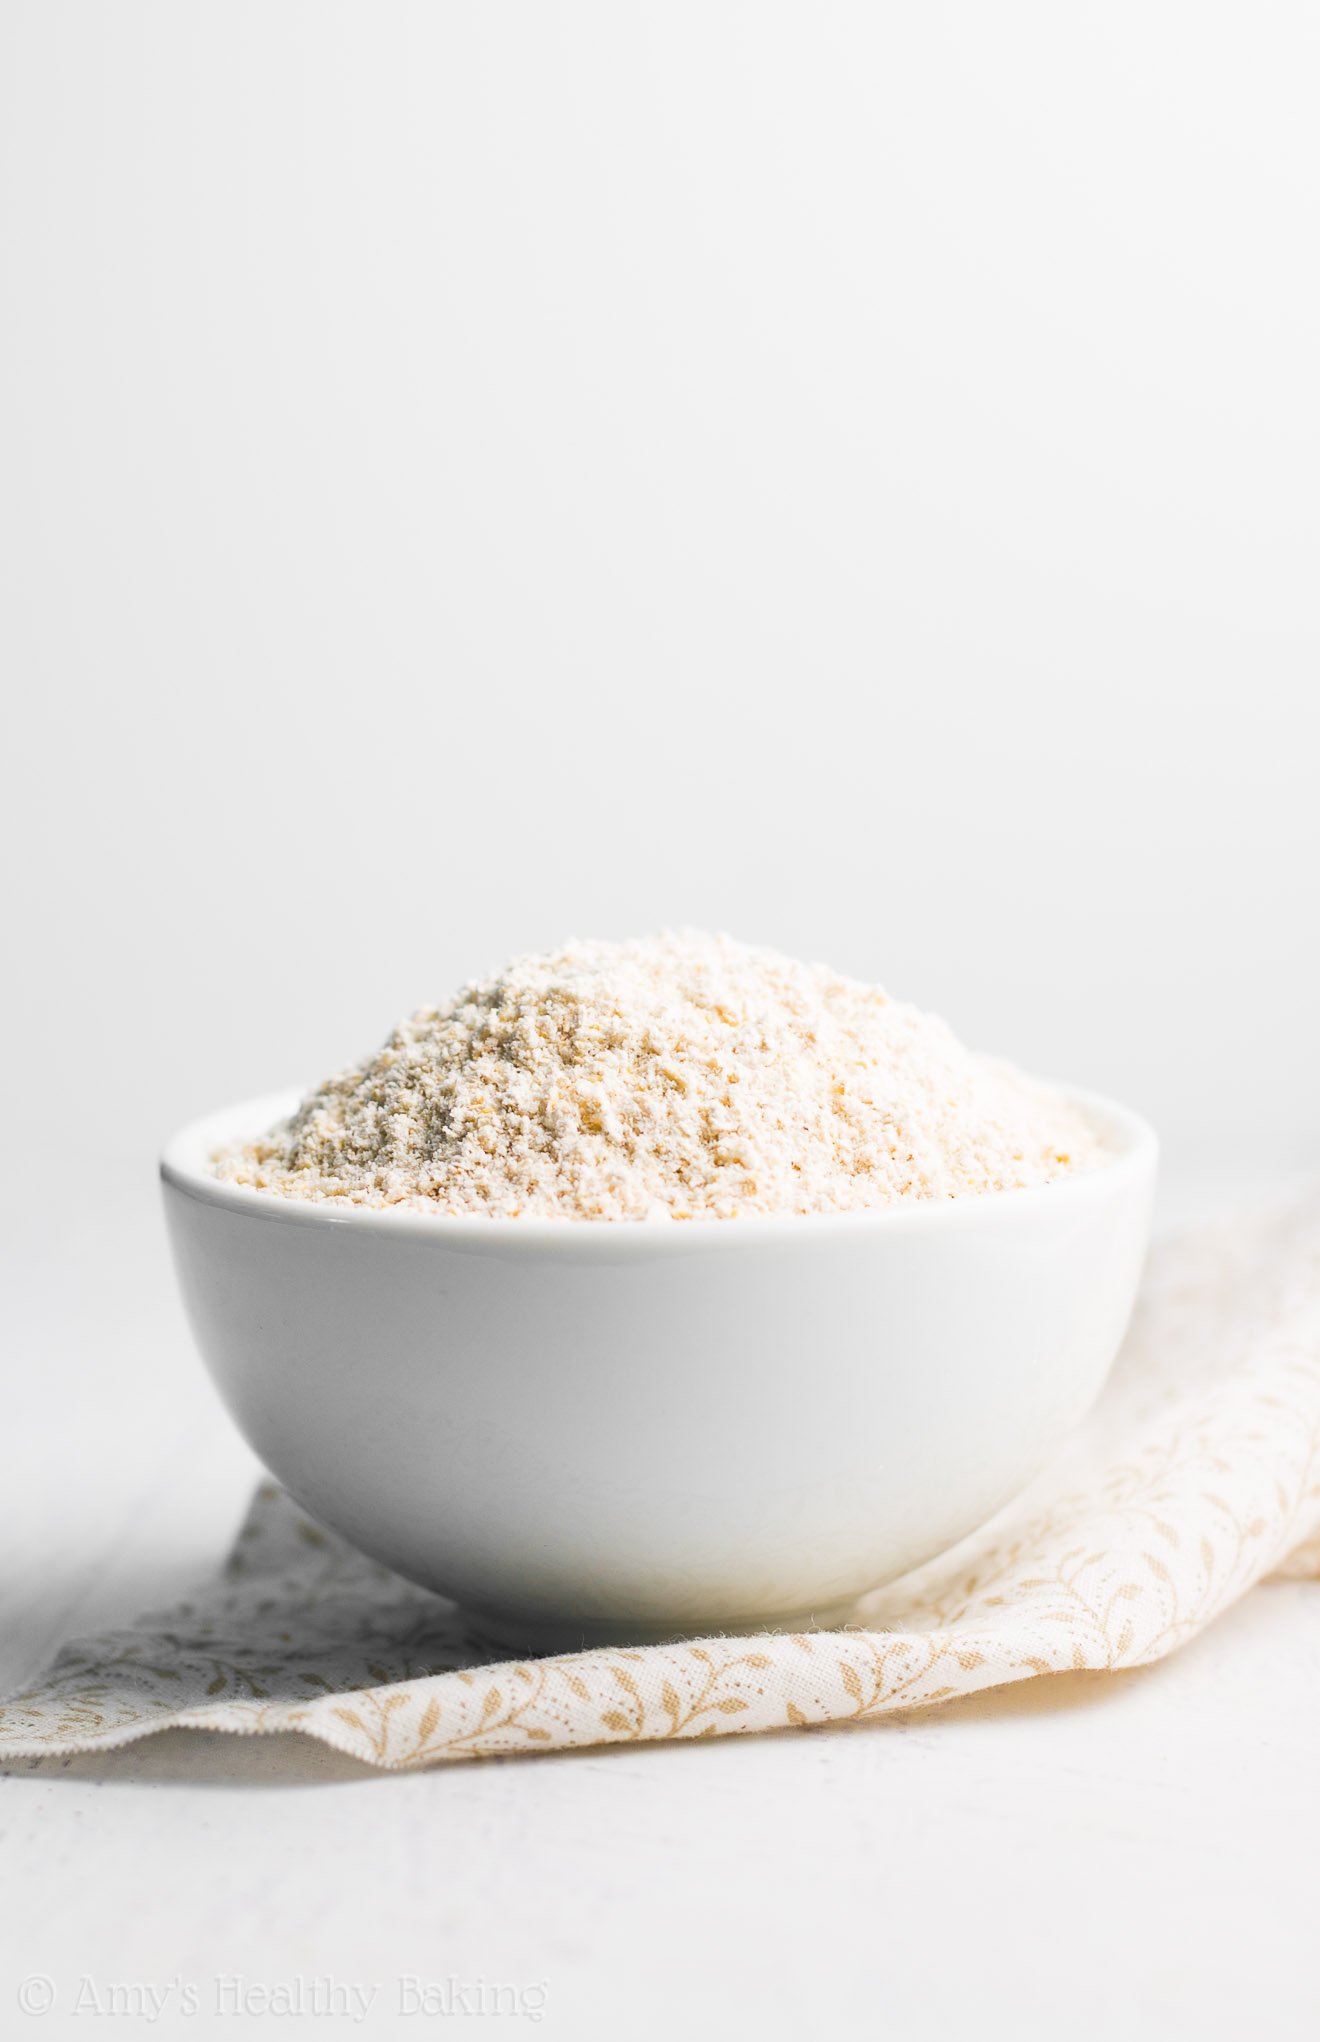
Easy Homemade Oat Flour! With how easy it is to make (and how much cheaper than store-bought!), I’m kicking myself for not trying it sooner. You just need a few minutes and a blender or food processor—that’s it!


First, you’ll measure out oats. Both old-fashioned oats and instant oats will work, and you can also use the gluten-free version of either, if necessary. I haven’t tried with steel-cut oats, so I can’t vouch for whether they’ll work.
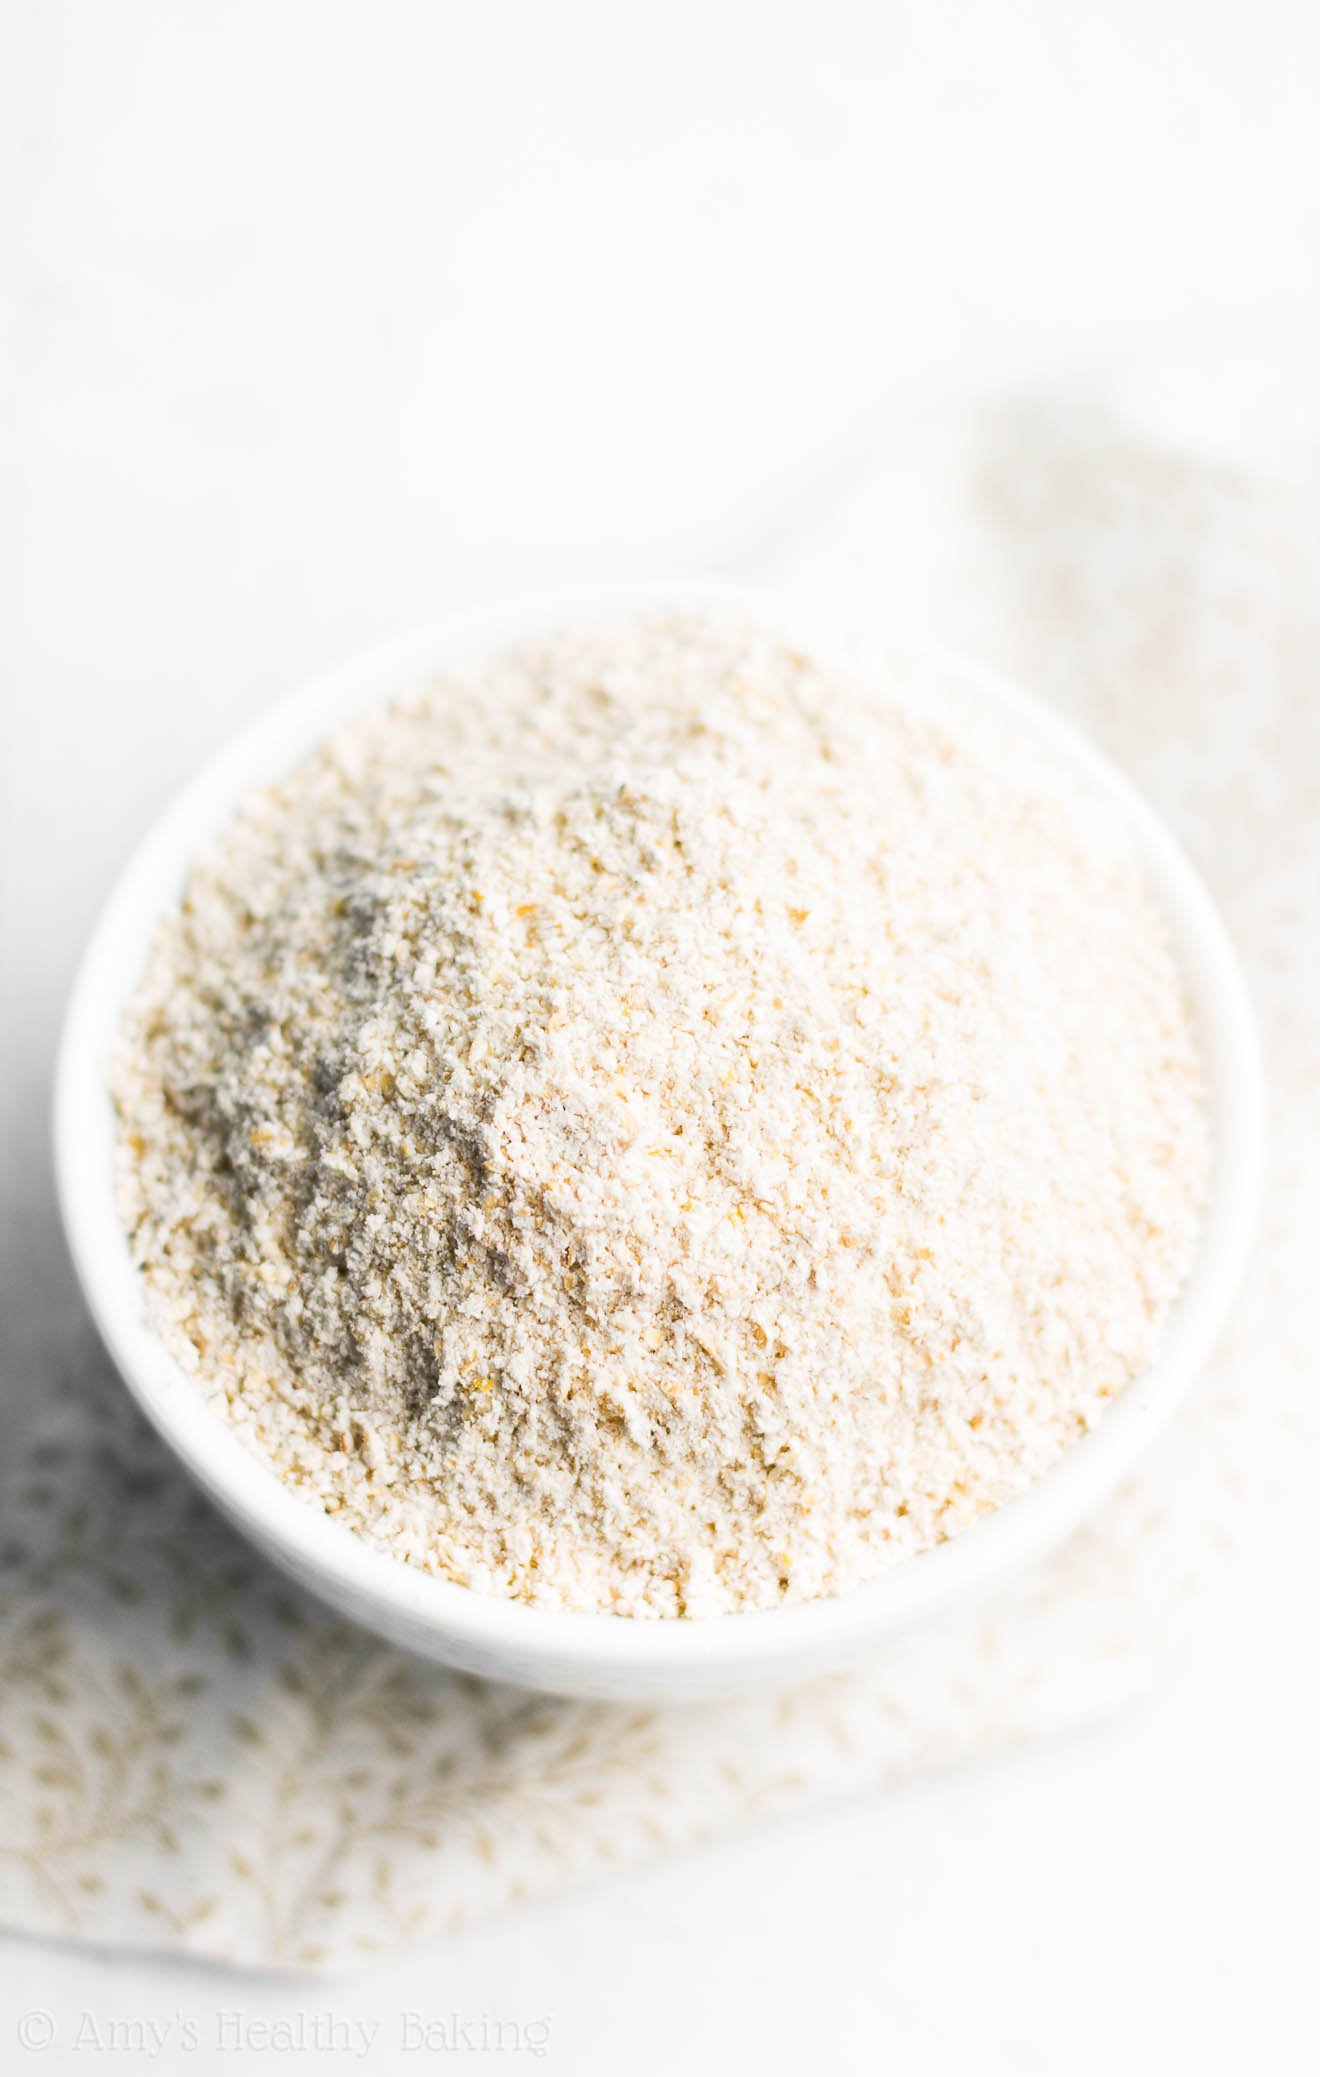
Add those to your blender or food processor, turn it on, and let it do its thing! After a few minutes, most of the oats should look very fine and powdery. There will still be a few larger bits—no blender or food processor is perfect!

So to separate those out, you’ll pass the oat flour through a sifter. Pour those bigger bits into a separate bowl, but don’t throw them away! I call them Easy Homemade Instant Oats, and they’re perfect for using in all of my clean-eating oatmeal cookie recipes!
And now that you’ve made your super easy DIY oat flour… You’ll be all set to bake that new extra chocolaty dessert recipe I’m going to share with you in my next blog post! ? And when you make your own, remember to snap a picture and share it on Instagram using #amyshealthybaking and tagging @amyshealthybaking IN the photo itself! (That guarantees I’ll see your picture! ?) I’d love to see your oat flour and feature it in my Sunday Spotlight series!
| Easy Homemade Oat Flour | | Print |
- 3 ½ cups (360g) old-fashioned oats (gluten-free, if necessary)
- Add the oats to a high-powered food processor or blender, and blend the oats until mostly fine and powdery, about 3-4 minutes. Sift the oat flour into a large bowl, and place the larger bits caught by the sifter in a separate bowl. Transfer the fine oat flour to a zip-topped bag or airtight container, and transfer the larger bits (aka Easy Homemade Instant Oats) to a separate zip-topped bag or airtight container.
You’ll want to use a food processor or blender with very sharp blades and a strong motor. This ensures that the oat flour turns out as fine as possible without overworking your machine. This is the combination blender + food processor that I own, and I absolutely love it! It’s worth every single penny, and I use it every day. (And if you check out this blog post, you’ll see 13 other recipes of mine you can make with it!)
You can use the "leftover" Easy Homemade Instant Oats to make any of my clean-eating oatmeal cookie recipes!
{gluten-free, vegan, clean eating, low fat, low calorie, sugar-free}
View Nutrition Information
You may also like Amy’s other recipes…
♥ The Ultimate Healthy Soft & Chewy Oatmeal Raisin Cookies
♥ Carrot Cake Oatmeal Cookies
♥ Apple Pie Oatmeal Cookies
♥ Chocolate Chip Peanut Butter Oatmeal Cookies
♥ Cinnamon Roll Oatmeal Cookies
♥ Pumpkin Pie Protein Overnight Oats
♥ Chocolate Protein Overnight Oats
♥ Blueberry Pie Protein Overnight Oats
♥ Peanut Butter Cup Protein Overnight Oats

This is amazing dont know why I didnt think of it. Was wondering if you can use oat flour instead of regular flour for all your recipes? Thanks
I’m so glad you found this homemade oat flour tutorial useful, Tahira! 🙂 It actually depends on the recipe. In baked goods that don’t require rising (ie cookies and brownies), it’s typically fine to substitute oat flour for wheat-based flours. Just be very careful when measuring it because it is slightly more absorbent than wheat-based flour (so too much will quickly dry out your baked goods!). You can also find all of my recipes that already call for oat flour here. I can’t wait to hear what recipe of mine you decide to use it in!